Using Zapier to Create a Facebook RSS Bulletin in CablecastCG
Zapier is a free and powerful tool that can be used to create an RSS feed from Facebook posts that can be pulled into CablecastCG as a dynamic RSS bulletin. This article will walk you through how to set up a Facebook RSS feed in Zapier and bring that into CablecastCG as a dynamic bulletin with photos included in the post, if you want to include photos. One thing to note is that for security purposes, Facebook and Instagram change the image URL's every so often, so if you aren't posting to your accounts fairly regularly, you may see that the RSS feed can no longer pull in images after a certain period of time. The first thing you'll want to do is go to zapier.com and create an account. Once you've created an account, we're going to create a Zap.
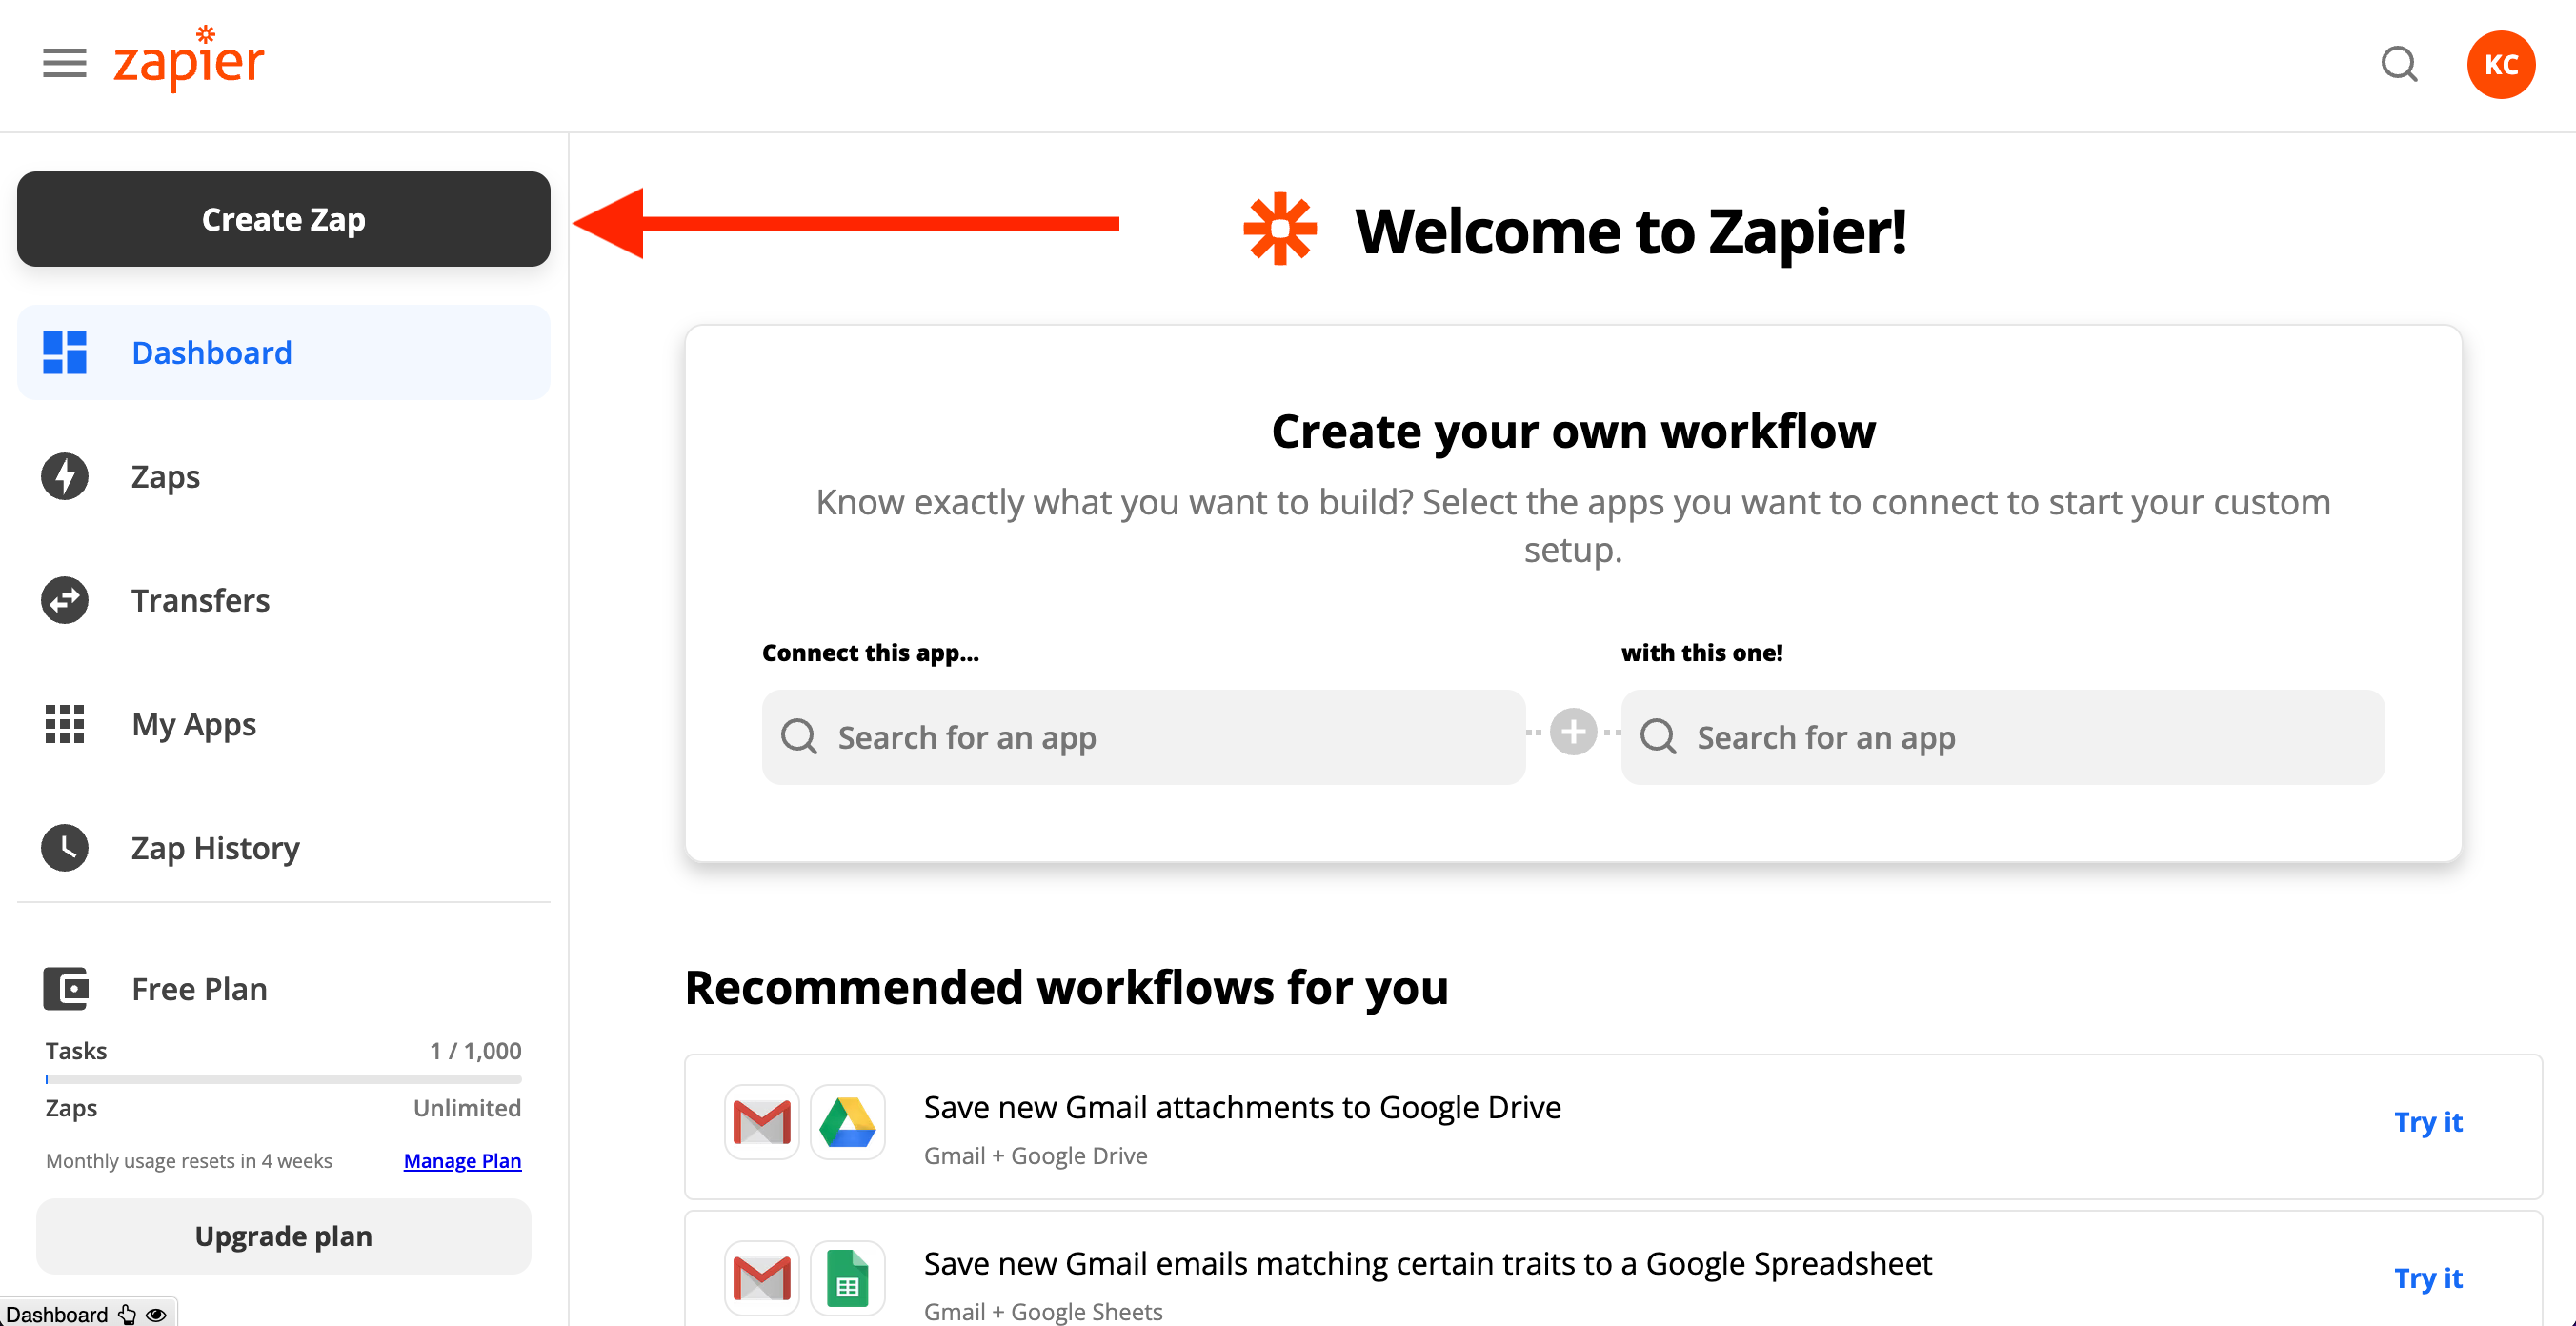
Next, name your Zap and search for Facebook in the App Event. In this example, we want to pull content from a Facebook page, so we'll select Facebook Pages from the list of options.
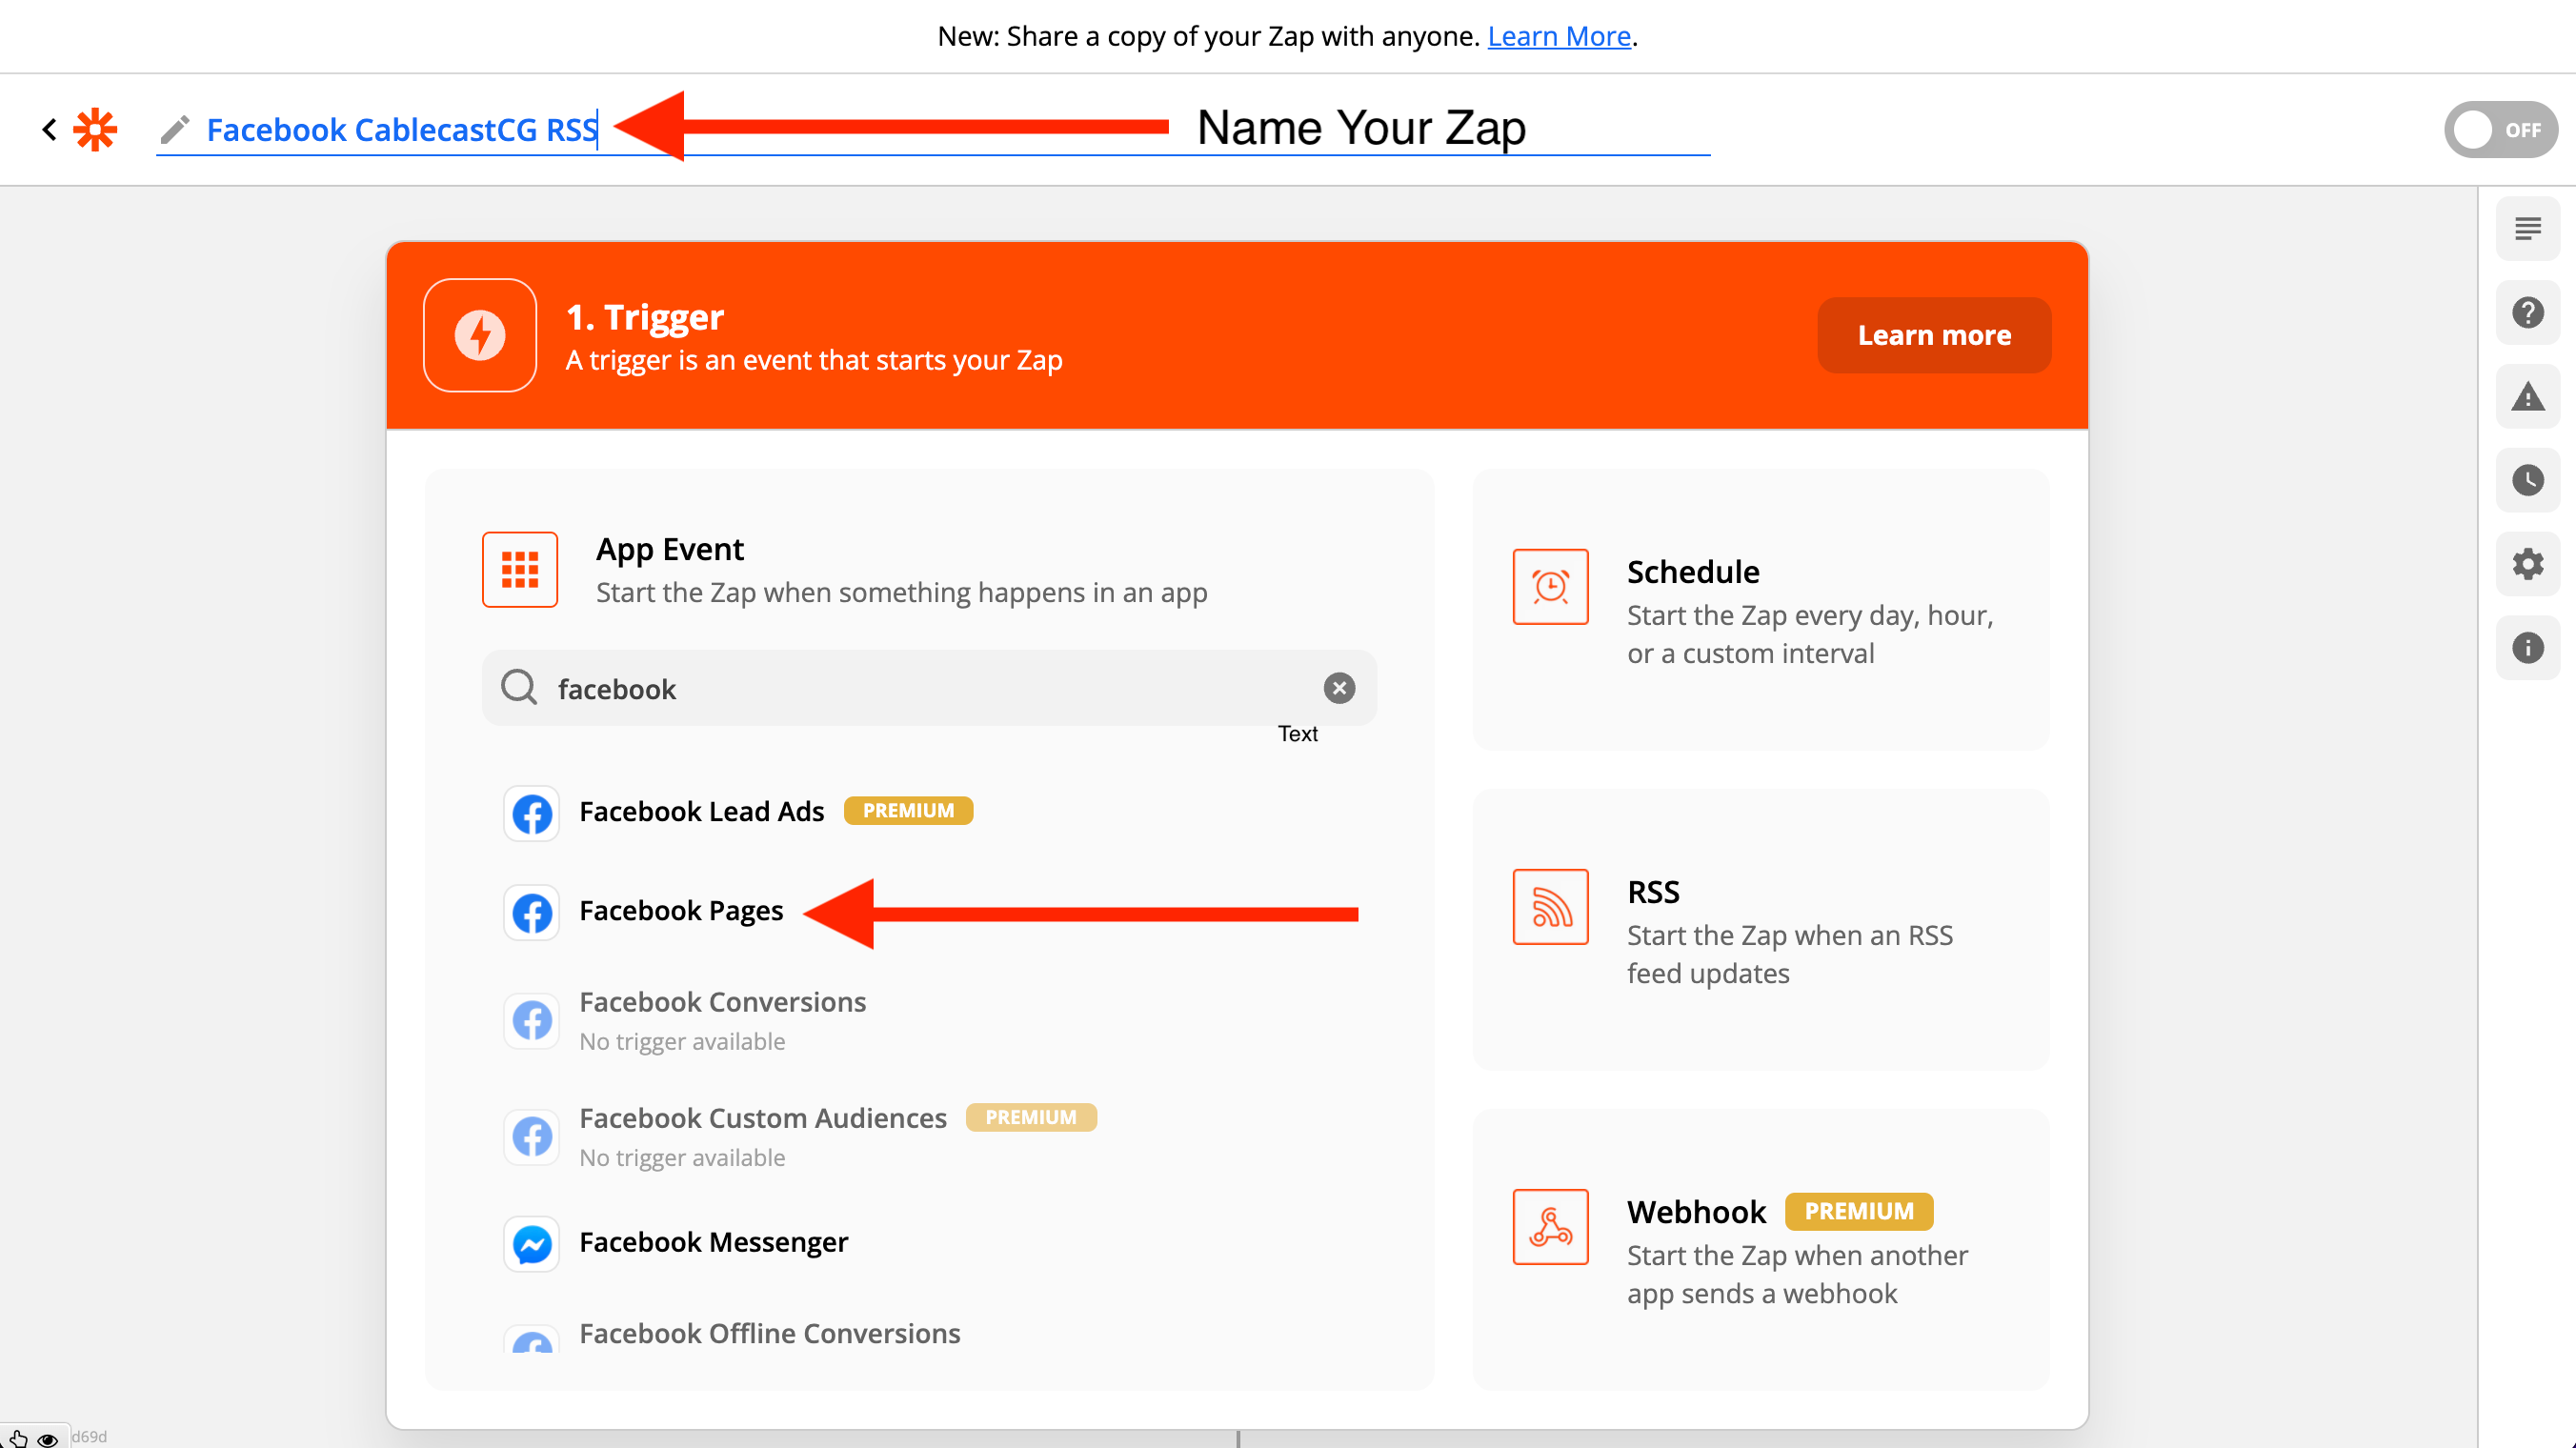
Next, under Trigger Event, we're going to choose New Post by You. This will only pull in posts created by your page. If you wanted to include any posts by anyone on the page, you could choose New Post to Your Timeline instead.
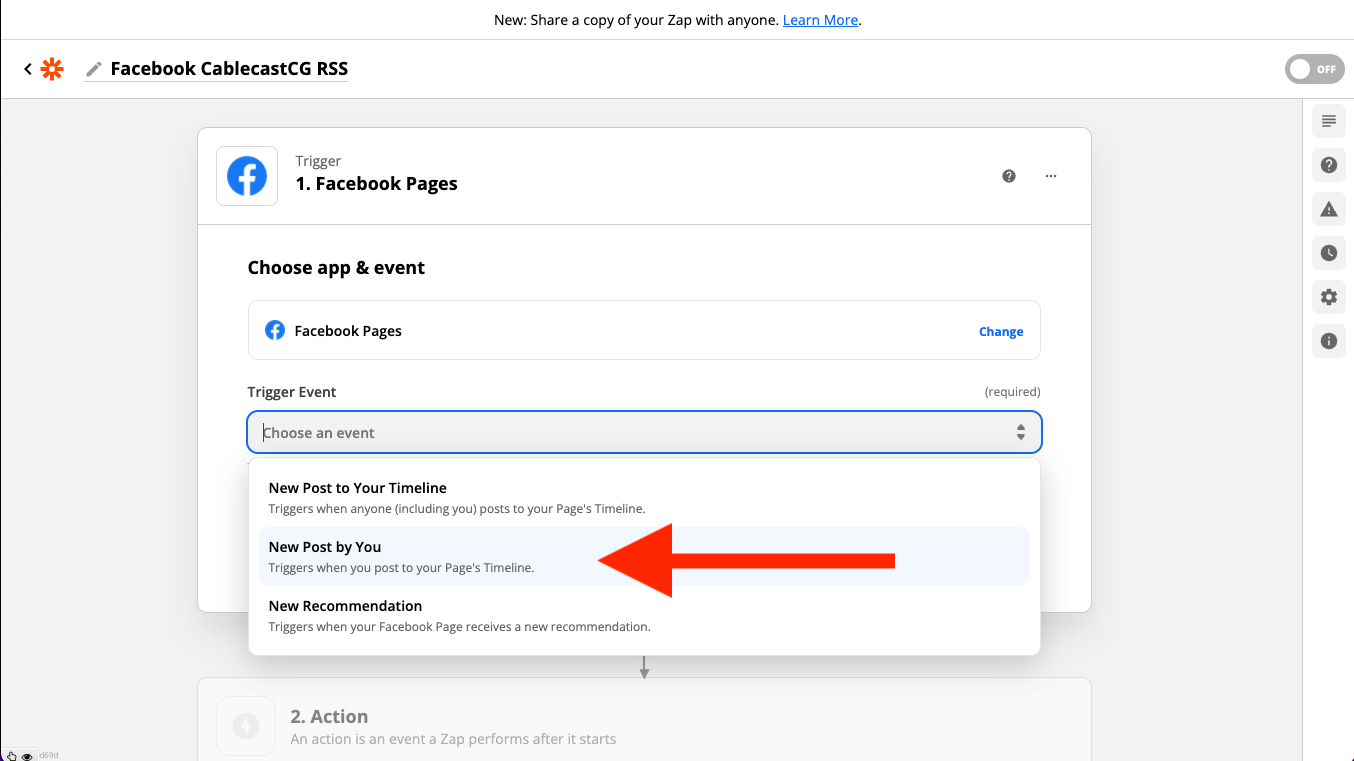
We will now choose an account. If you have not already linked your account/Facebook pages, you will need to do so by clicking on Manage connected accounts. We've already completed that process, so we're going to choose Facebook Pages from this drop-down.
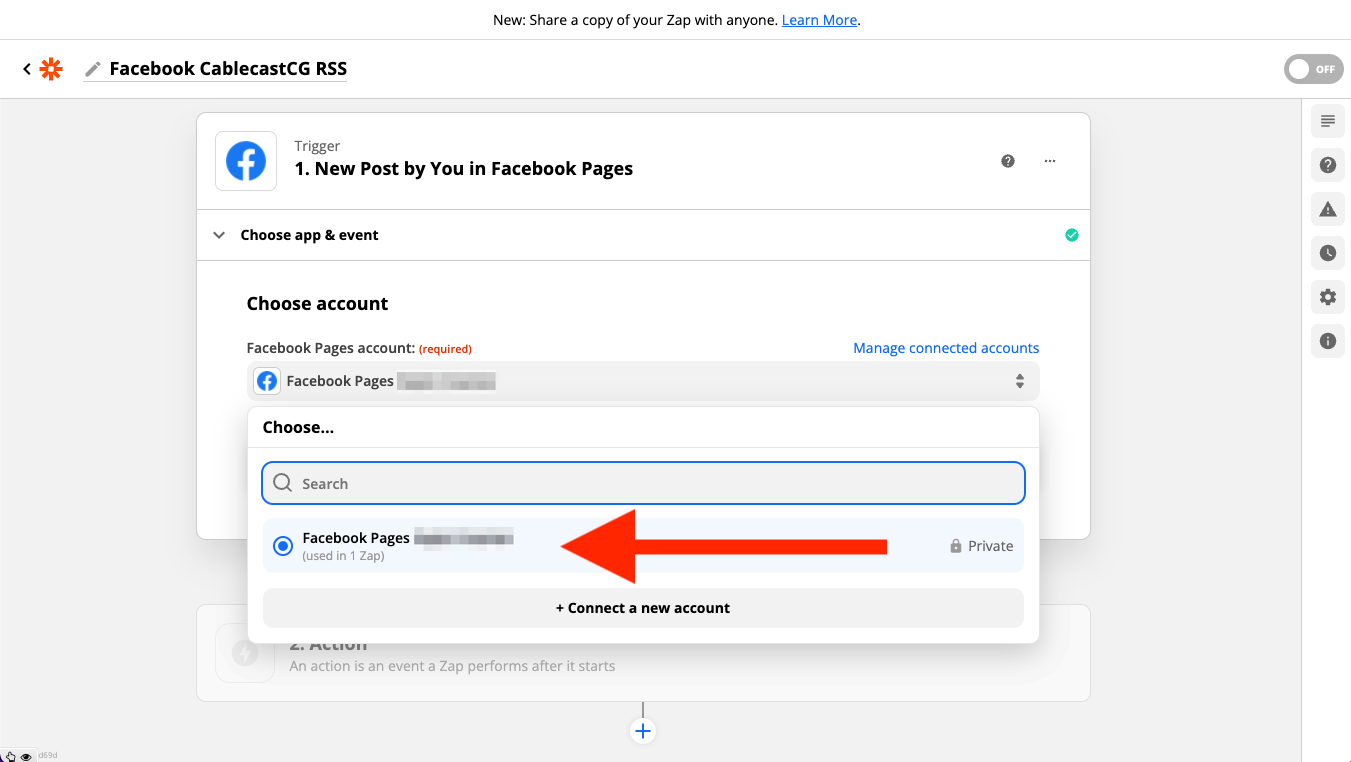
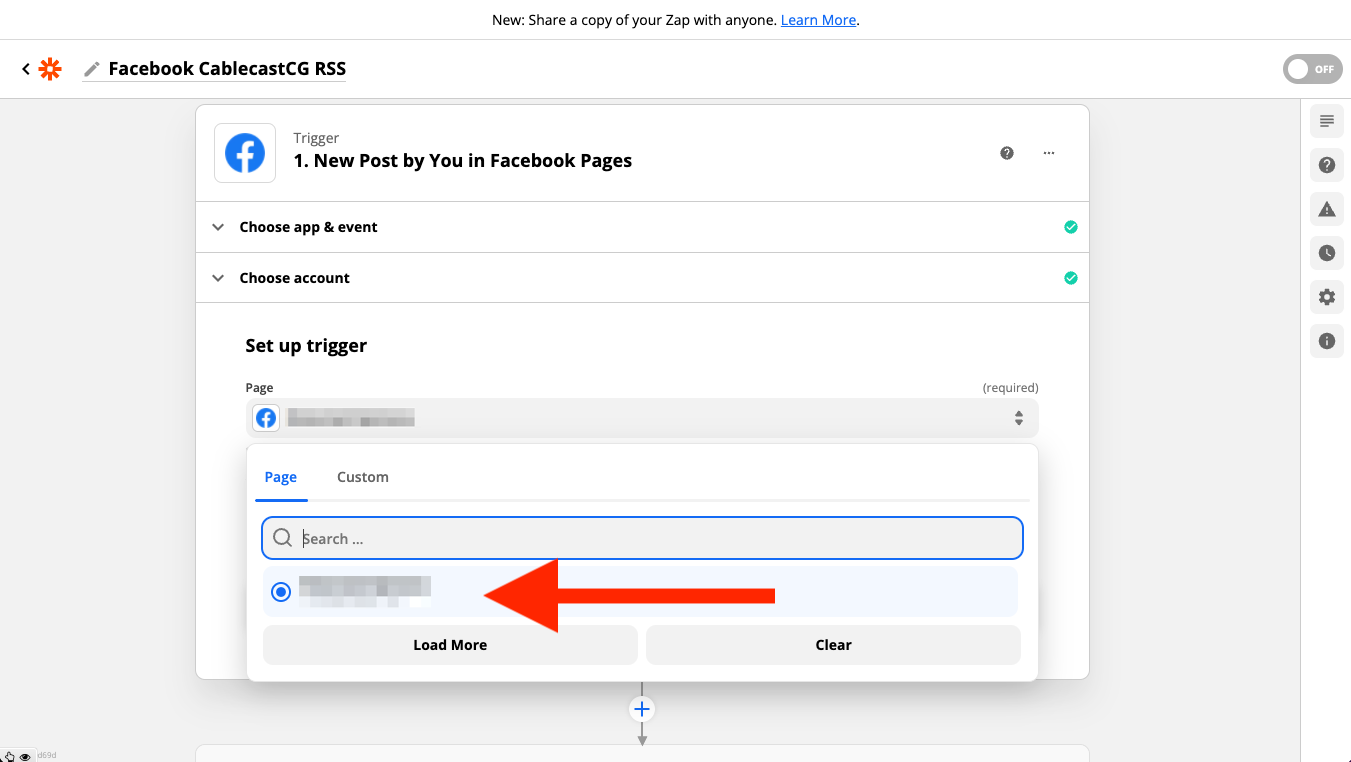
Now, we'll set up our trigger. From here, we're going to select the Facebook Page that we want to use for this RSS feed. If you have more than one Facebook page that you manage, you'll see more than one option here.
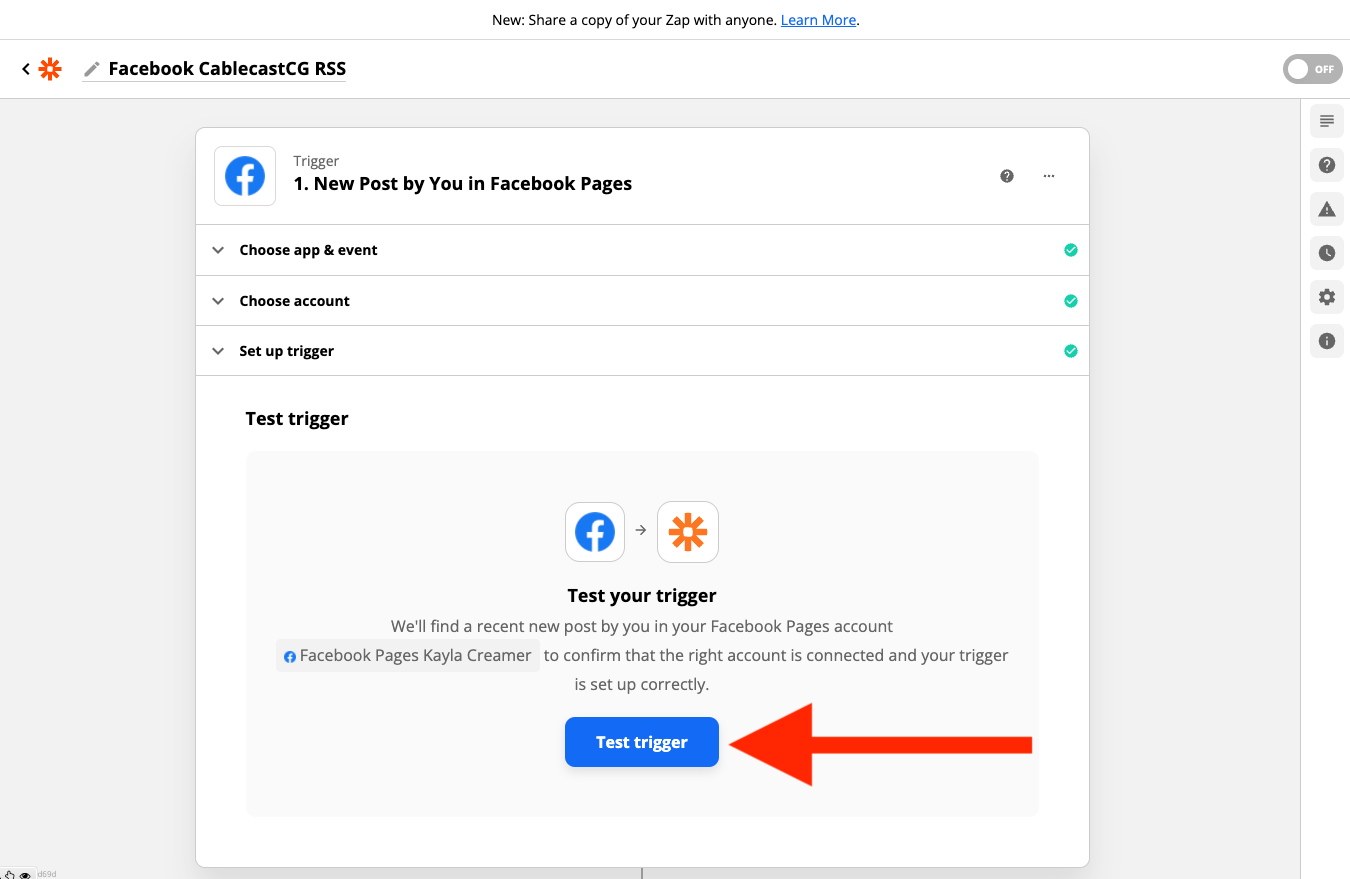
Test the trigger.
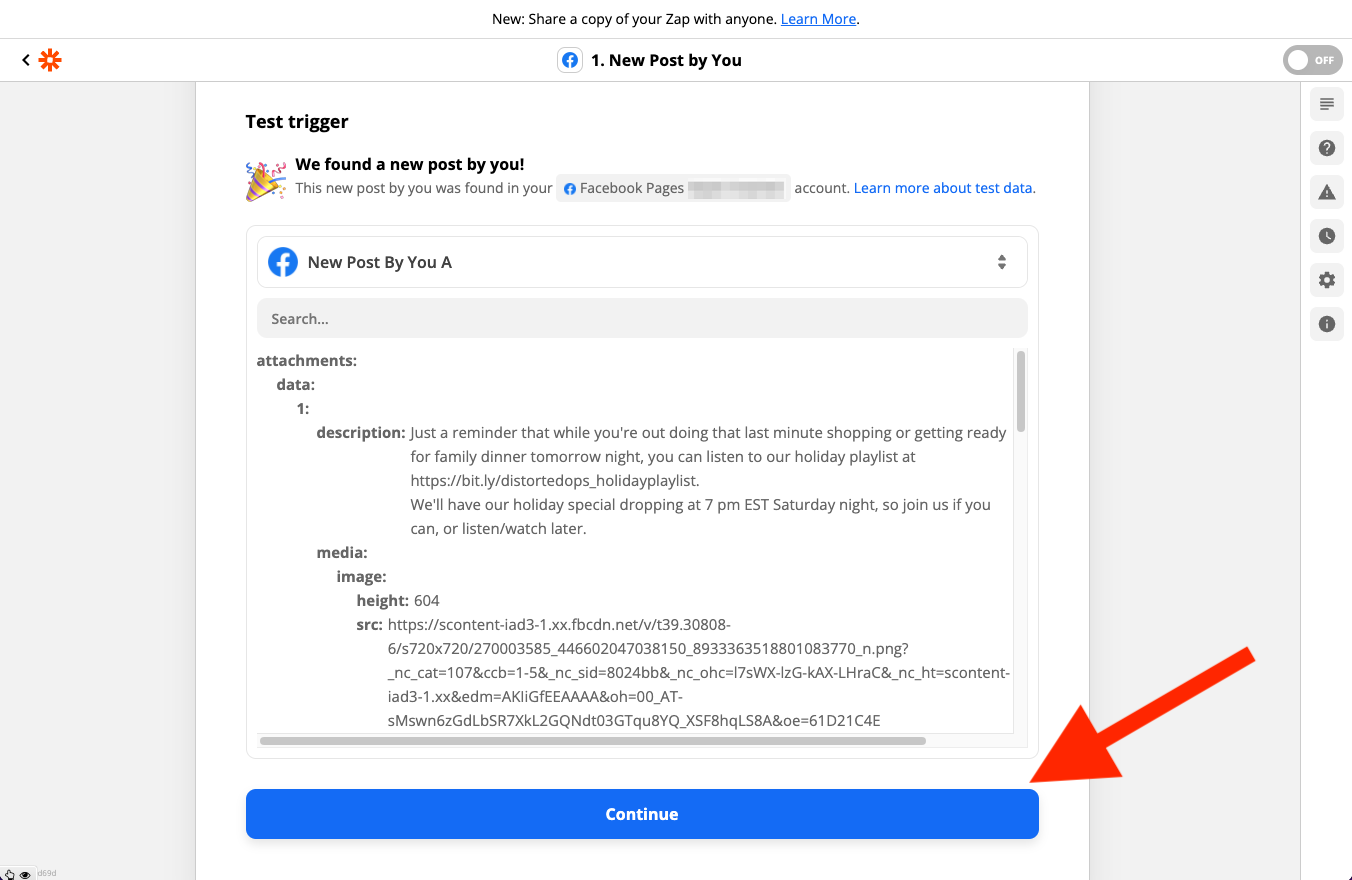
If everything has been configured correctly to this point, you should get a successful trigger message and can continue on to the next steps.
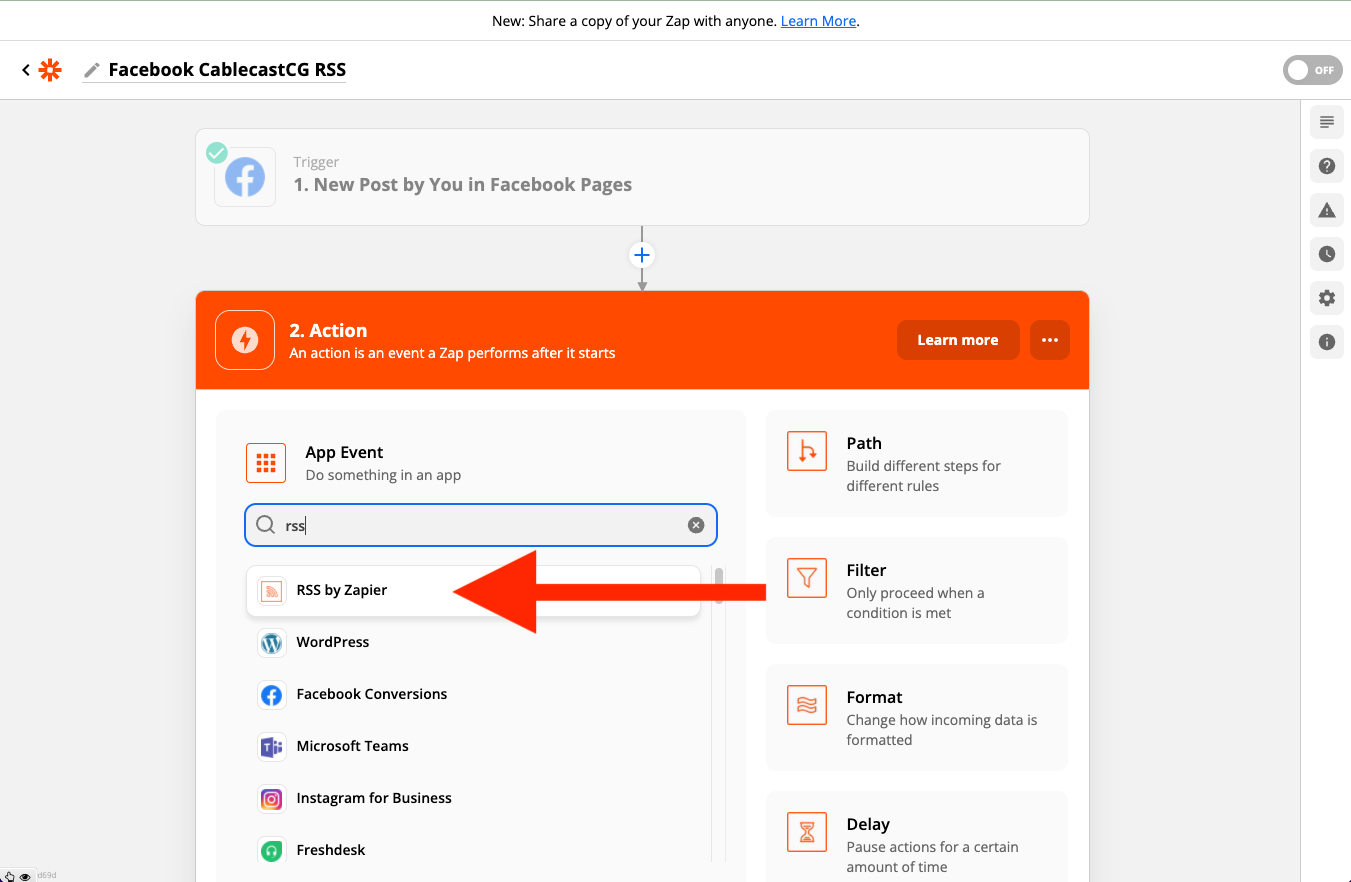
Now we'll set up the action that the Zap will perform after it starts. Search for "RSS" and choose RSS by Zapier from the search results.
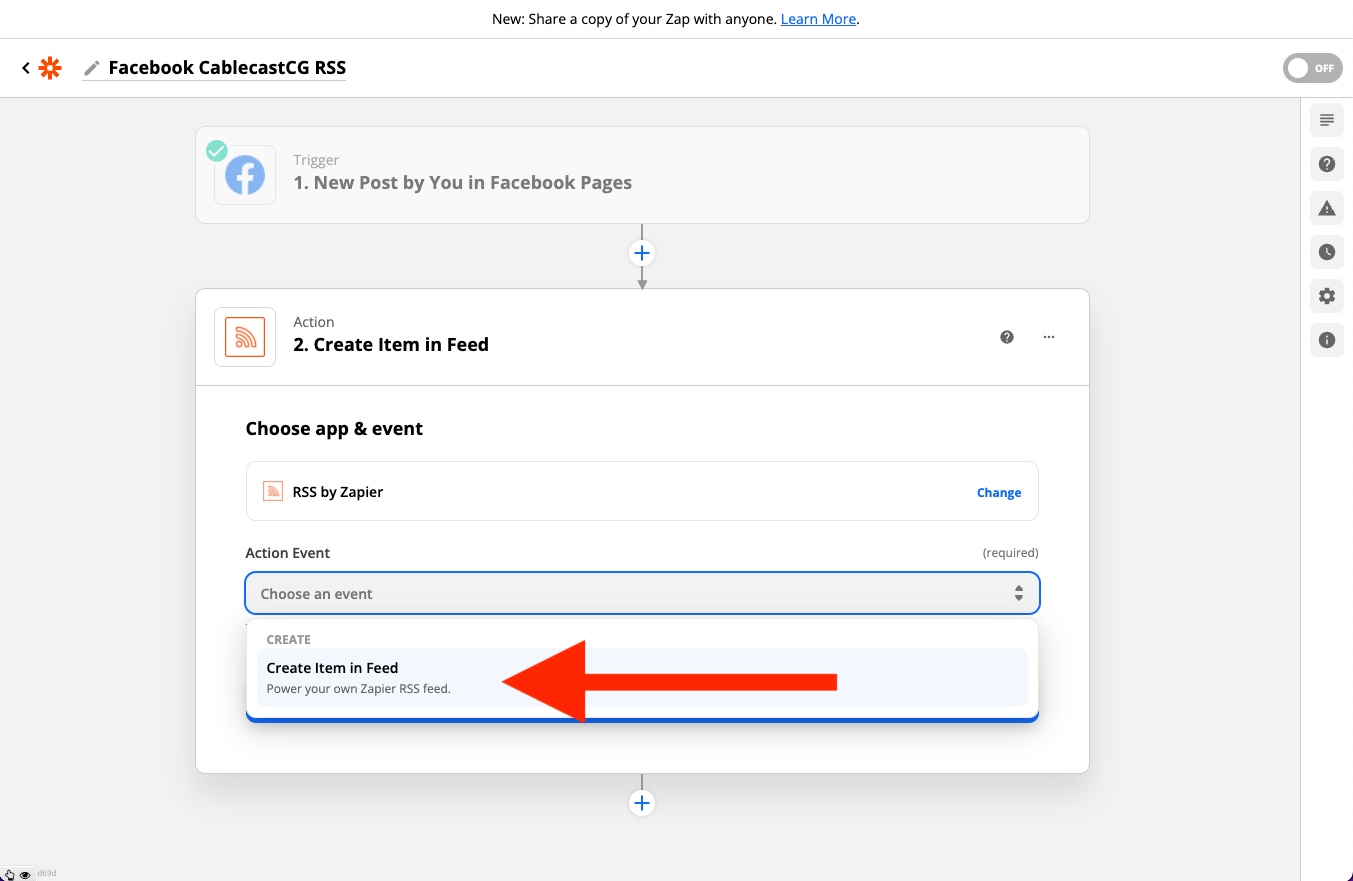
We're going to create an Item in Feed. Under Action Event choose Create Item in Feed from the drop-down.
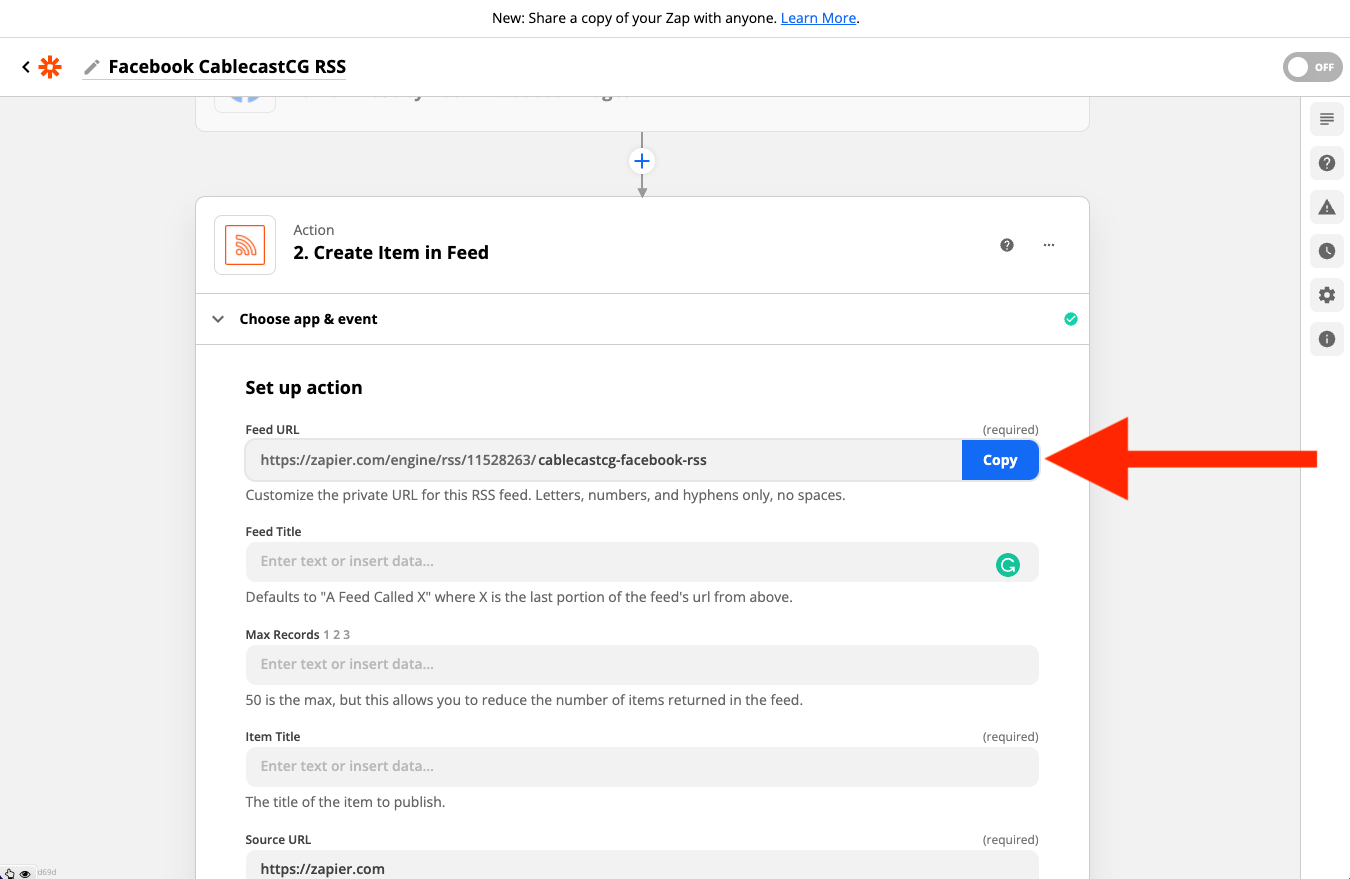
On this next page, we're going to setup up our RSS feed. There are a number of steps here. We only need to complete the required fields. The first thing you'll need to do is customize the URL for your RSS feed. You can name this whatever you would like. Once you have changed the URL, be sure to copy the URL and save it somewhere so you have it when we get ready to put it into the CablecastCG Dynamic bulletin.
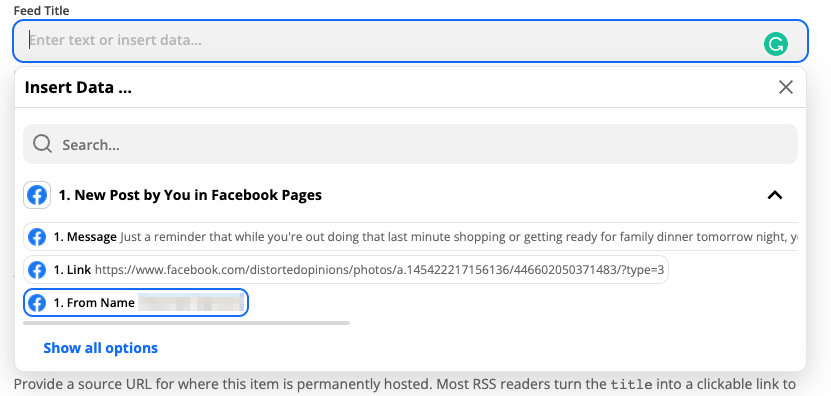
For the Feed Title, we're going to choose From Name: PAGE NAME from the list.
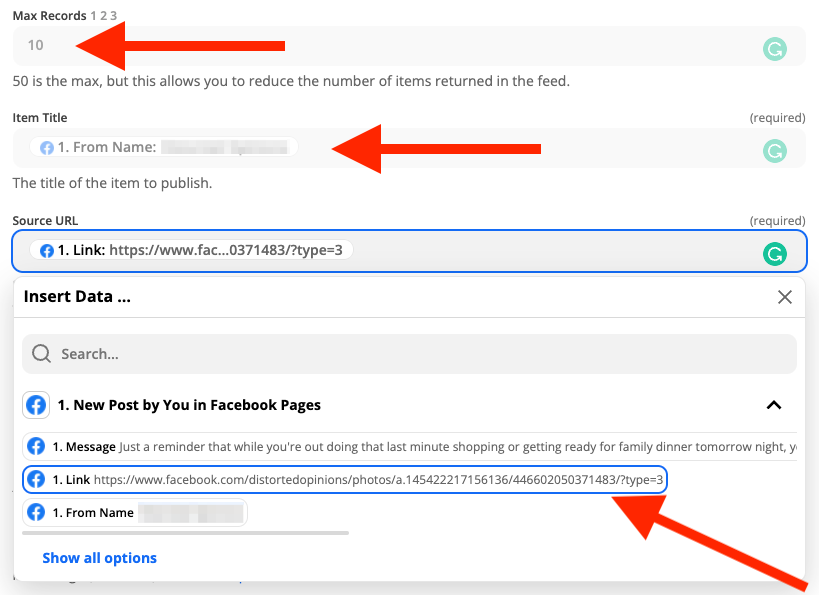
For Max Records, we're going to choose 10, but you can choose whatever number of posts you want the RSS to be able to pull in up to 50. We're also going to set Item Title using the From Name: PAGE NAME and the Source URL using the Link option from the dropdown.
For Content, we're going to choose Message from the list of options.
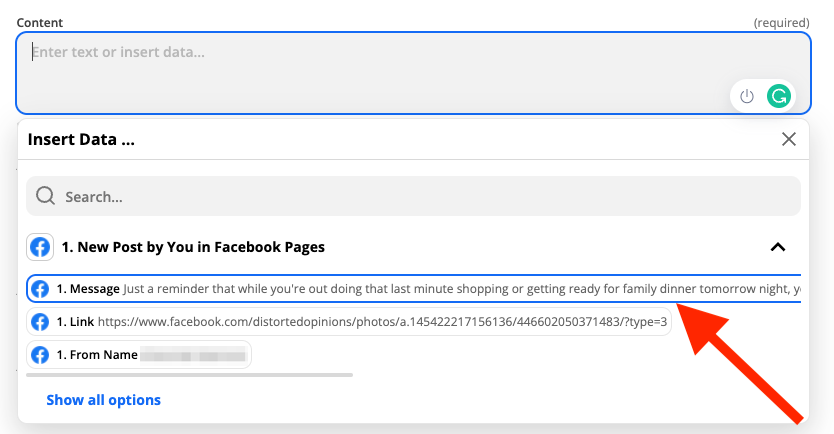
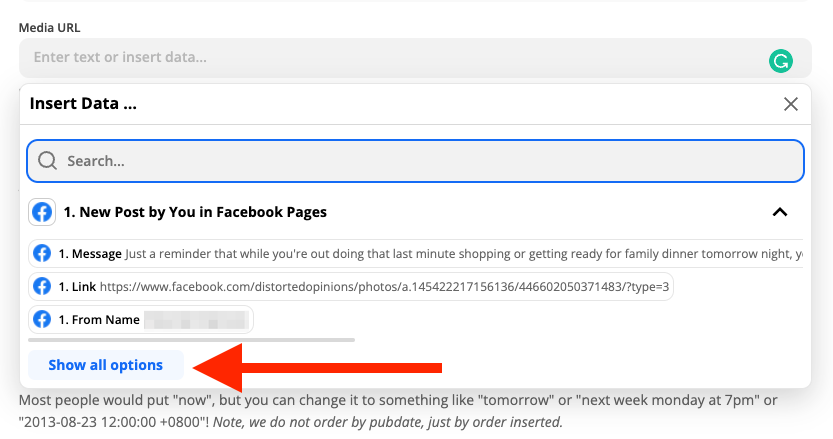
The Media URL field is what's going to pull in our image from Facebook. We're going to select Show All Options at the bottom of the list. This will bring up a number of other Facebook fields to choose from.
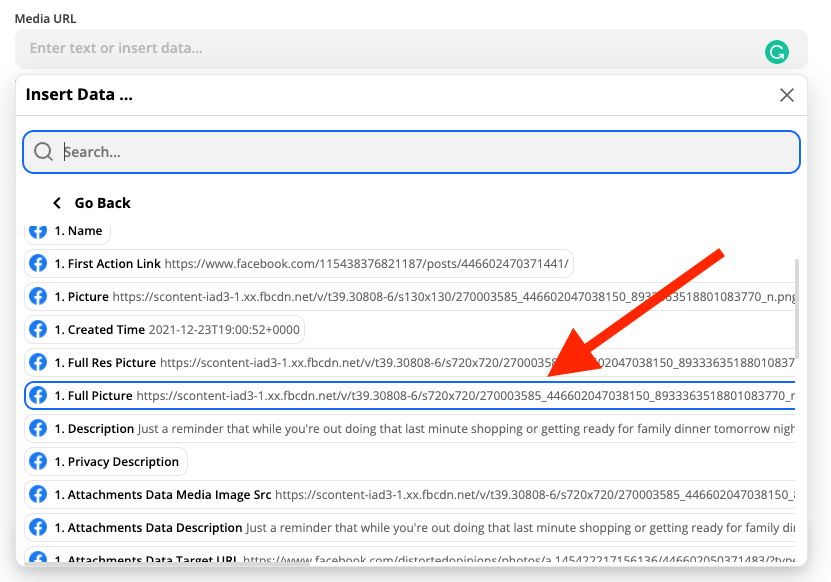
Now, we have a few options to choose from. You can choose Picture, Full Res Picture, or Full Picture from the list of options. For this example, we're going to choose Full Picture.
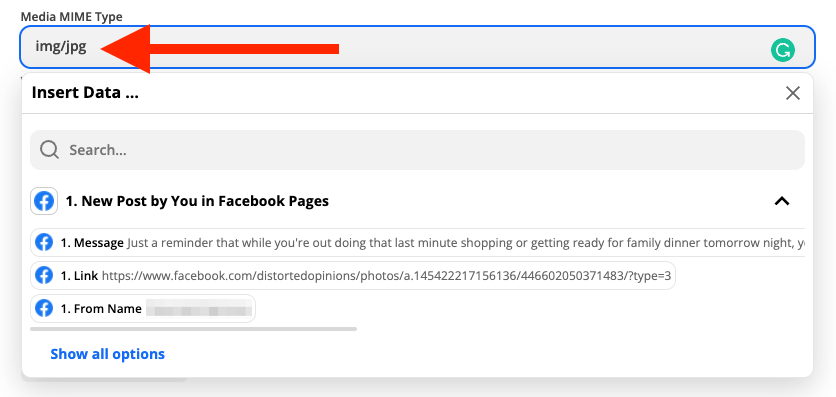
For Media/MIME Type, we're going to type in img/jpg.
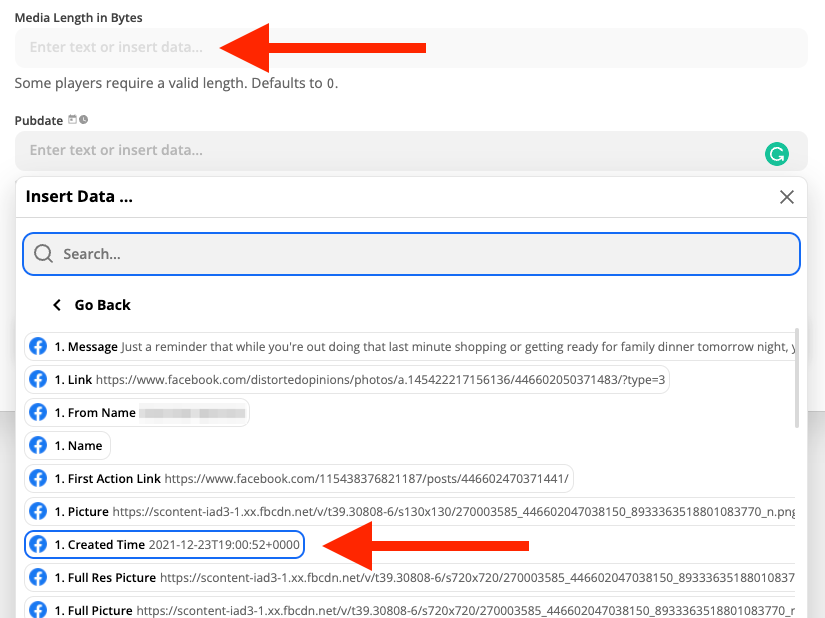
We're going to leave Media Length in Bytes blank. For the Pubdate we're going to once again choose Show all options from the bottom of the list and choose Created Time from the full list of options.
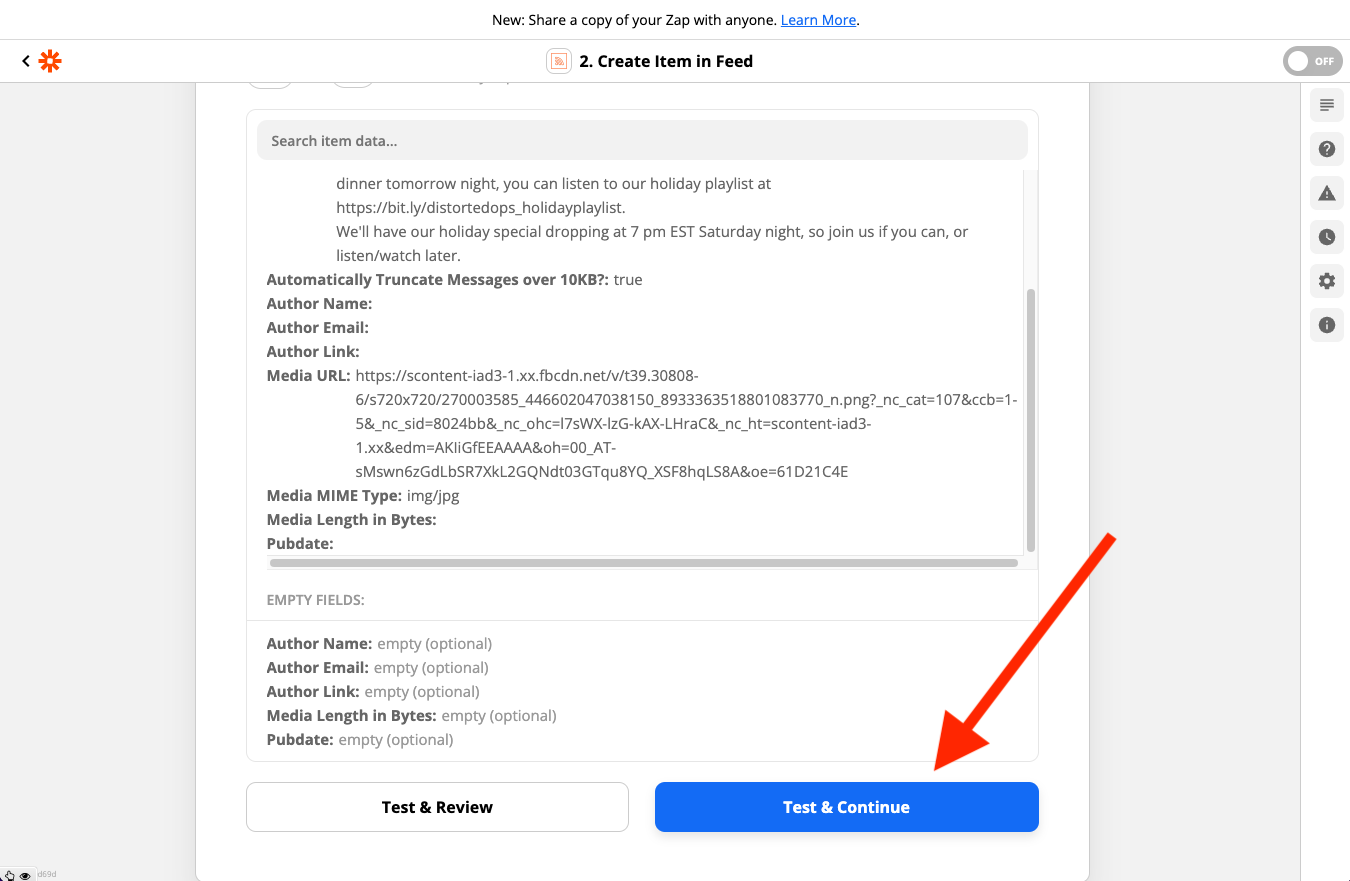
Test and Continue to complete your Zap. If all has been configured correctly, you should get a successful message.
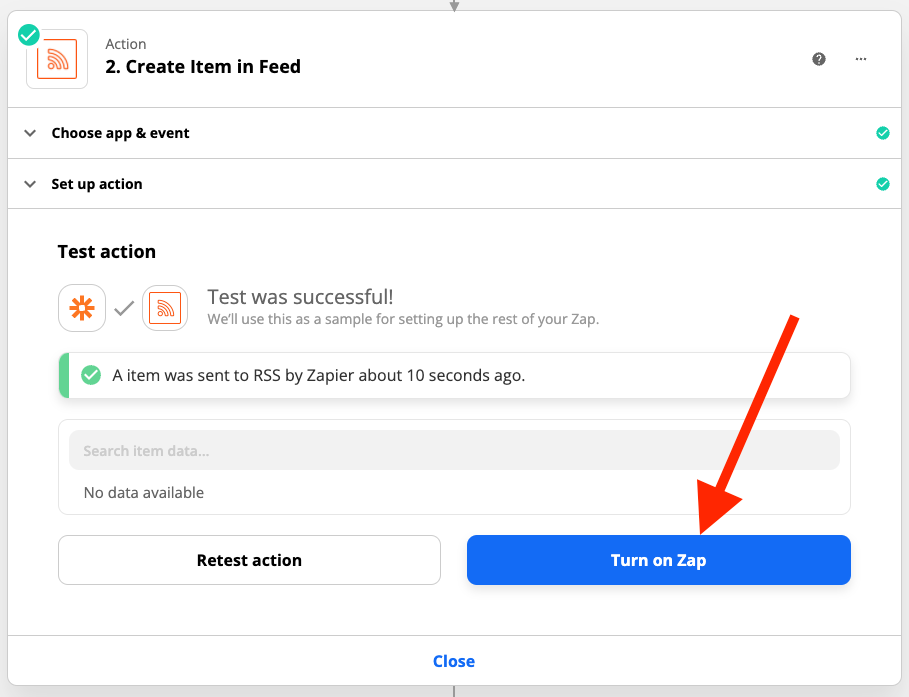
Next, turn on your Zap and it should be ready to configure within CablecastCG.
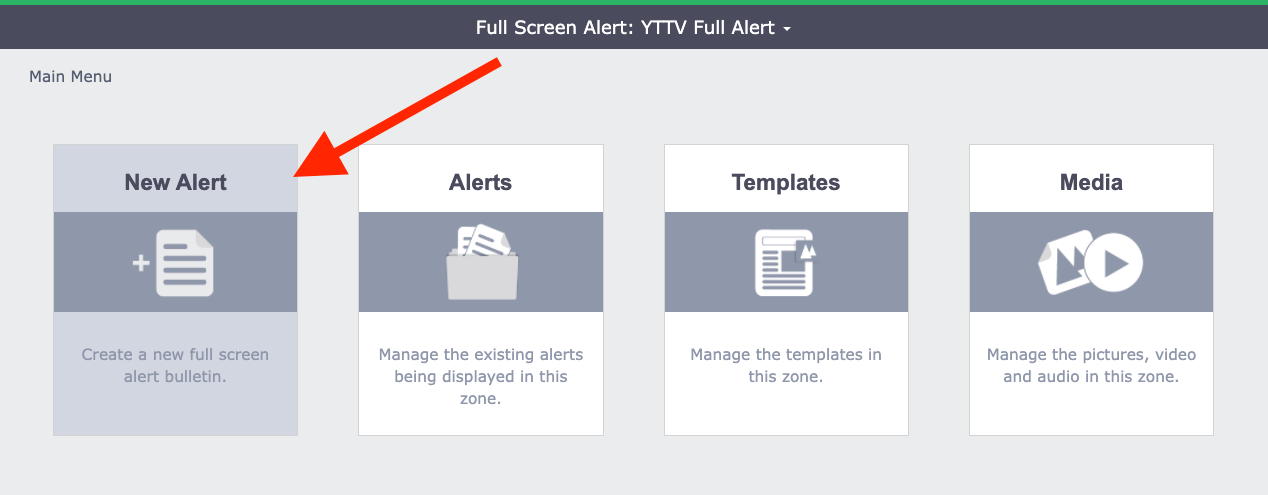
Now we're going to configure our RSS feed from Zapier in CablecastCG. You'll want to select the zone that you want to add your RSS Bulletin to. In this example, we're going to set up a bulletin that will pull in an image as well, so we want to use one of our larger zones. For this example, we're using our Full Bulletin Alert zone so that we have as much screen space as possible for our text and photo, but you can configure this in any zone of your choosing. We're going to choose New Alert or New Bulletin if you're using a standard zone.
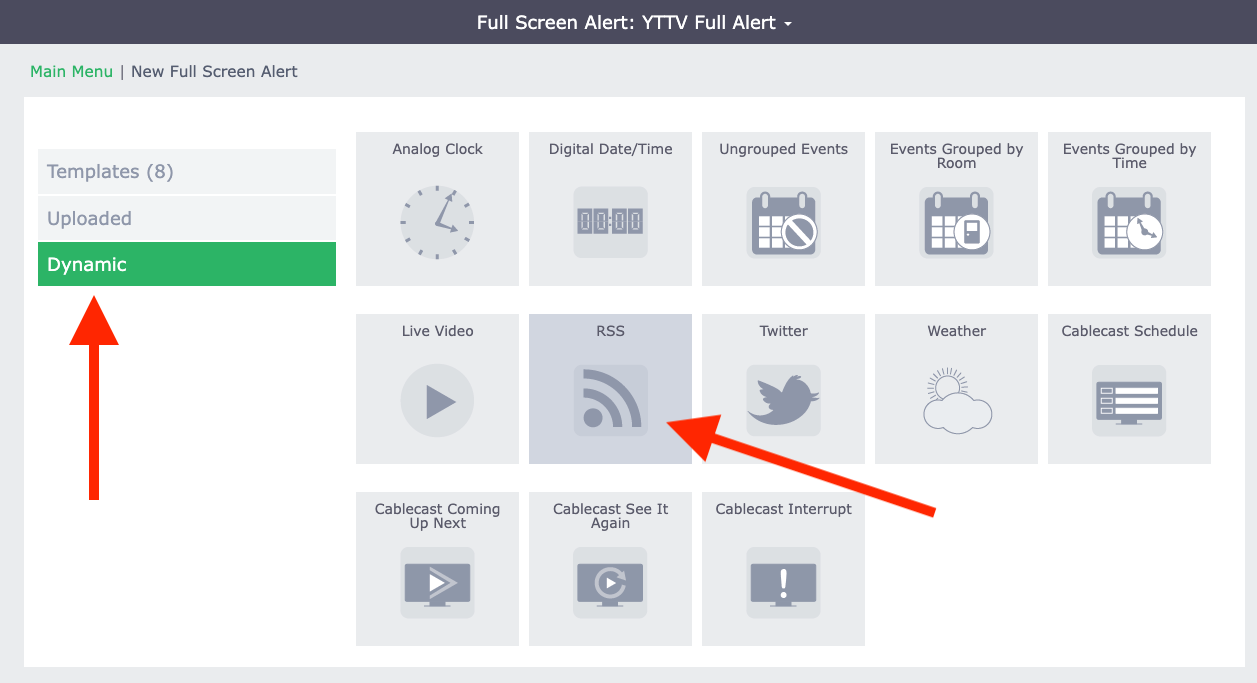
From here, we're going to choose from the Dynamic bulletin templates and select the RSS bulletin.
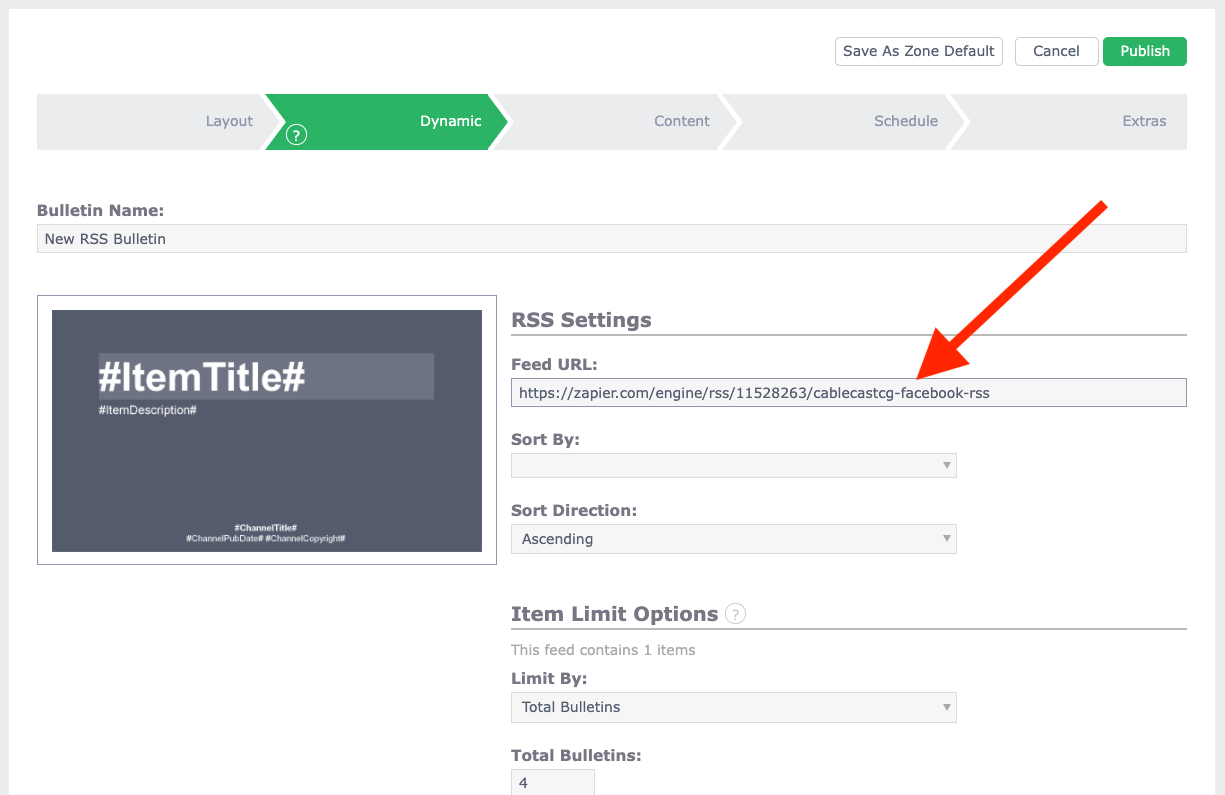
The first thing we'll need to do is paste our Zapier RSS URL that we copied a few steps back into the Feed URL field in the Dynamic bulletin RSS settings.
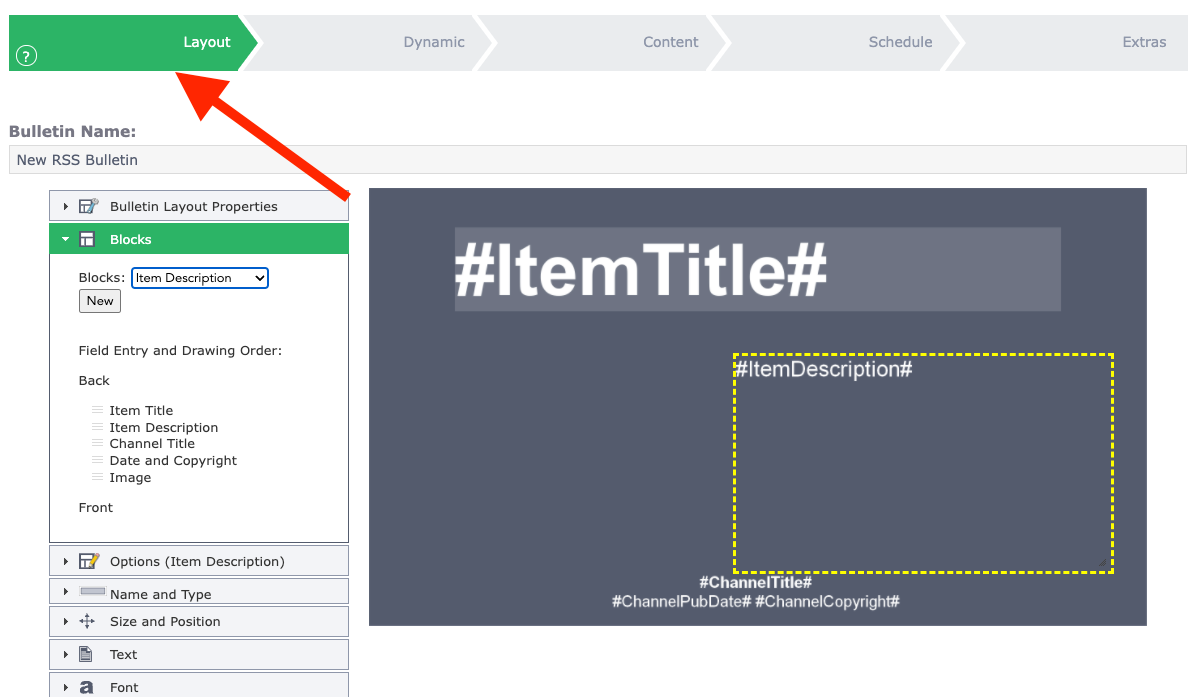
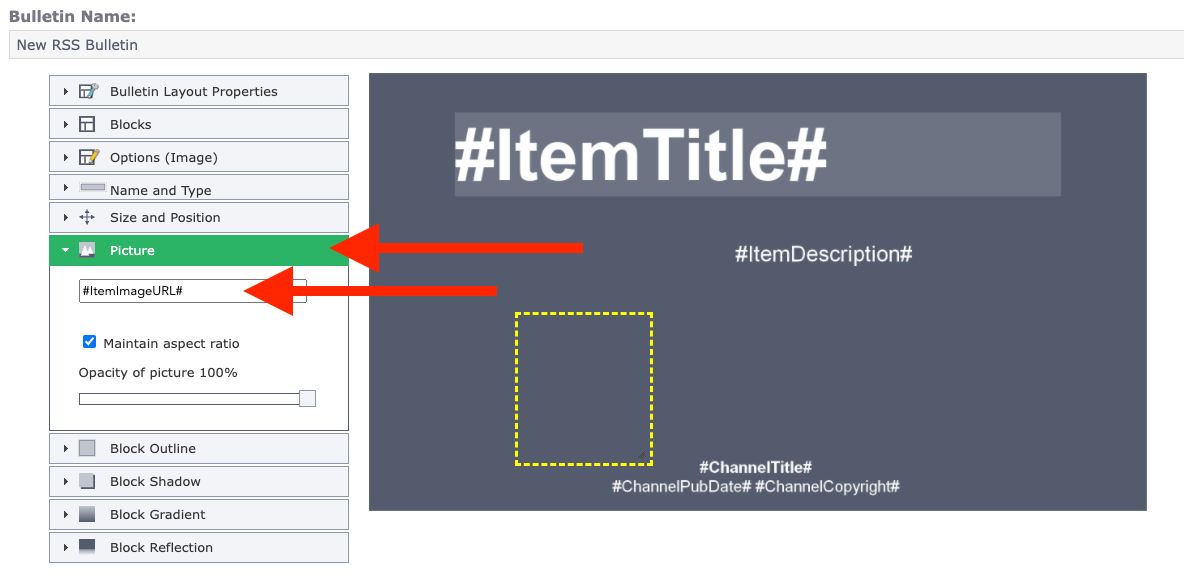
We're using the standard template, but we want to make some changes to it to resize the Item Description and add a block for the photo. We'll do that by going to the Layout tab. In the image below, we have scaled down our #ItemDescription# block and moved that to the right side of the bulletin.
We're now going to create a new block by selecting Blocks from the menu on the left side of the preview image. We're going to choose Image as the type and then resize that block to our liking. Note that you won't see a preview image in this window. You'll only be able to see where the image will be placed. You will be able to see the completed preview once we publish the bulletin. It's also important to note that none of the yellow dotted boxes can overlap each other, otherwise when you publish the bulletin, you'll get an error that it couldn't be rendered because none of the boxes could fit.
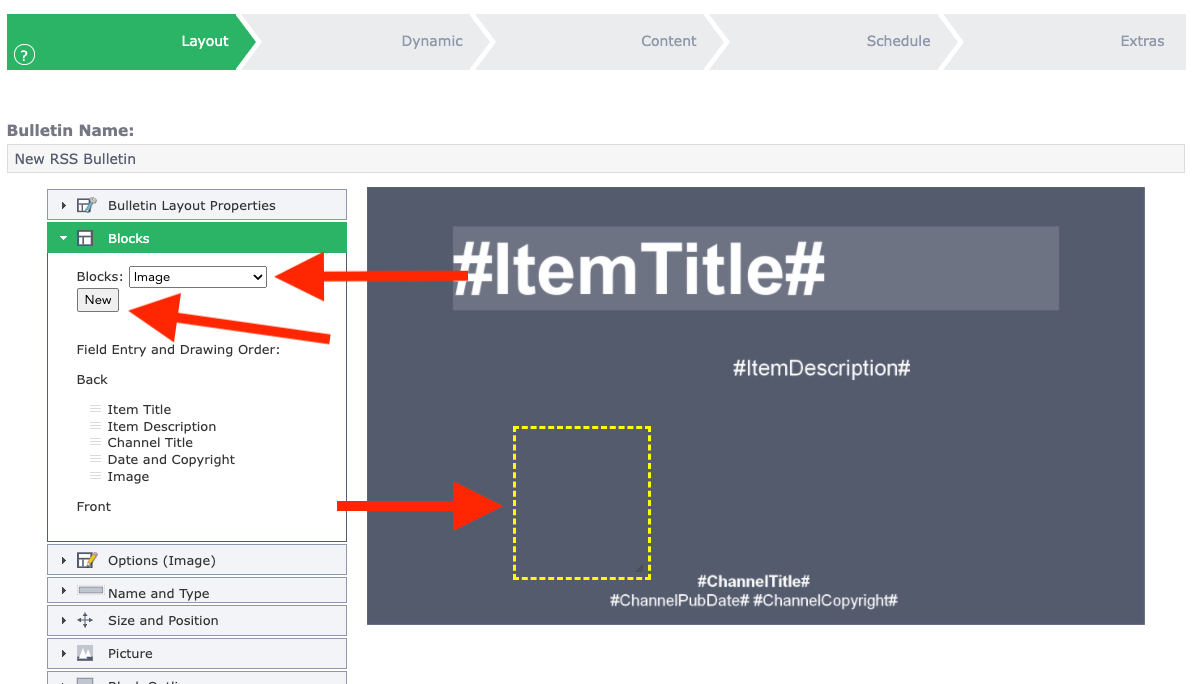
Next, with the new image block selected, choose Picture from the options to the left of the bulletin preview. We're going to use a custom dynamic field here. Type in #ItemImageURL# in that field.
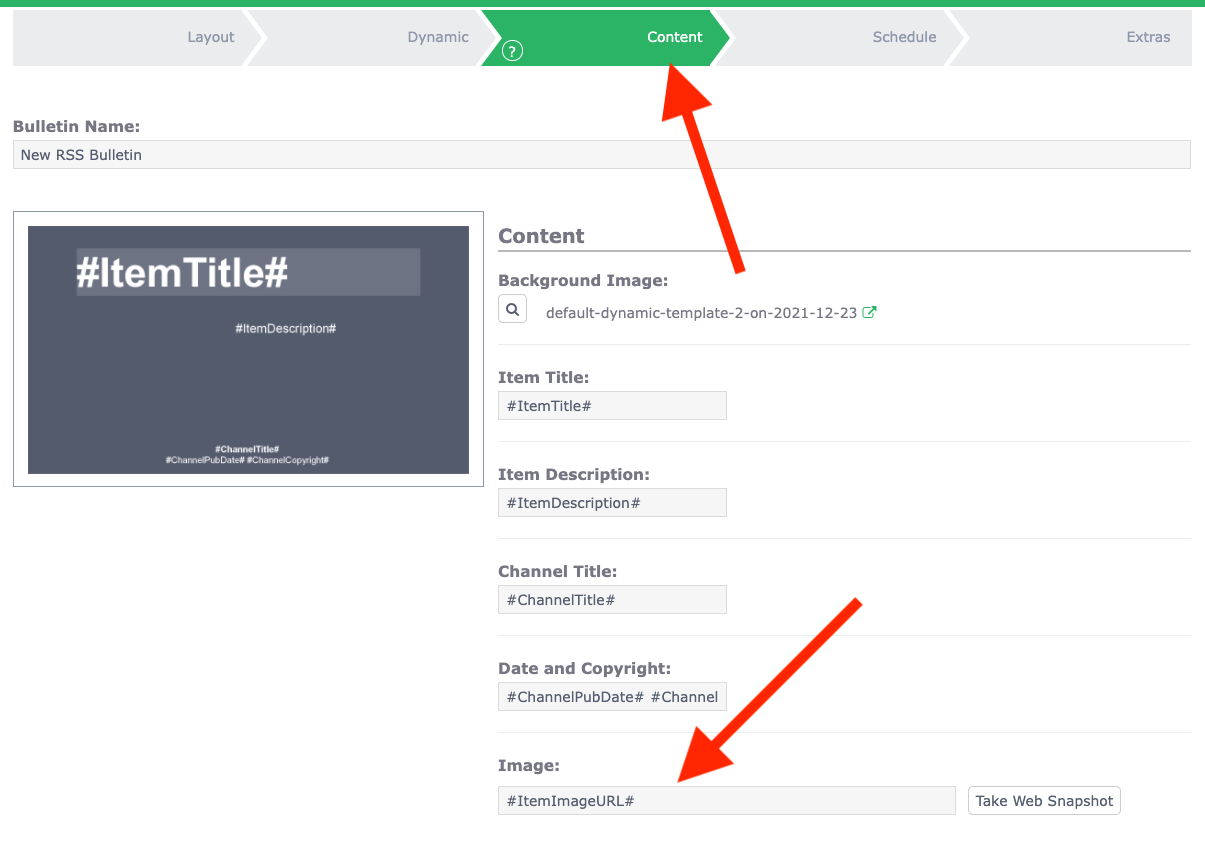
Now go to the Content tab at the top of the page. We're going to confirm that the Image field has #ItemImageURL# entered in as we set it in the layout settings. If that field is blank, enter #ItemImageURL# now.
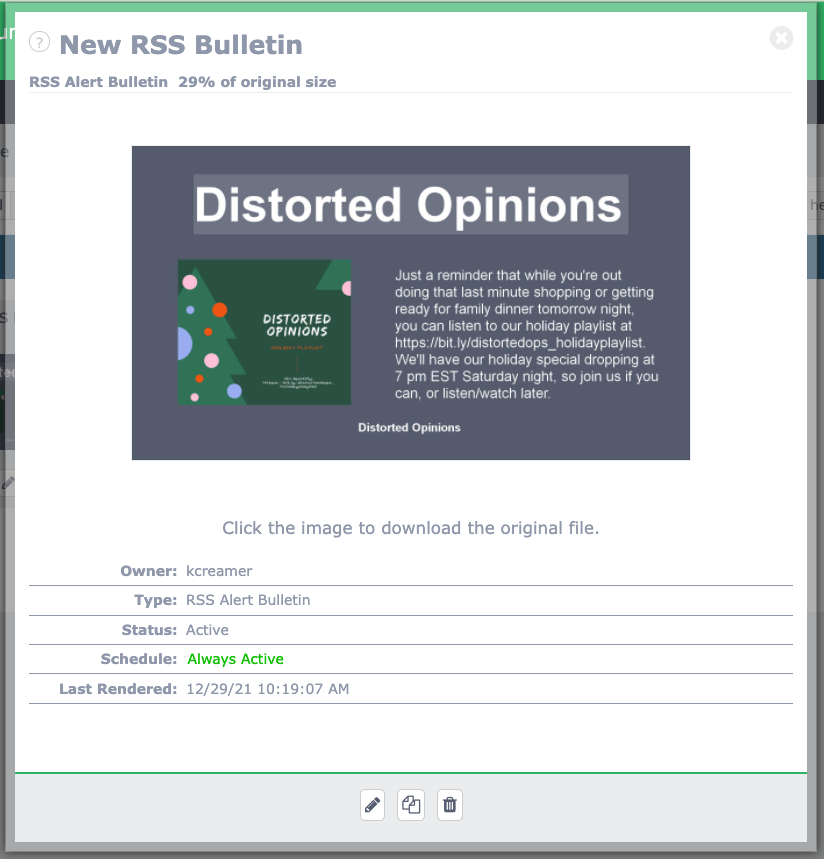
We can now publish our bulletin and if everything has been configured correctly, we should see all of those blocks populating with the correct content and your bulletin should be ready to go.
You can customize this bulletin further to your liking by changing the background, removing blocks you don't want, limiting the number of bulletins or when the bulletin will air, etc., but these steps should get you started with an initial bulletin.
