Customizing Cablecast Internet Channels
Overview
The Cablecast Internet Channels are built-in public websites that are hosted on your Cablecast server. They serve as a way for you to be able to present your schedule, VOD content, and Live Stream to your viewers without needing to know anything about Web Design. The Internet Channels are completely customizable within the Cablecast user interface, but you also have more possibilities for customization by editing the site's CSS files. You are able to create as many Internet Channels as you wish. These Internet Channels do not need to be tied to specific cable channels, as you can customize them to specific content. For example, you could have an Internet Channel that is fully dedicated to City Council Meetings.
In this article, we will go over how to navigate to your Internet Channel Settings, how to preview your Internet Channels, and all of the different customization options.
For updates to Internet Accessibility in Cablecast Internet Channels, please also see: Feature Overview - Accessible Internet Channels
Note: If not on current software
If you're updating from Cablecast 7.4 or earlier and do not currently have any galleries configured on your Public Sites or a saved search linked to your slideshow, you will need to create saved searches to link to your slideshow and create a gallery of content once you've updated to Cablecast 7.5 or later. More on that below. This change is to allow greater customization of the galleries and slideshows as opposed to just pulling in a gallery of the latest shows to be added to Cablecast.
Navigating To The Internet Channels Settings
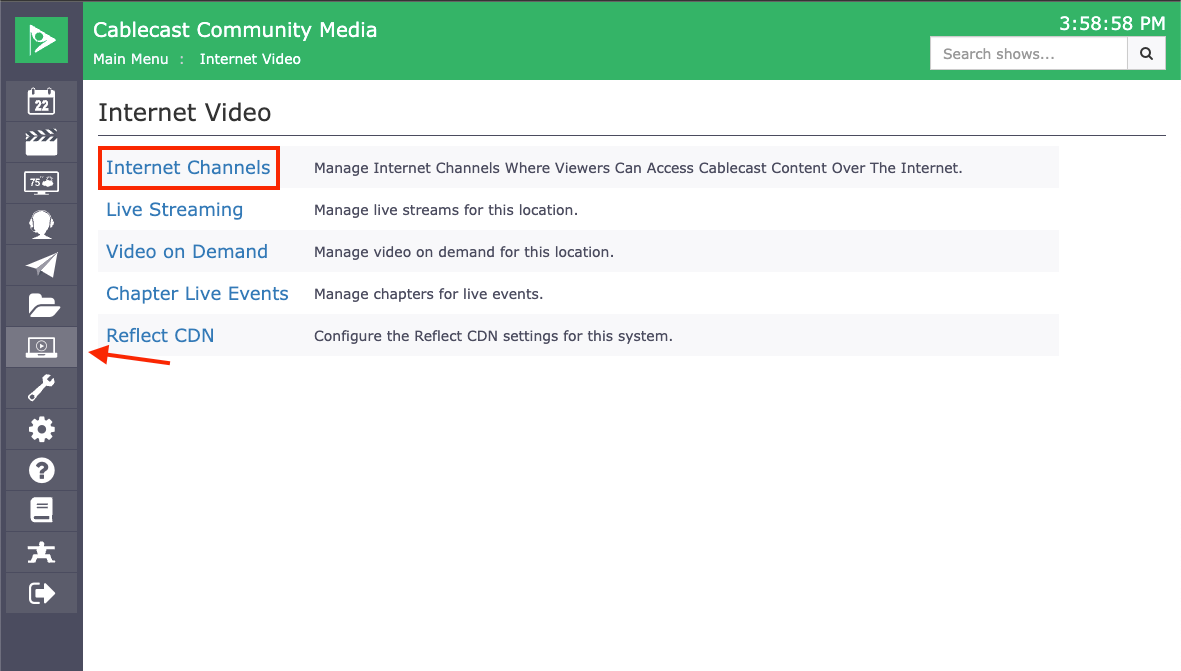
To get to the settings for the Internet Channels, click on Internet Video menu option (the laptop icon) in the menu bar on the left-hand side and then select Internet Channels.
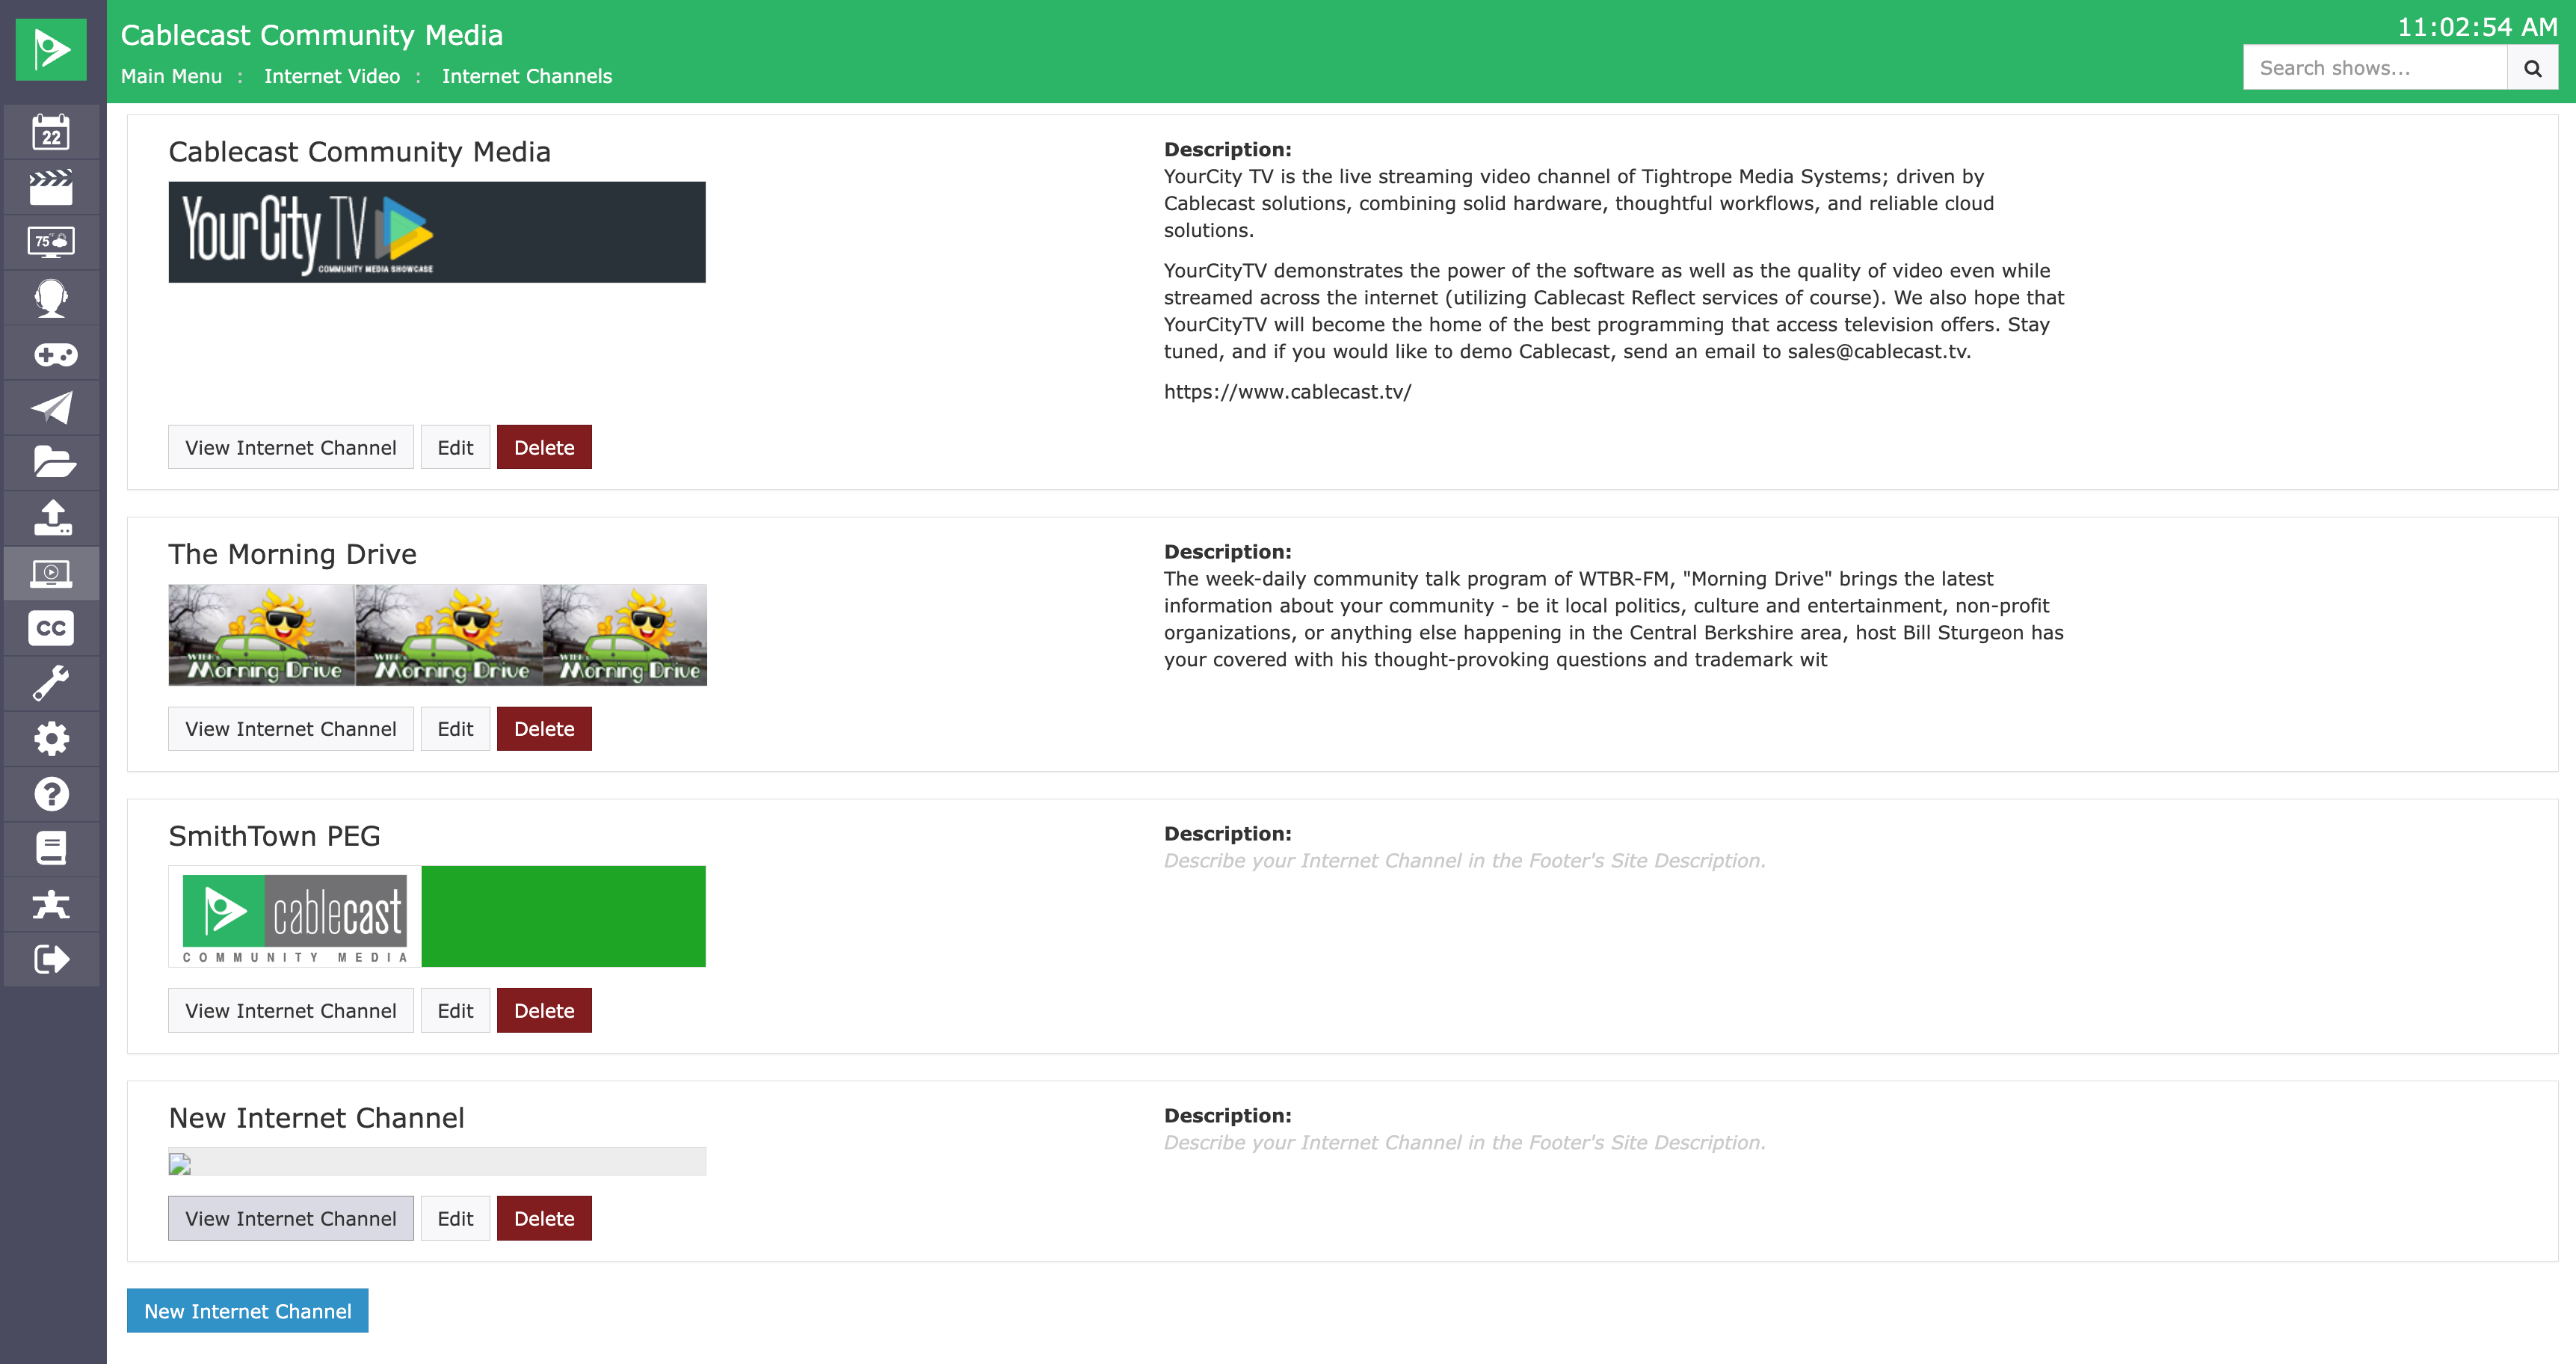
This will list all of the Internet Channels that you have configured with your system. Each Channel will have 3 options: View Internet Channel, Edit, and Delete. View Internet Channel will let you see what your page looks like. Edit will let you make changes to the style and customization of the site. Delete will let you delete the site. You can also create a new site by clicking on the New Internet Channel button.
Editing Your Internet Channel
To edit and customize your Internet Channel, simply click on the Edit option from the previous Menu Page. When editing your Internet Channel, you will see many different tabs for all the areas that you will be able to customize.
Header
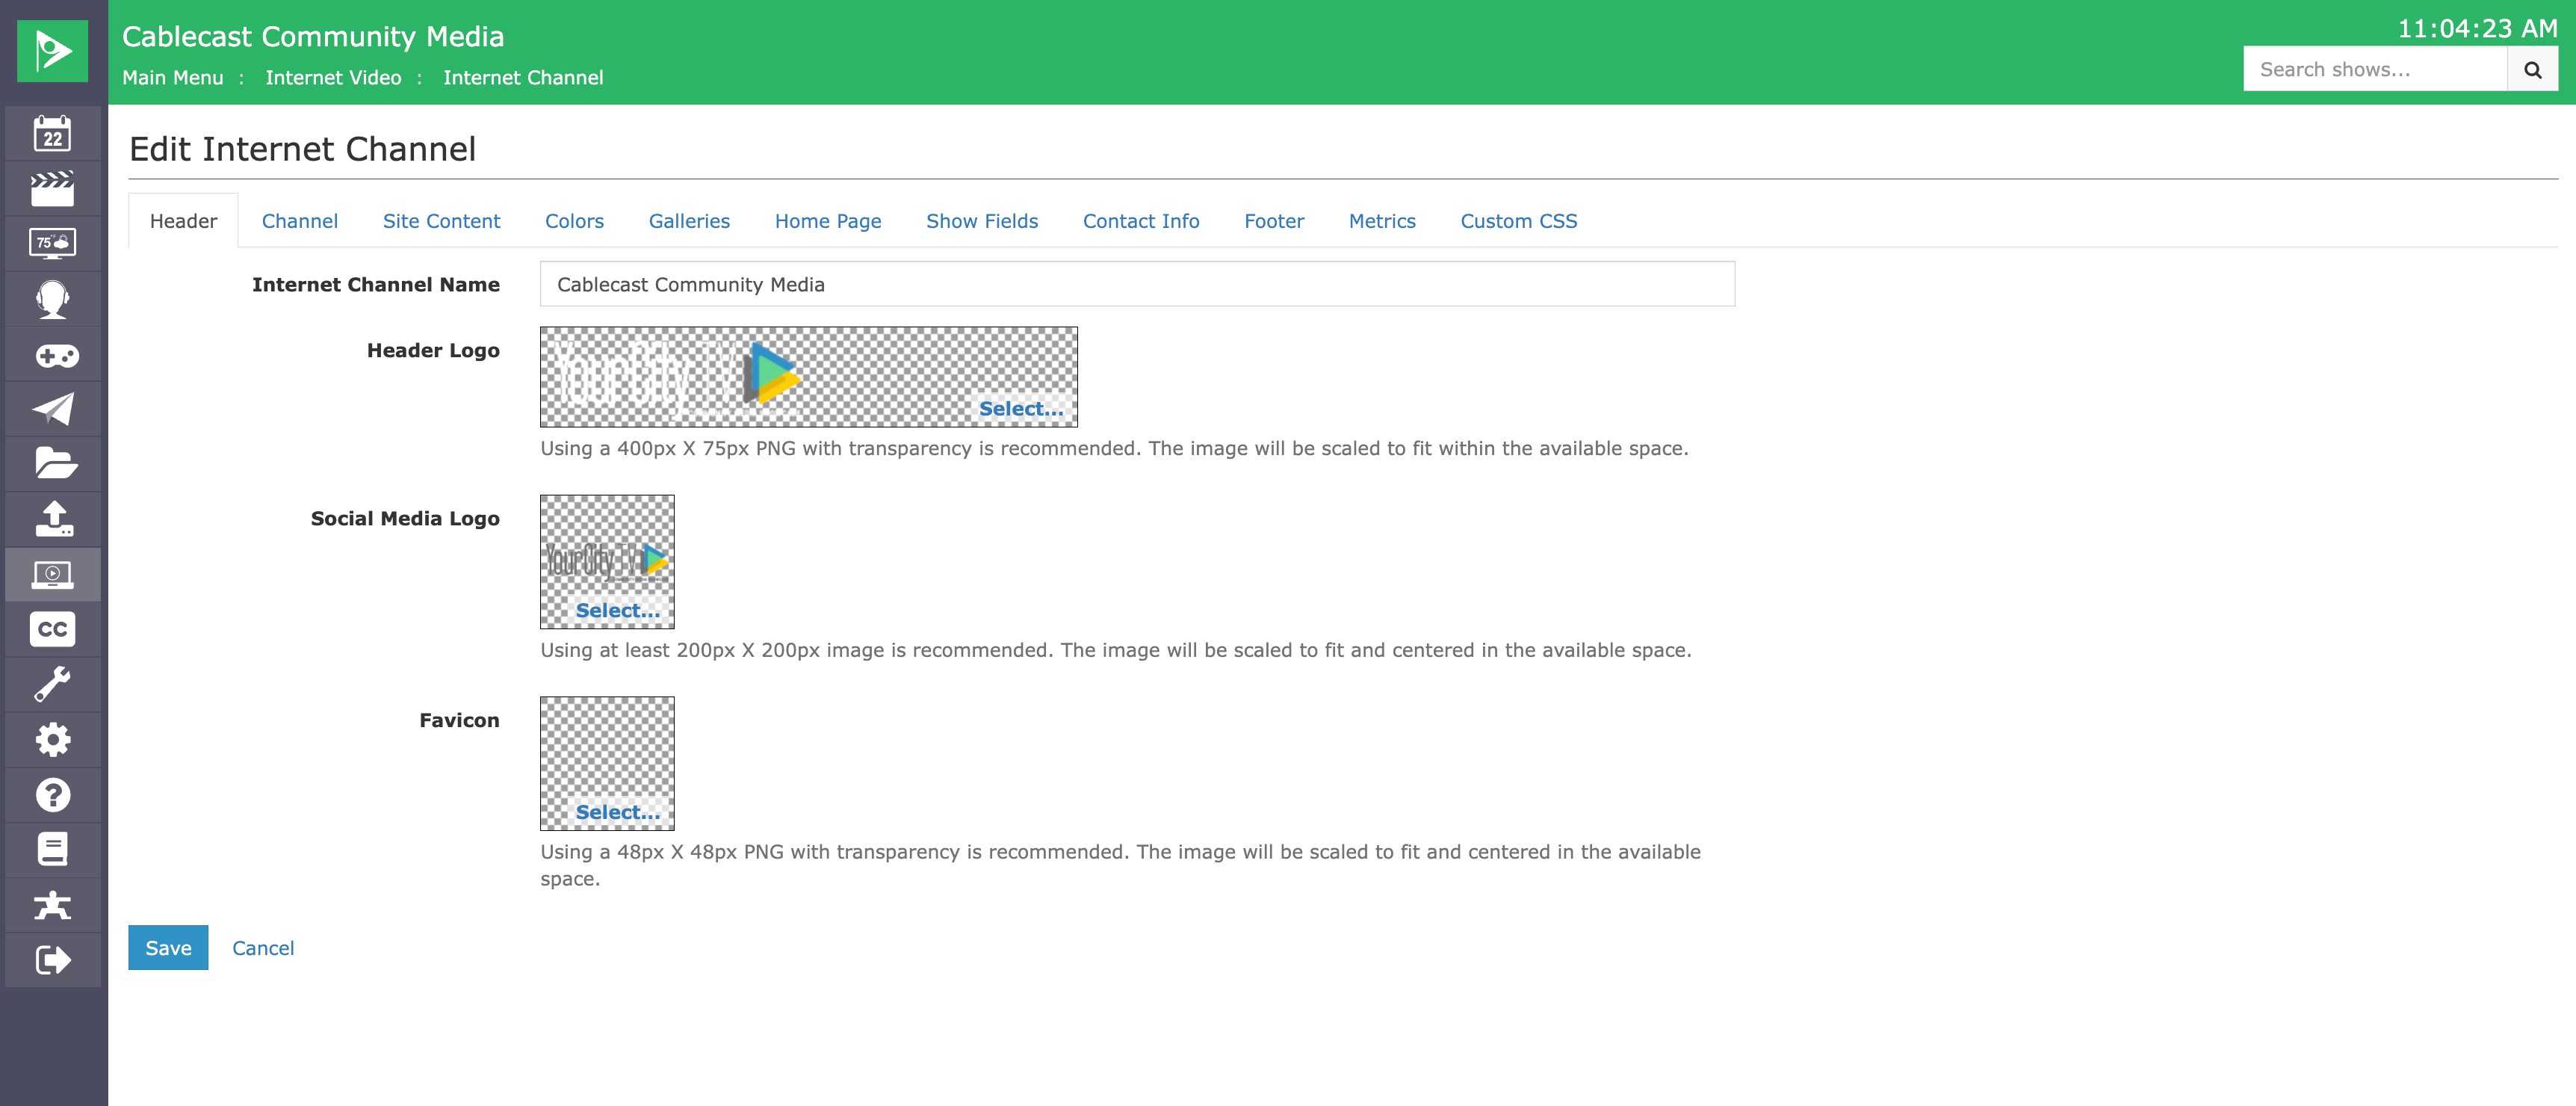
The first option is going to be customizing your Header. Here, you are able to put a name for your site as well as upload a Header Logo that will be displayed at the top of your Internet Channel. You can also upload a Social Media Logo that will be used to link to the channel at the bottom of your other Internet Channels. You can also upload a Favicon, which is the image that will display next to the page URL in your browser's address bar.
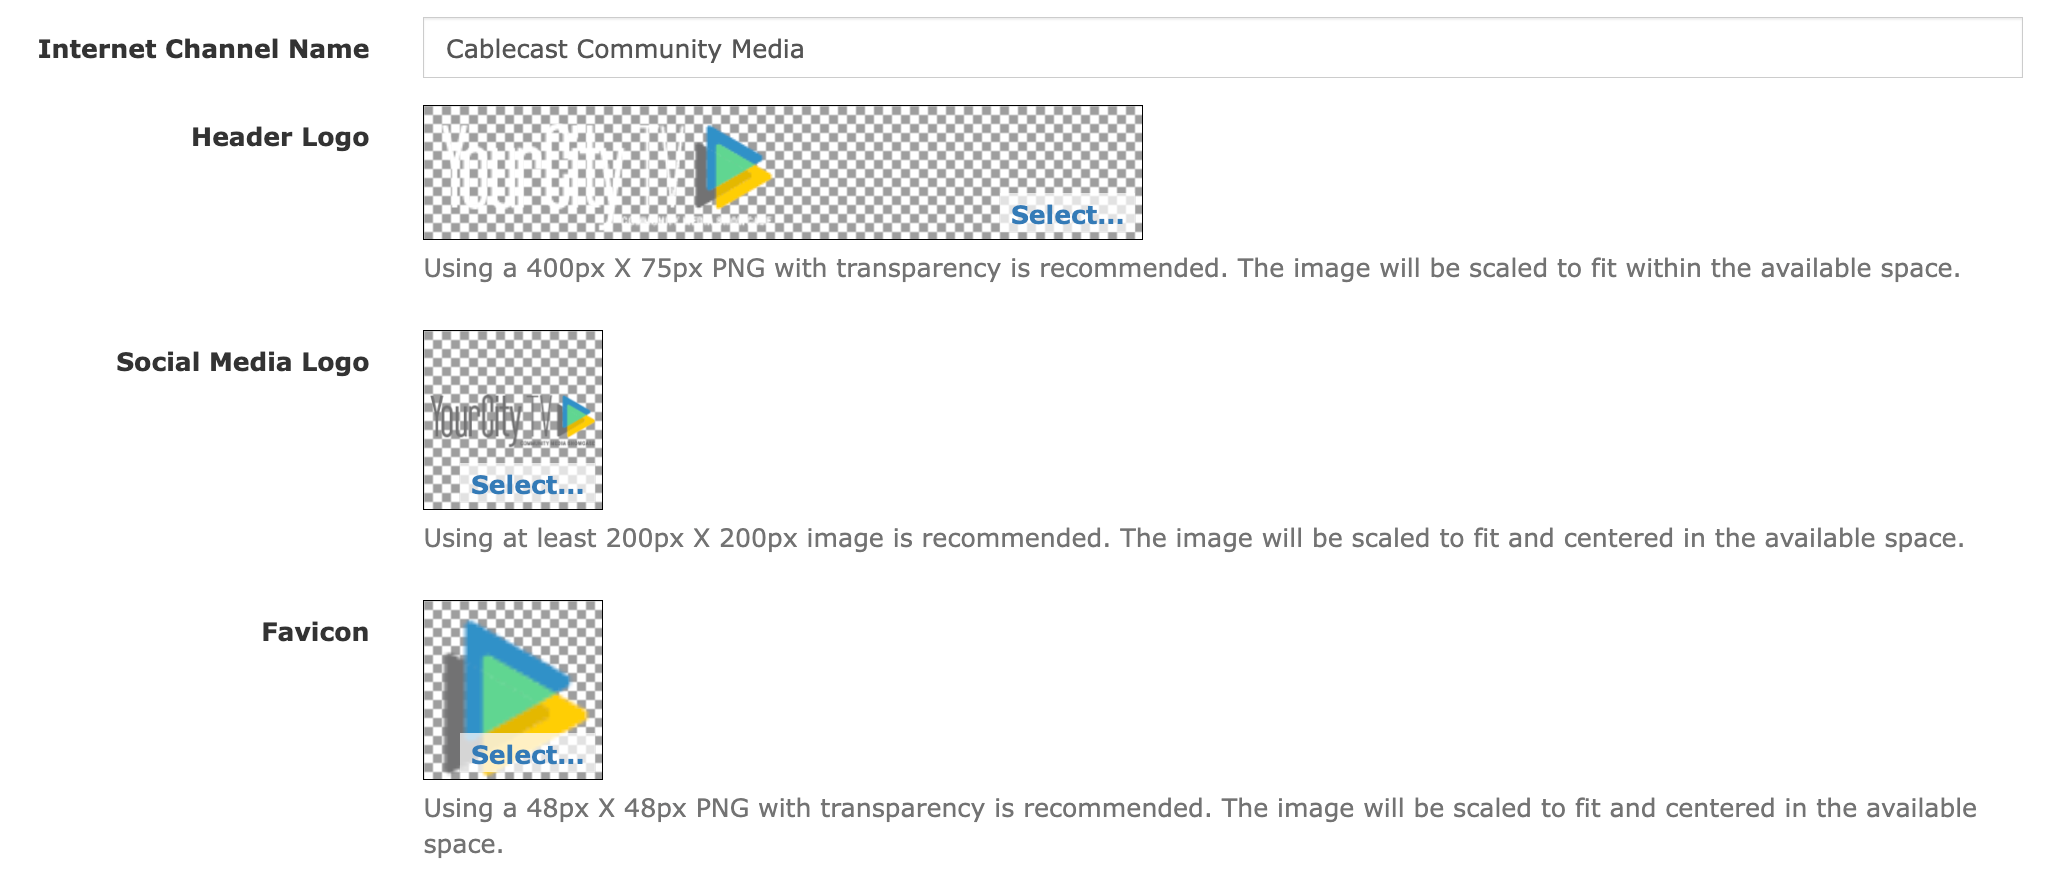
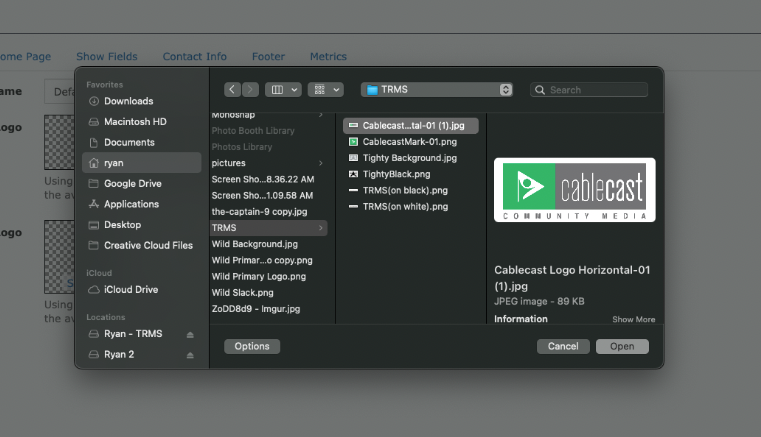
To upload your Header Logo, Social Media Logo, or Favicon, click on the blue Select... text. This will open a new window where you will be able to select and upload the image you wish to use from the computer that you are currently using to log into the User Interface.
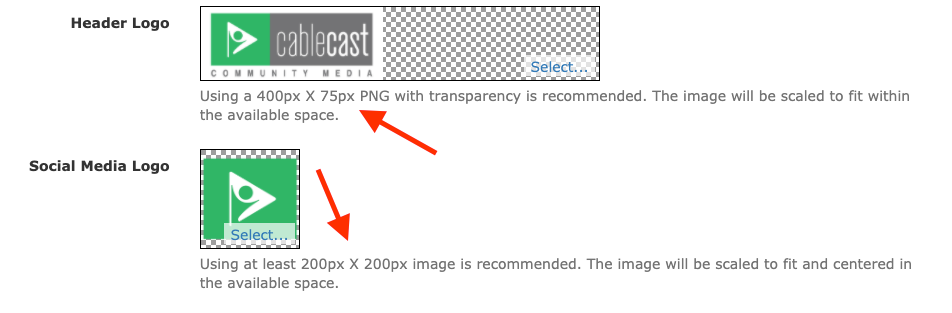
Below the image field, we give suggested dimensions for you to use for your Header Logo, as well as the Social Media Logo and Favicon. If you don't size your graphics to these dimensions, they will be scaled to fit.
Channel
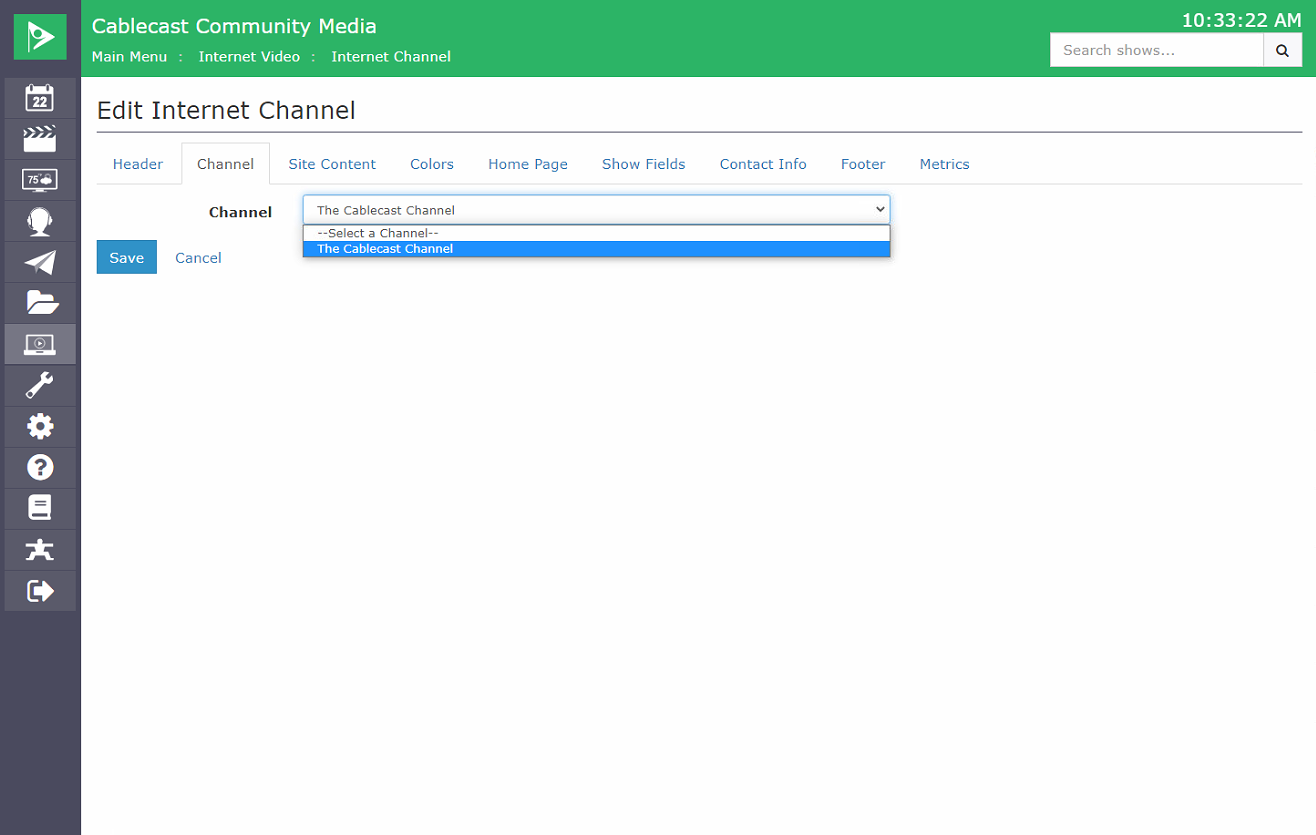
You can associate each Internet Channel with a specific Cablecast channel. This is what links an Internet Channel to a particular program schedule and/or Live stream (if applicable). If you do not choose a channel, there will be no schedule or Live stream button on the site for that particular Internet Channel. You can use more than one channel across Internet Channels. You might want to do this if you have an Internet Channel for your Government programming and other Internet Channels for specific committees, and you want the Government channel schedule and Live stream to also show up on the sites for those committees.
Site Content

Enable Downloads
Checking this box will allow viewers to download video files as well as any caption files. Note that this enables downloads globally on the Internet Channel and cannot be limited to specific programs.
Pre-Roll Content
This is where saved searches come into play. If you have not configured any saved searches in Cablecast, be sure to review our KB article on Saved Searches.
This allows you to have Shows from a Saved Search play prior to all VODs/the Live stream on that Internet Channel. More about configuring Pre-Rolls in this KB article.
Internet Channel Content
Internet Channel Content LIMITS what is searchable on the Internet Channels
Internet Channel Content is best used when creating an Internet Channel for specific content, such as a Government Meeting, a series, or a film festival. It does not need to be set up if you want your viewers to be able to search all of your available Shows on your system.
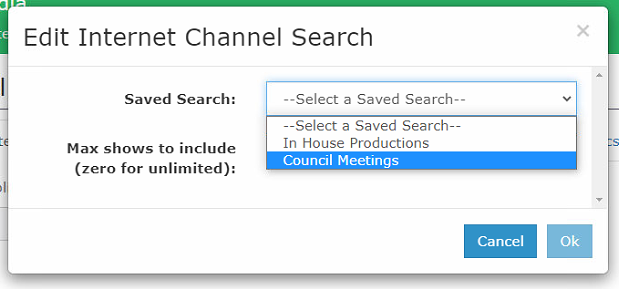
If you want to narrow down what results will show up in the search on an Internet Channel, you’ll need to link a specific search, or searches, to the Internet Channel. These searches will determine what content can be searched for within the Internet Channel. For example, suppose you're creating a channel for your government meetings and only want content that fits that criteria to appear on your Internet Channel. You'll need to have a saved search that filters out everything except your government meetings. Any other content that is not included in that saved search will not be searchable within the Internet Channel search. If you don't add a search, all content will be included in the search results on your Internet Channel. To add a search, click the New button.
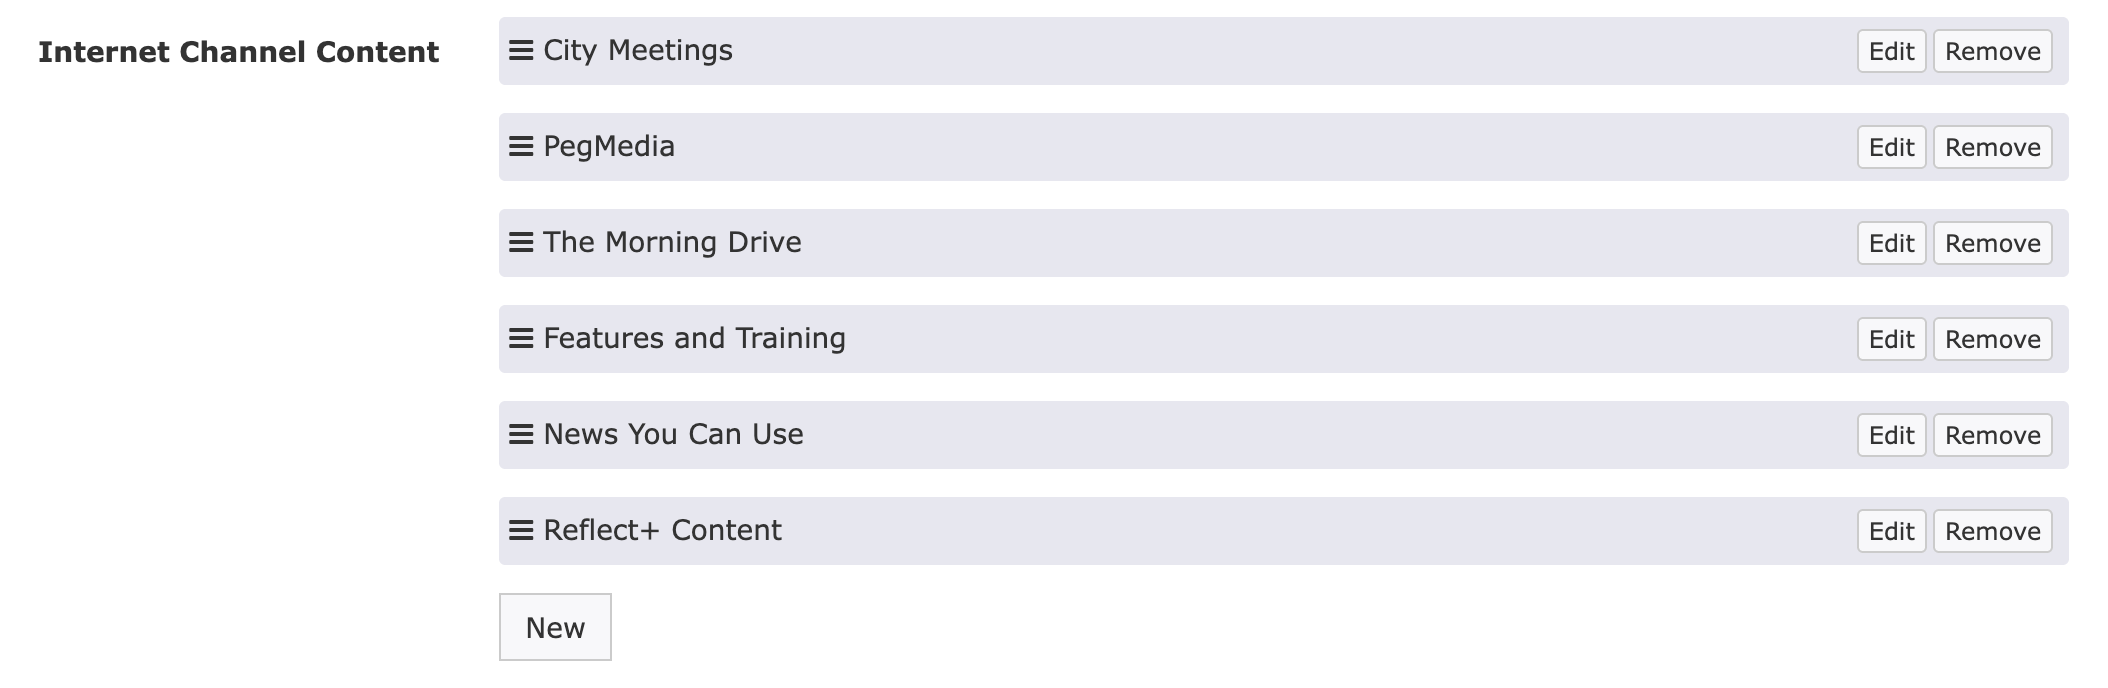
Select a search from the drop-down. You can add multiple searches to each Internet Channel.
Next, choose how many of the shows you want to be included in the search results. If you don't want to limit the number of shows and want to have everything that's included in the search results for that saved search, set this number to 0.
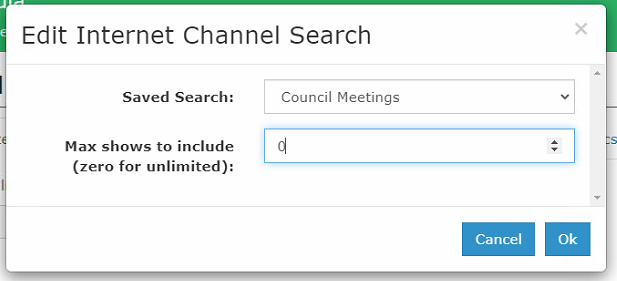
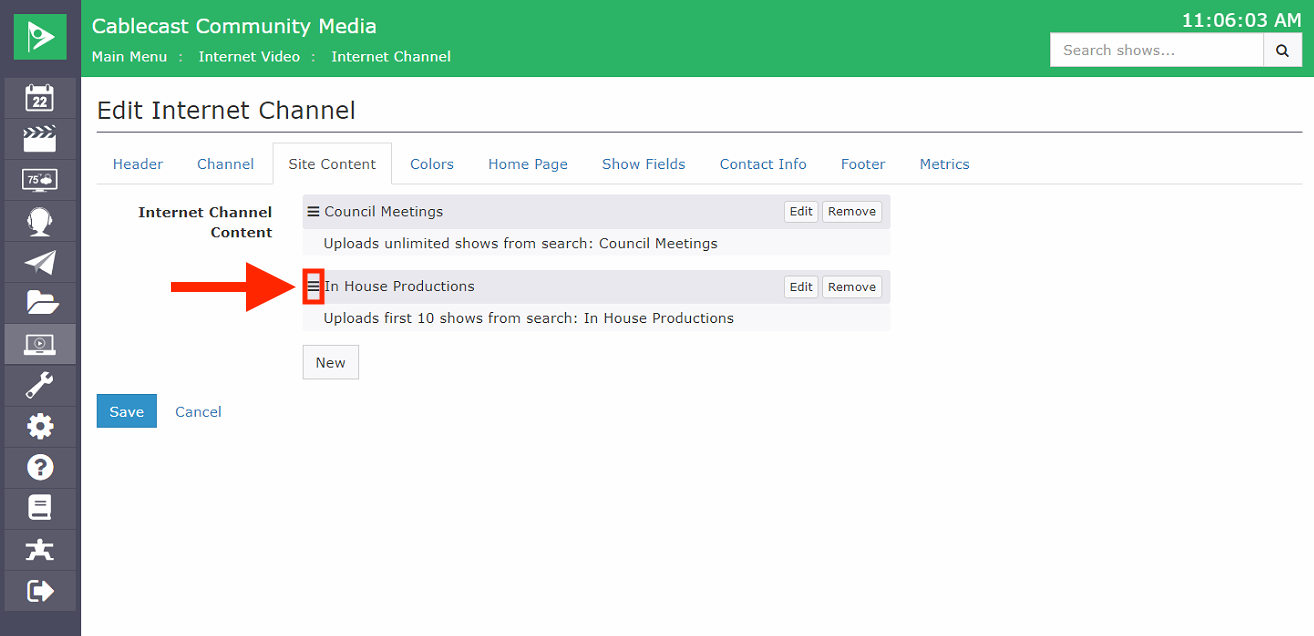
Click Ok to add your search. To add additional searches, repeat this process. You can also edit your search settings by clicking the Edit button to the right of the search name. You might want to do this if you've decided you want a different number of results to show up on your Internet Channel. You can remove it entirely if you no longer want those search results included on your Internet Channel. If you have multiple searches added, you can reorder them by clicking the three lines to the left of the search name and dragging and dropping the search.
VOD Playback
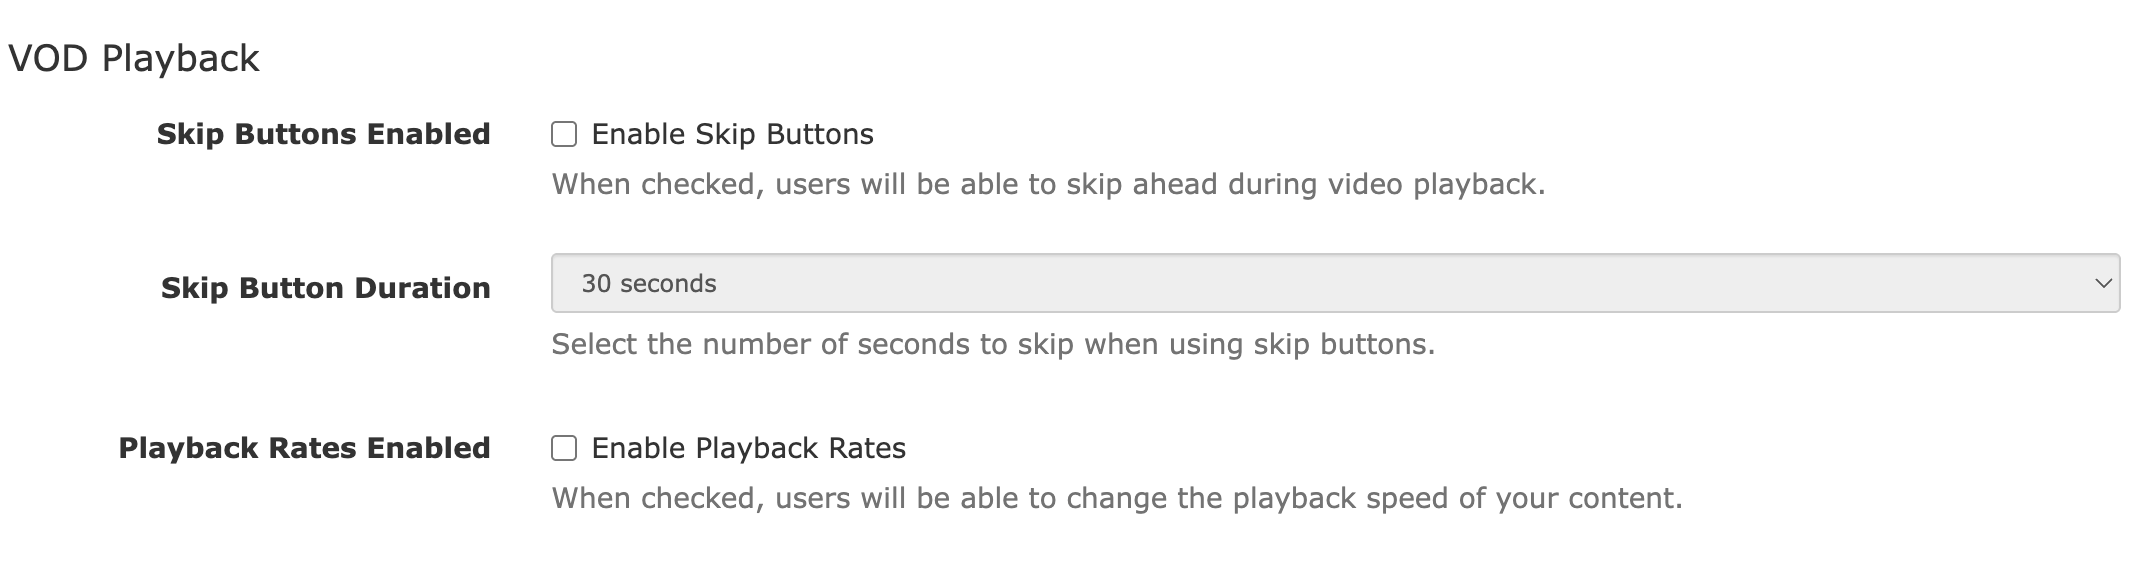
Here, you can enable some functions that allow viewers to have greater control over VOD playback.
Clicking Enable Skip Buttons allows users to rewind or fast forward in determined intervals, which can be changed in the Skip Button Duration settings. Skip options are 5 seconds, 10 seconds, and 30 seconds.
You can also enable Playback Rates, which will allow viewers to speed up or slow down playback of the video.
Member Access
Enabling membership requirements for the Internet Channel would require viewers to have access to the Internet Channel to view content on it. You can also limit access to just the Live Stream associated with that Internet Channel. This KB article goes over the configuration for Cablecast Members and access restrictions for Internet Channel content in more detail.
Monetization
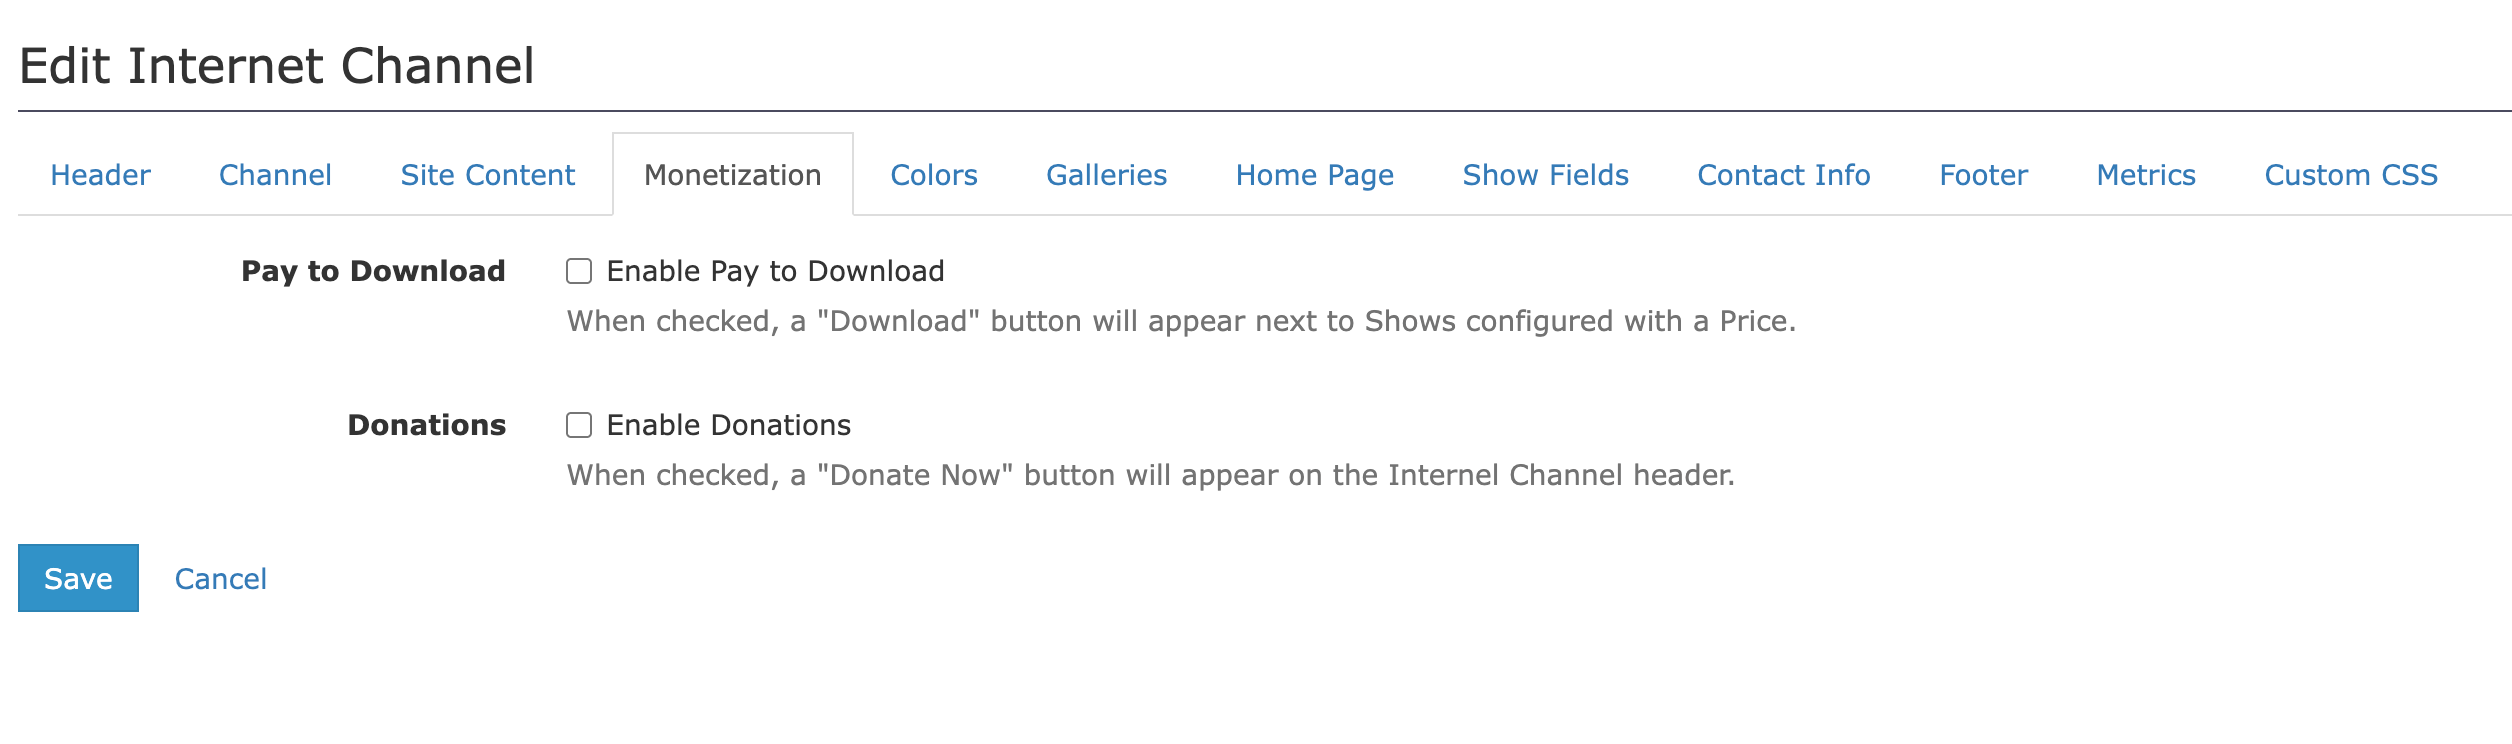
You can choose to enable the pay to download feature for your content. If you enable this feature, a Download button will display next to shows configured with a price.
You can also enable donations so that viewers can click a Donate Now button that appears in the Internet Channel header.
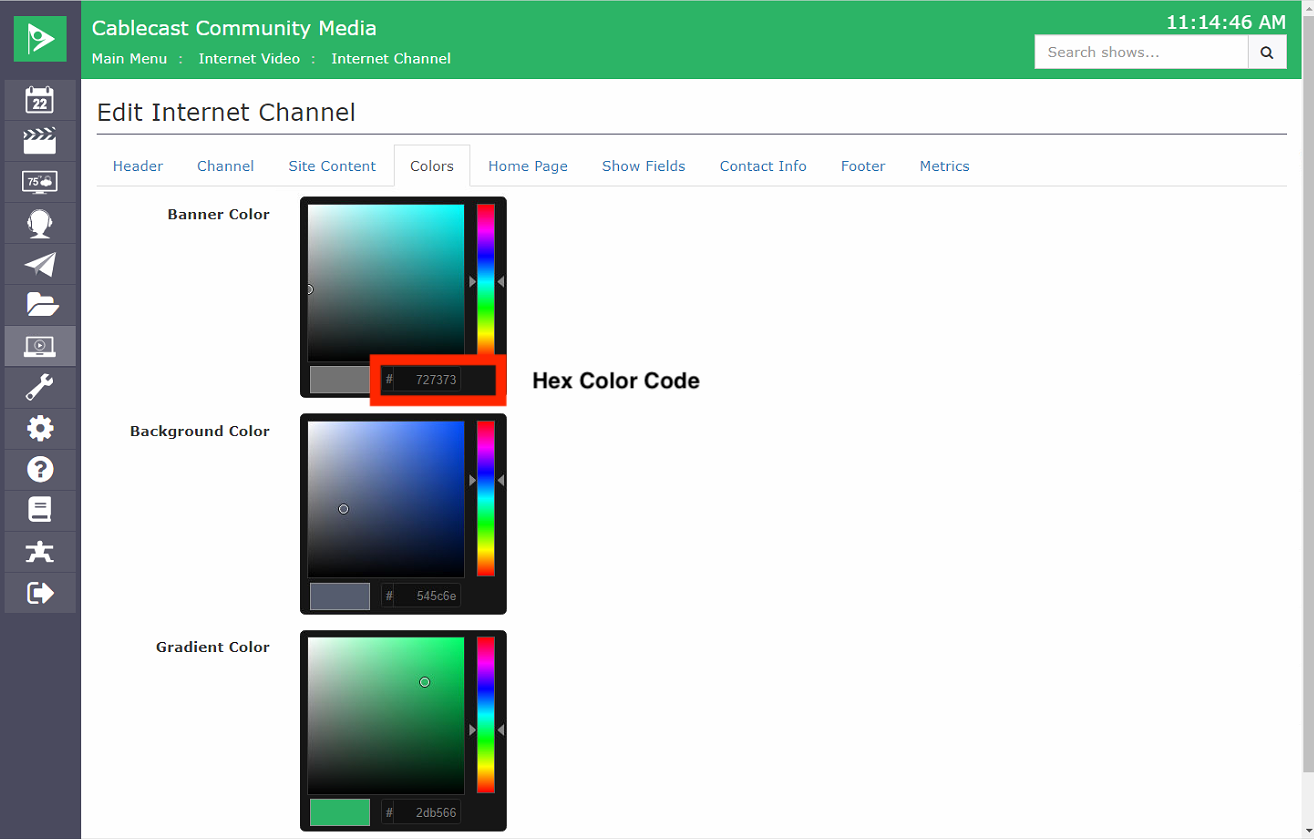
Colors
The next tab that you have is Colors. Each option has its own color picker that you can use to adjust and find the color that you want to use. You can also type in specific hex color codes to choose your color if you know specifically what you would like to use.
When editing the colors for the Internet Channel. There are now a few more options available:
Banner Color
Top Banner, runs across all pages of Internet Channel
Background Color
color that will be used behind the content of your page.
Gradient Color
color that will be used for the top of the page. This color will gradually transition to white at the bottom of the page.
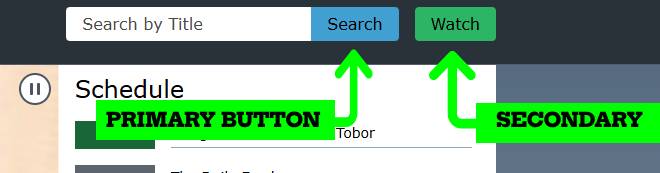
Primary Button Color:
Applies to:
Search button
Secondary Button Color
Applies to:
Watch button
Body Button Color
Applies to Interactive elements throughout the interface:
Schedule button
Display mode toggle (Highlight color) for view of List or Grid options on front page
Tab Highlight underline on Programs Page
Video chapter progress indicators


Dynamically Generated Colors
Text color is automatically generated based on the background color. A function selects either dark gray or white to ensure proper contrast.
Other Notes on Colors
It is your responsibility to select colors that maintain adequate contrast with the two text options mentioned above. A contrast checker is advised to ensure compliance with WCAG accessibility standards.
One such contrast checker is provided by webaim.org
The WAVE evaluation tool is a great option for checking your whole site for meeting requirements, though many other tools are also available.
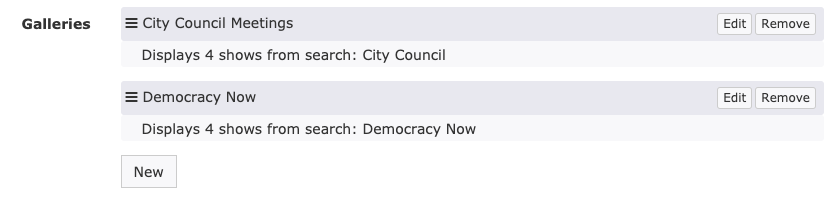
Galleries
The next section is Galleries. This is where you'll configure Galleries to highlight specific programs/series on the home page of your Internet Channel.
Note on Galleries and Site Content Limitations
If you have Saved Searches assigned in the Site Content configuration of your Internet Channel, that limitation will also apply to Galleries. For example, if you have a Saved Search that only lists Select Board meetings and you've applied that Saved Search in your Site Content settings to limit searches on your Internet Channel to just Select Board meetings, but you add a gallery for Planning Board meetings, that Gallery won't display unless you also add a Saved Search that includes the Planning Board meetings to your Site Content configuration.
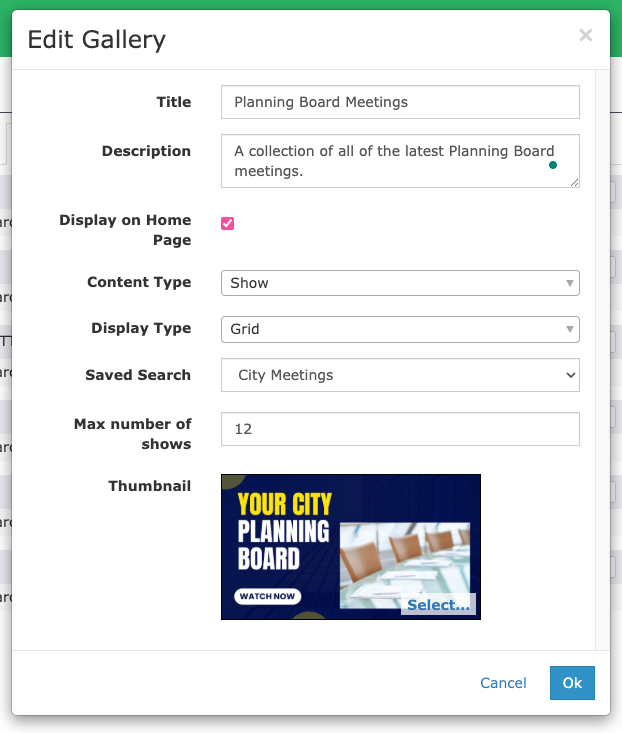
Click the New button to open the Add New Gallery pop-up.

You can choose from Show or Gallery as the Content type. Show will list the set number of shows below the Gallery title. Gallery will allow you to create Sub-Galleries under that Gallery. This is where the Gallery description comes into play. When a viewer clicks the main Gallery, it will take them to a page with the thumbnail and description for that Gallery and the Sub-Galleries listed below. This is also a scenario where you might want to create Galleries without adding them to the home page.
Say you want to have a Gallery for Sports and then Sub-Galleries for Football, Basketball, Hockey, etc. You'll need to create Galleries for each sport, but you may not want them to show up on the home page as individual Galleries, just Sub-Galleries. When you create the Galleries for each sport, you'll leave the Display on Home Page box unchecked, but check the Display on Home Page box for the main Sports Gallery.
You can also link to a Gallery but not have it be public by leaving the Display on Home Page box unchecked.
In Cablecast 7.9+, viewers can switch Galleries between a Grid view and a Table view of Shows within the gallery. You can also set the default display view for the Gallery in the Display type drop down. When choosing Grid, we recommend setting intervals of four, as the Grid display is always 4 Shows across. This will only set the number that will show on the Homepage for that gallery. If you have more shows than what you are setting, there will be a See More option on the homepage for that Gallery that will allow your viewers to see all of the results for that Saved Search.
Home Page
The next section is where you will set up what you want displayed on your Home Page. There are three options on this page: Channel Index, Slideshow Search, and Galleries.
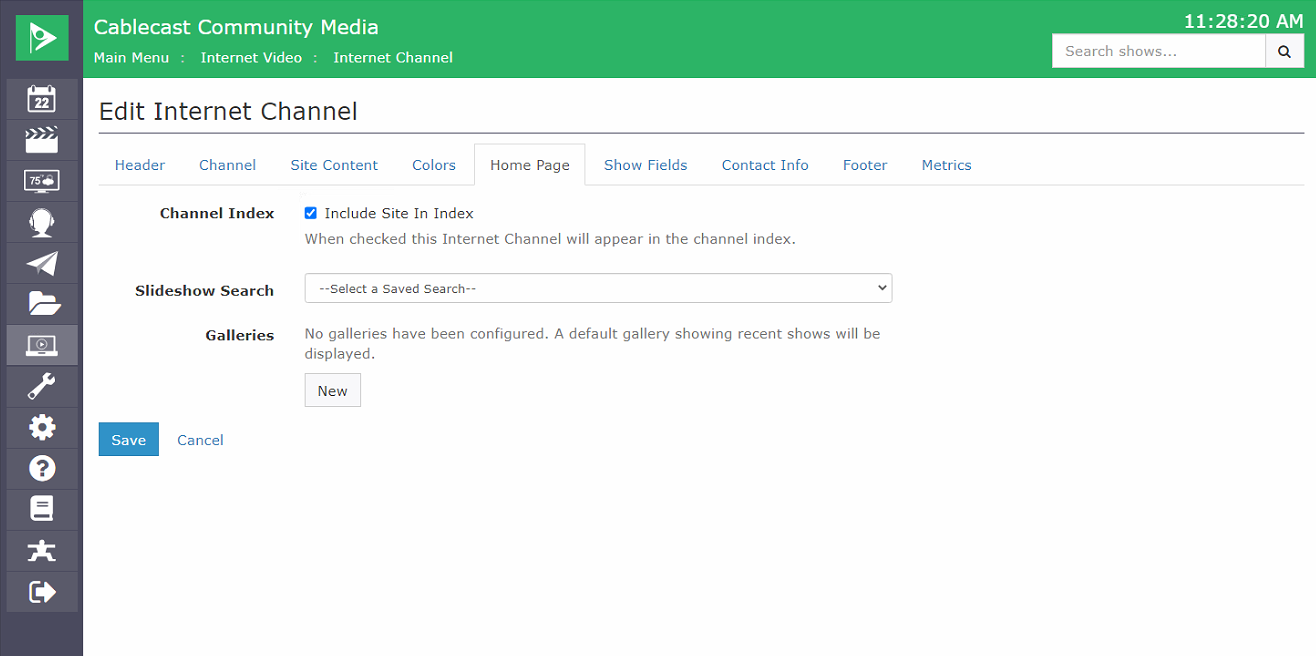
Slide Show required for Schedule to render
If you're seeking to have the upcoming shows schedule listed on your home page, you'll need to link a Saved Search to the Slideshow and have at least one Gallery configured. The Schedule is part of the field that will render at the top of your page.
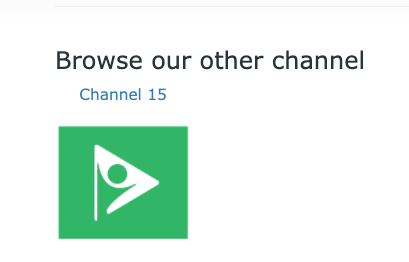
The Channel Index is a feature that is useful if you have multiple Internet Channels configured with your system. If you check the box to Include Site In Index, the social media icon(s) that you uploaded on the other Internet Channel(s) will appear at the bottom of the page with the name of the channel. This will allow your viewers to navigate between all of the Internet Channel sites for your different channels.
The Slideshow is the image at the top of the Internet Channel that auto-rotates between thumbnails of Shows. You can customize what you would like to play in that slide show by selecting one of your Saved Searches that you have created. In the dropdown menu, it will list all of your Saved Searches and you can select the one you want to use.

You can then rearrange your Galleries by grabbing the three lines to the left of the Gallery title and dragging and dropping them in the order you want them to display on the Internet Channel.
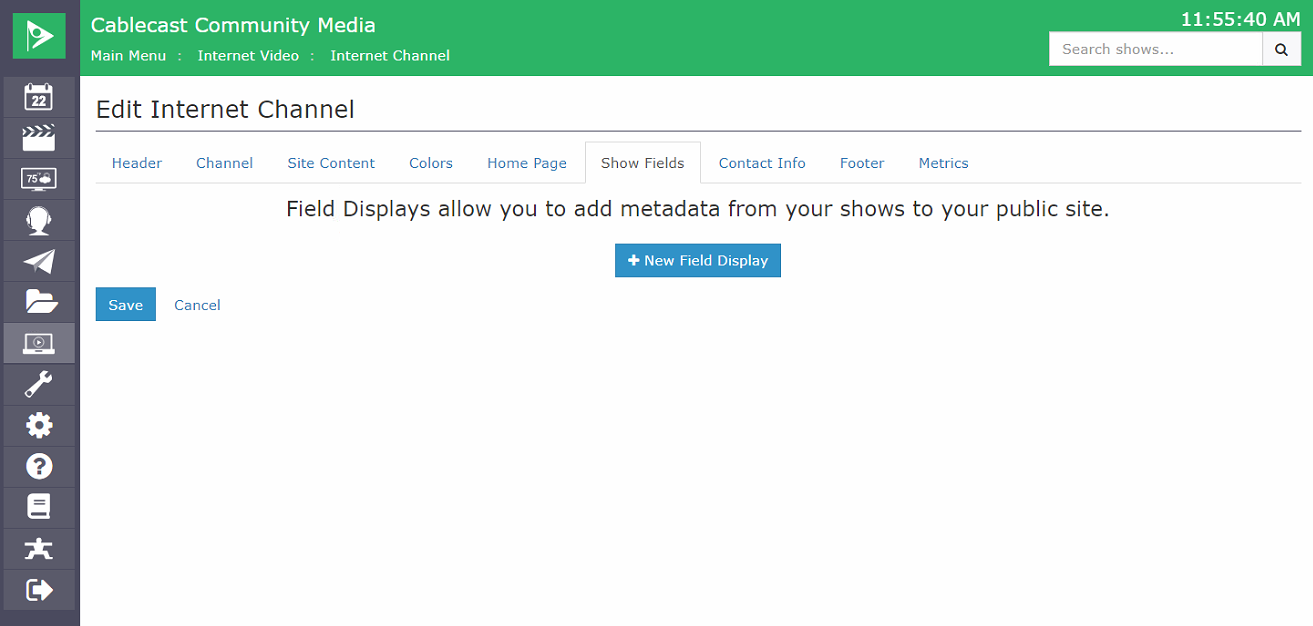
Show Fields
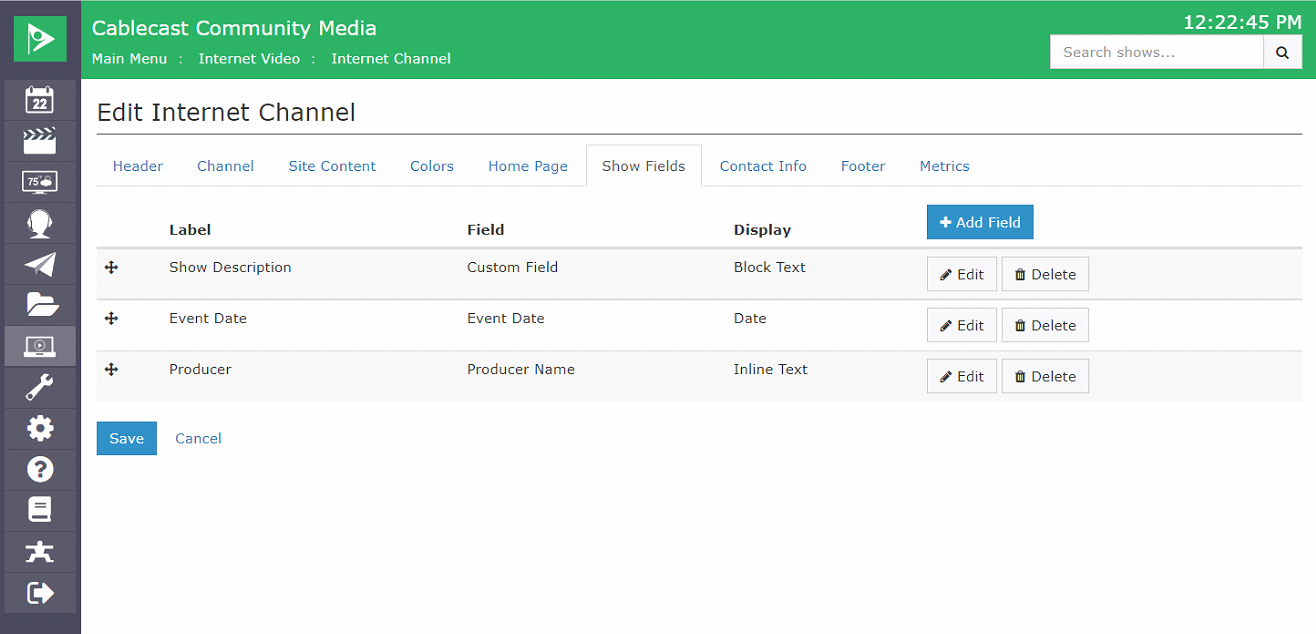
The next area you can customize is Show Fields. This is the information from the Show Record that you want to have displayed under the Thumbnail or VOD when a viewer selects a show. Some examples of what you would put in here would be a Show description, the Producer, Category, or even a PDF Agenda for a meeting. To learn how to add a PDF Agenda to your VOD's on your Internet Channel, check out this article from our KnowledgeBase. To add a new field, simply click the + New Field Display button.
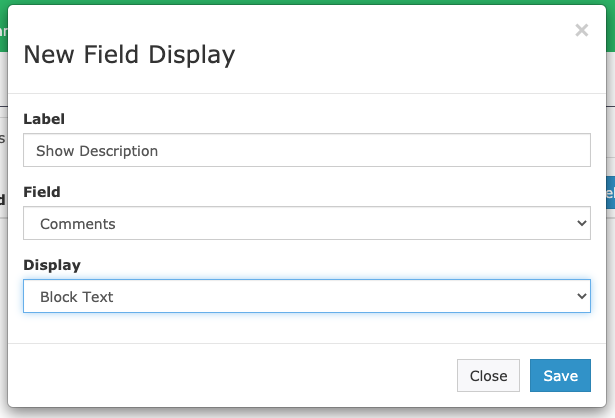
This will open a new window. First, type in a Label for the field you would like to add. For example, Show Description. Then select the field you would like to use from the Field dropdown menu. This will list the default fields that are in available in your Show Record. You can also choose one of your custom fields that you have created. For that, select Custom Field, and that will give you a new dropdown list of your custom fields. In our example, I am going to choose the Comments field. Lastly, you can choose how you want that field to be displayed depending on the information in that field. You can choose between Inline Text (single line), Block Text (multiple lines), Date, Link (a clickable URL), Embedded PDF, or embedded IFrame. If you have a Google Doc that you want to embed, that's one case where you might want to generate an IFrame embed code to put into your show record to be included with the VOD on the Internet Channel. When you are finished click Save.
You can create more Fields to be displayed with your show by clicking the + Add Field button at the top right. You can also edit or delete a Field by clicking the buttons on the right for that Field listing. Lastly, you can rearrange the order of your Fields by clicking and dragging the crosshair icon on the left of the Field listing.
Contact Info
Next, we can add our Contact Info. This is a pretty straightforward area to customize. You can add your email address and phone number to be displayed at the bottom of the page. You can also link to a Blog, your Facebook Page, and Twitter account.
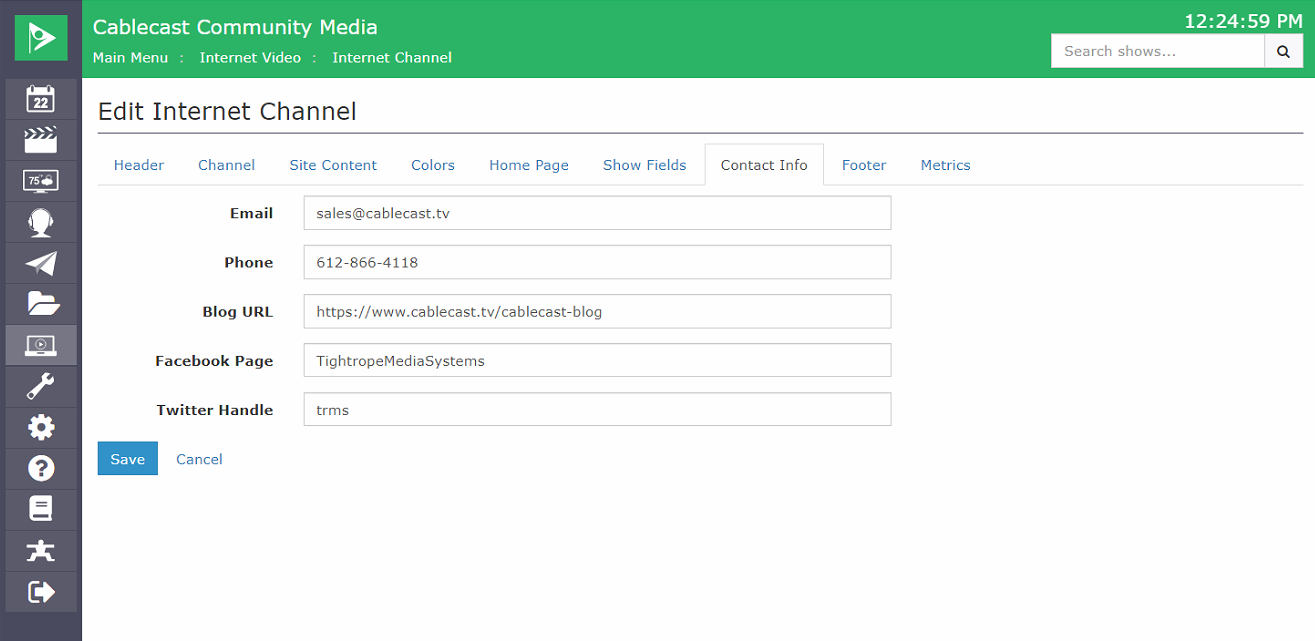
On the Internet Channel, your Phone Number and Email will be hyperlinked so if someone clicks on the email address it will open up their email application to send an email. Also, the Twitter, Facebook, and Blog links will appear as icons on the Public Site that a viewer could click to go to any of those areas.
Use Handles Only for Facebook/Twitter Accounts
Note that you should only enter the handle for the Facebook Page and Twitter Handle. No need to enter the full URL or any @ signs.

Footer
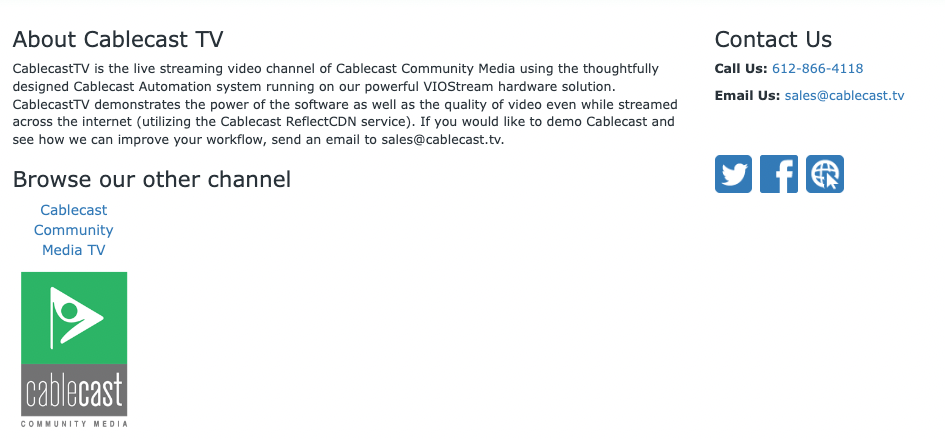
The Footer is the area next to your Contact Info. This is an area for you to have a small write-up about your station or channel. You can put in a Footer Title such as About Us or even your station or channel name. Then you can put information in the Site Description that will appear below the title.

This is what it will look like on your Internet Channel:
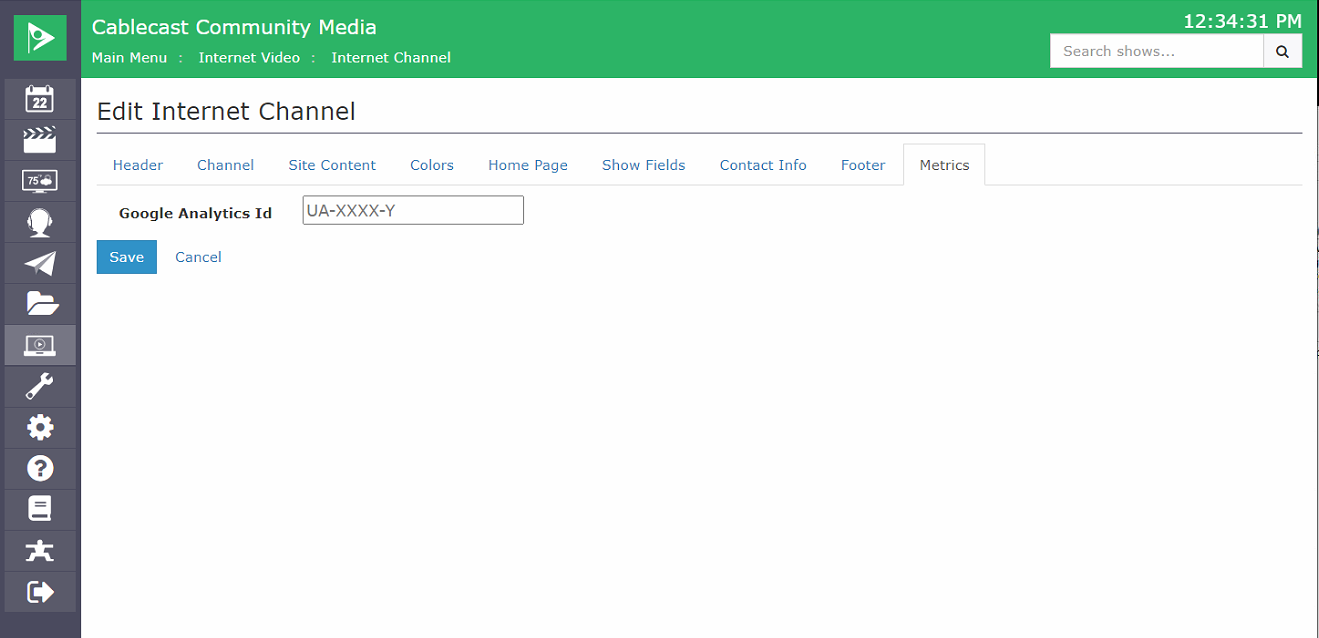
Metrics
The last section is the Metrics section. Here you are able to add a Google Analytics ID for your Internet Channel to capture data on traffic to your site. This is a great way to get information on who and how often people are coming to your Internet channel. You can get more info about Google Analytics by going here.
Now that you have everything updated to your liking, click Save at the bottom to save all of your work. You are now ready to share this with your viewers and start getting shows created.