Cablecast CG: Loading your new Cablecast CG Channels for use
These series of videos will walk through how to download and install your Cablecast CG Channel, then how to verify that the new template is set to be used by your Cablecast CG Channel.
How to: download and install a new Cablecast CG Channel to your Cablecast system
Theses steps are run upon the desktop of your host unit. Video walks through how to find the Cablecast CG pre-created CG Channels, Download, and Install to your system.
How To: Change CablecastCG Channel after upload to your player
Video guide for changing Cablecast CG Channel after uploading a new CG Channel.
Downloading your Channel
First you'll want to go to the Cablecast CG Channel Designs page to find the Cablecast CG Channel you'd like to download and install.
Once you've found the Cablecast CG Channel you'd like to download, you'll need to download the file to your host unit's desktop. This is so we can install it to your Cablecast system for use.
Installing your Channel
From the desktop of your host unit you will see the CablecastCG Clone Tool.
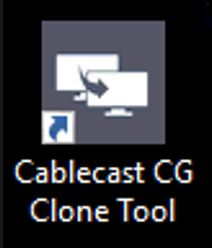
Right-Click on the tool and choose Run as Administrator. Once the tool has opened and loaded.
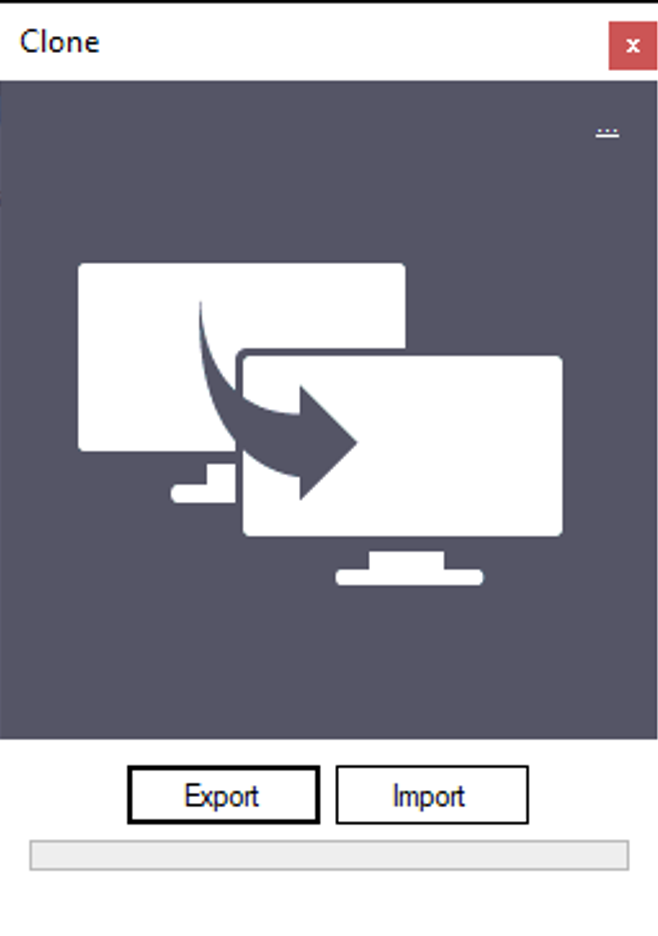
Click on Import and navigate to where you've downloaded the template's .csl file.
Next click the Import button in the bottom Right of the panel. This will start the process of uploading the csl file to your Cablecast CG.
Setting Cablecast CG settings to use your new Channel
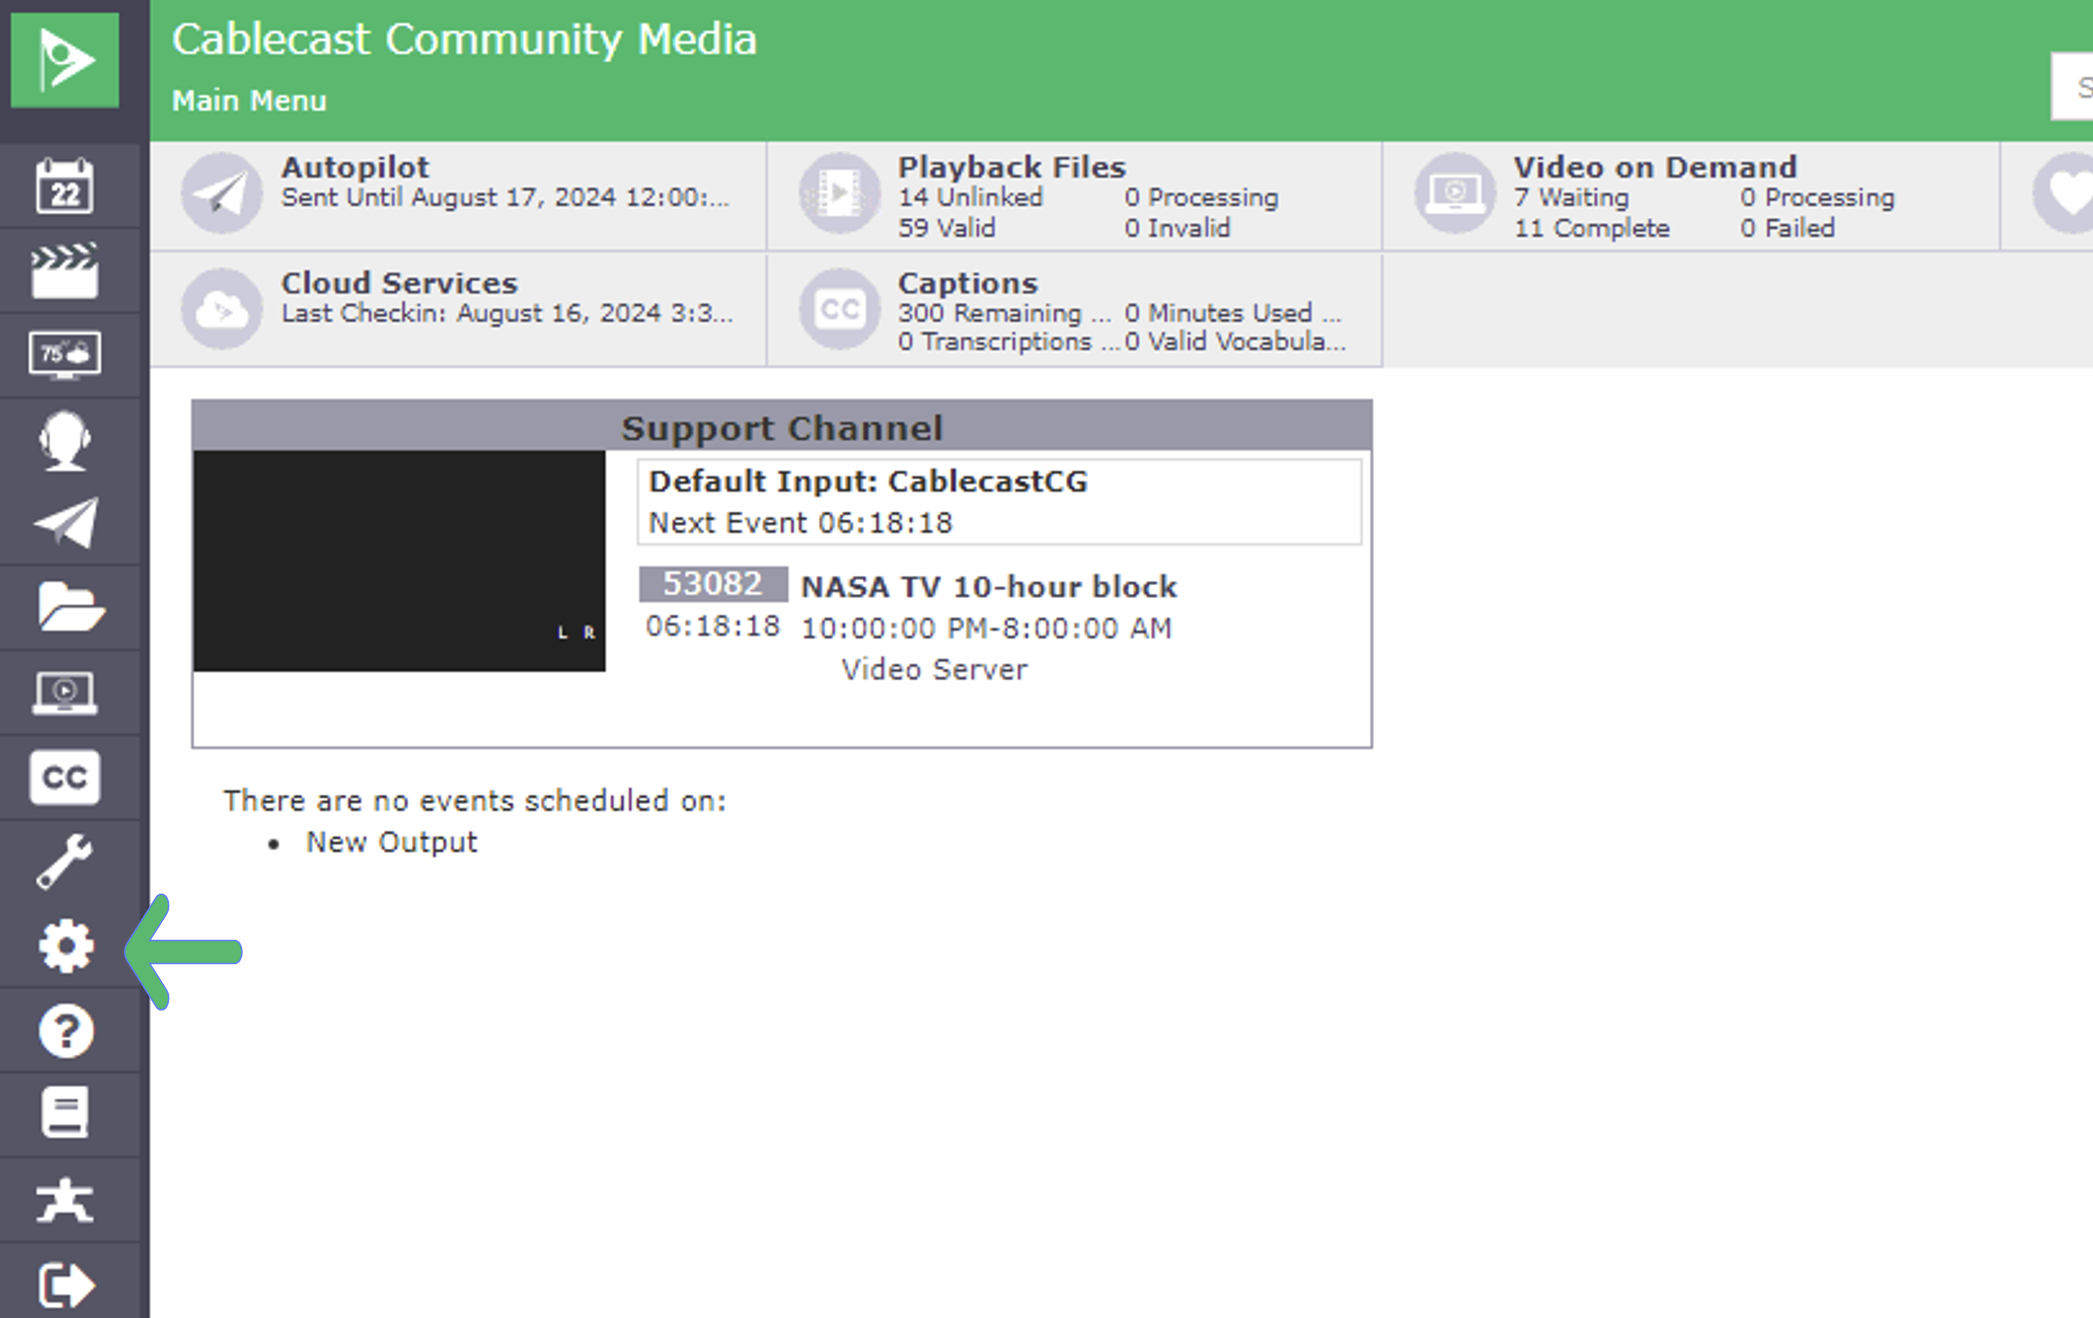
Click on the gear icon in your Cablecast UI (Settings),
then on Cablecast CG Settings,
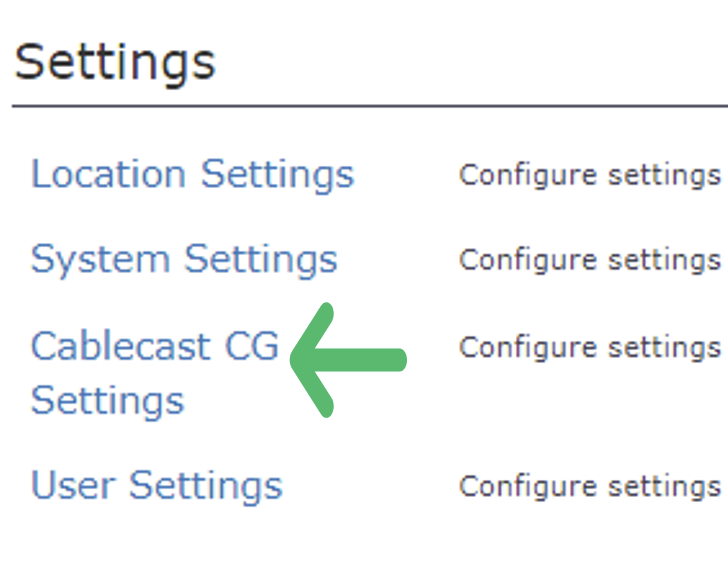
then on Players,
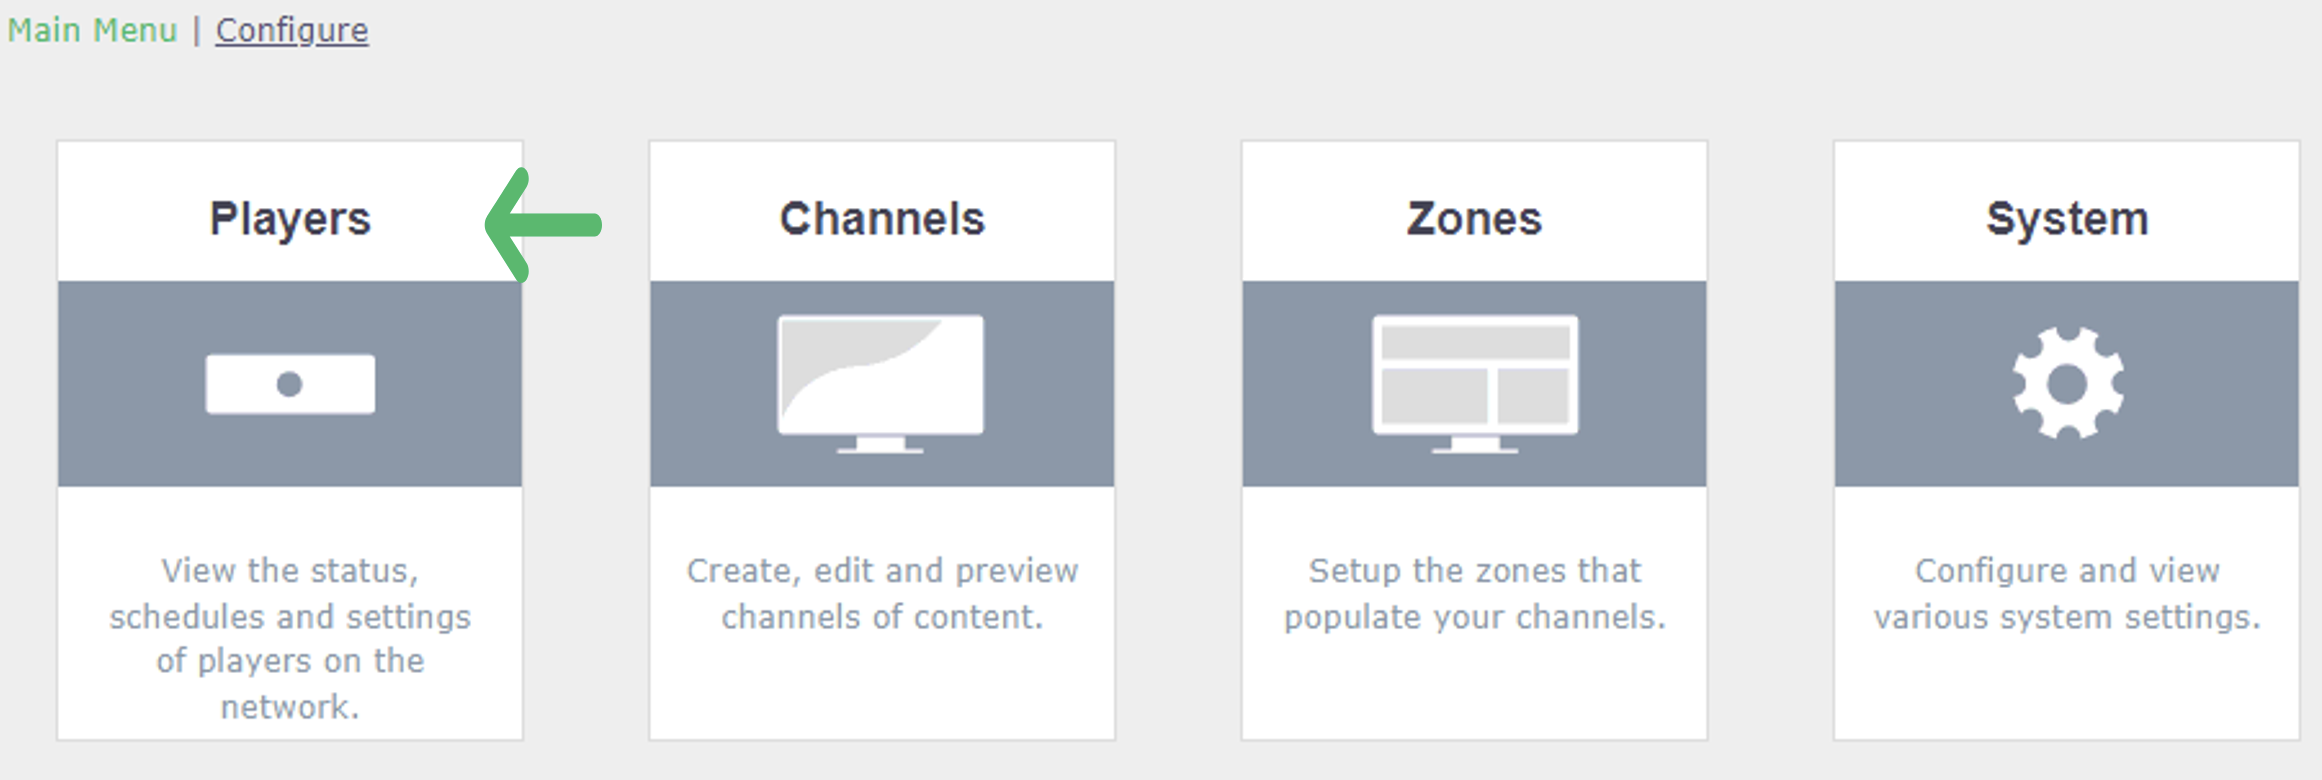
then on the pencil icon (edit) next to the Named player you wish to have this channel play on.
From the drop down menu under Channel, Default Channel. Choose the Channel you've uploaded. And finally click Save
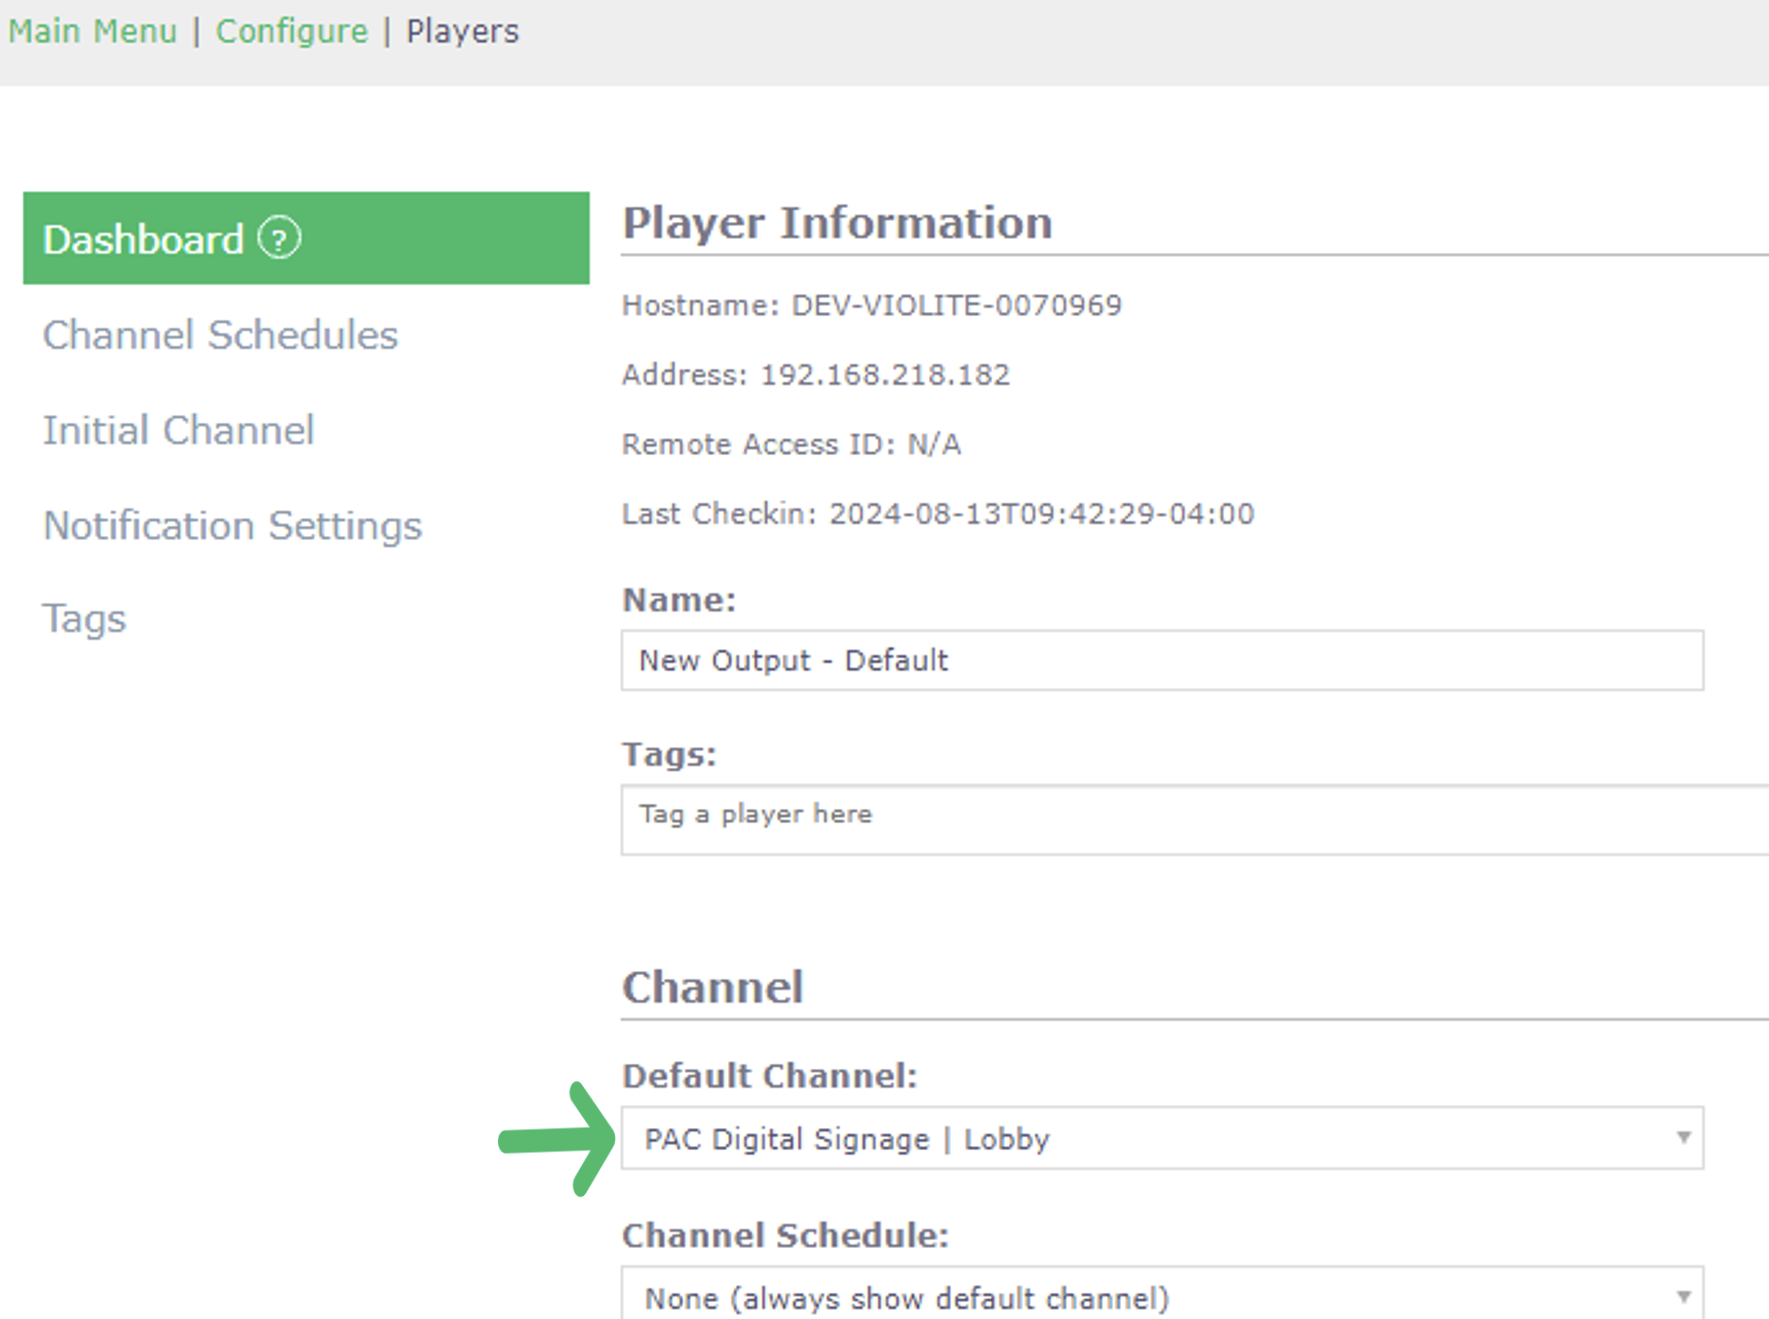
Once you've set the Channel in the Player settings, you'll either need to schedule a program on the channel and wait for that program to end or you can restart the Cablecast Video Server engine on the Video server by following the steps in this KB article to activate the new CG channel on the server output.
