Customizing The Cablecast Public Site
Overview
The Cablecast Public Site is a built in Public Website that is hosted on your Cablecast server that serves as a way for you to be able to present your schedule, VOD content, and Live Stream to your viewers without needing to know anything about Web Design. The Public Site is completely customizable within the Cablecast user interface, but you also have more possibilities of customization by editing the sites CSS files.
In this article we will go over how to navigate to your Public Site Settings, how to preview your Public Site, and all of the different customization options.
Navigating To The Public Site Settings
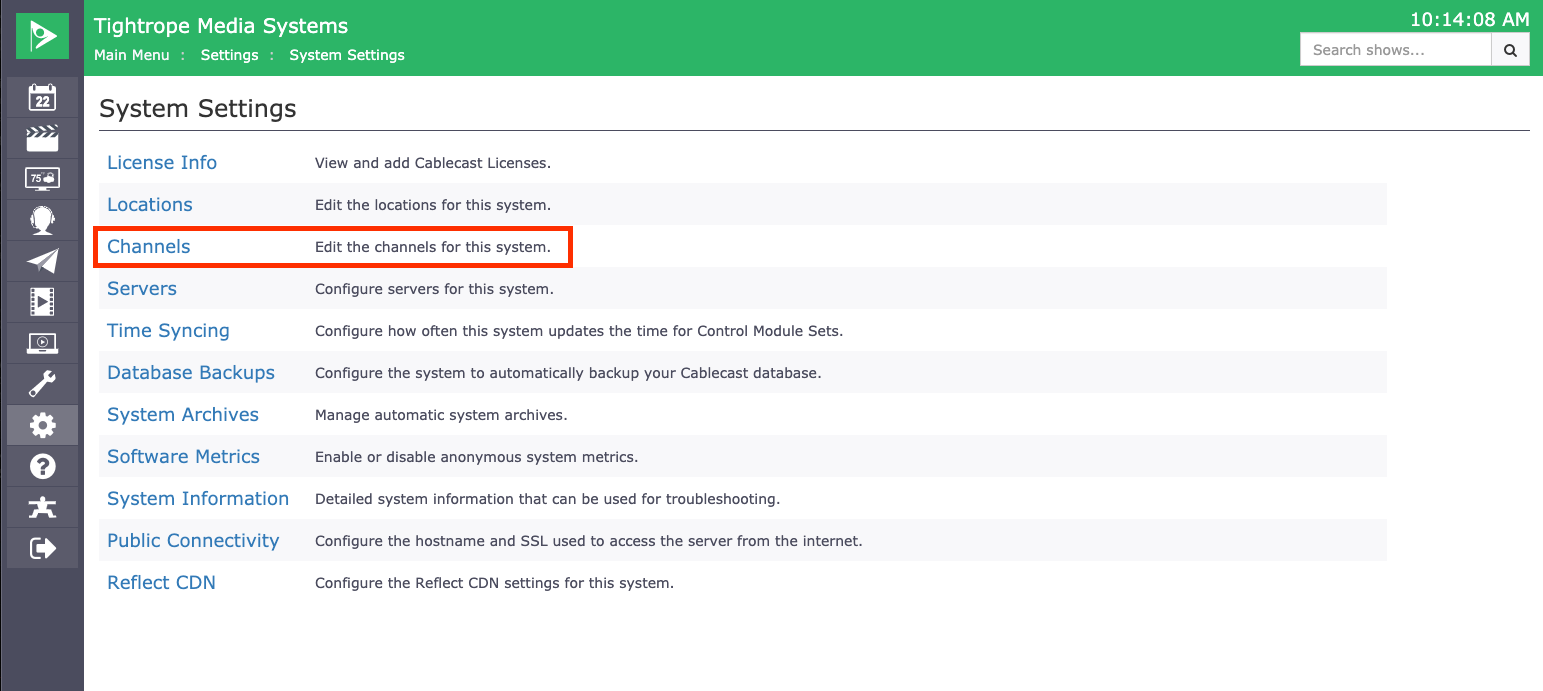
Each channel configured with your system will have their own Public Site that can be customized and branded to that specific channels style. To get to the settings for the Public Site, from the Main Menu click on the Settings menu option in the menu bar on the lefthand side and then select System Settings.

Then you will want to select Channels to get the list of all of the channels configured with your system.
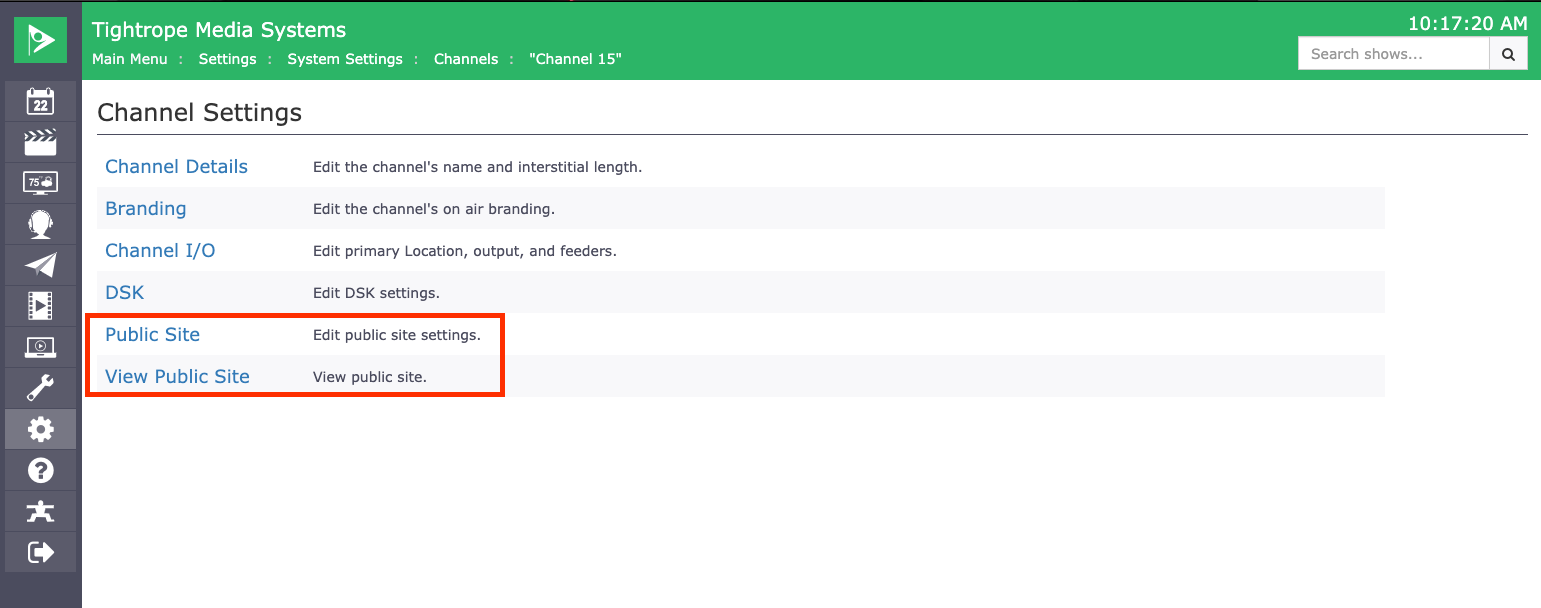
From the list, click on the specific channel you want to work on the Public Site for. This will then show you all of the options for this specific channel. The two that we are going to focus on are at the bottom of the list, Public Site and View Public Site.
Previewing Your Public Site
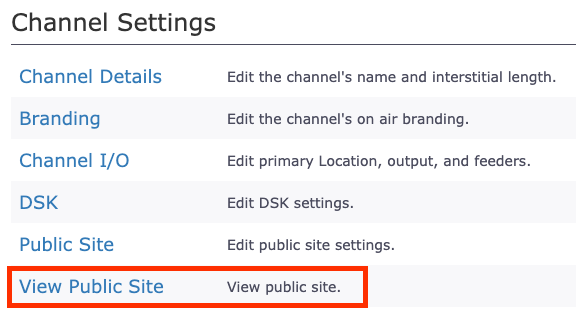
Now that we are in this menu we can either work on customizing our Public Site or we can preview what our Public Site looks like. To Preview, simply click on the View Public Site option. This will open a new browser window and show you what your site looks like.
This is a great resource to use as you are making your edits to your Public Site to see what it looks like. Just note that as you make edits, you will need to refresh that browser window in order to see the changes that were made.
Editing Your Public Site
To edit and customize your Public Site simply click on the Public Site option from the previous Menu Page.

When editing you Public Site you will see many different tabs of all the areas that you will be able to customize.
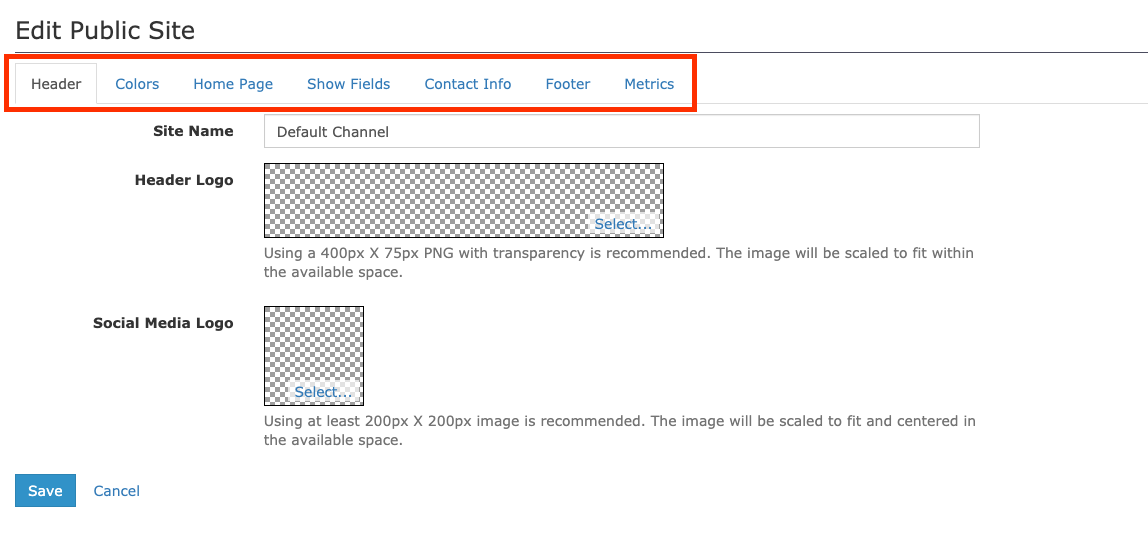
Header
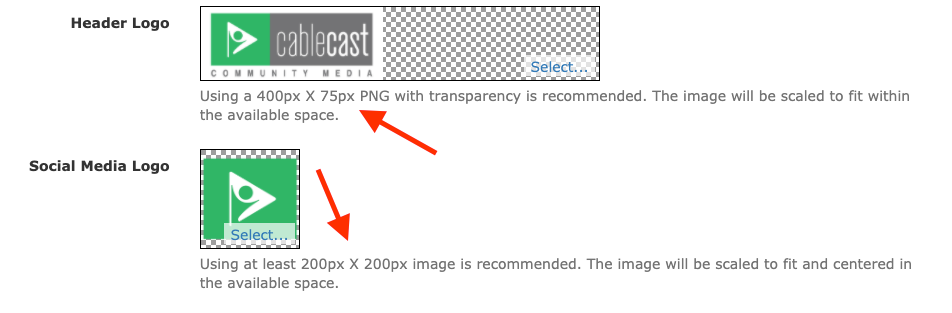
The first option is going to be customizing your Header. Here you are able to put a name for your site as well as upload an Header Logo that will be displayed at the top of your Public Site. You can also upload a Social Media Logo that will be used in other areas that you can link to.
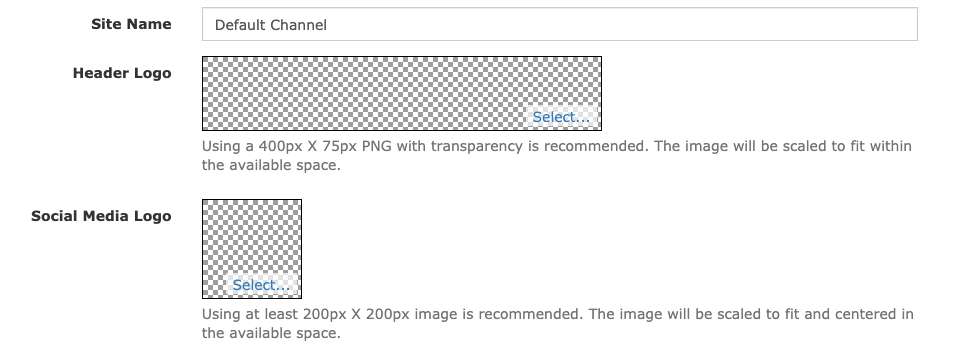
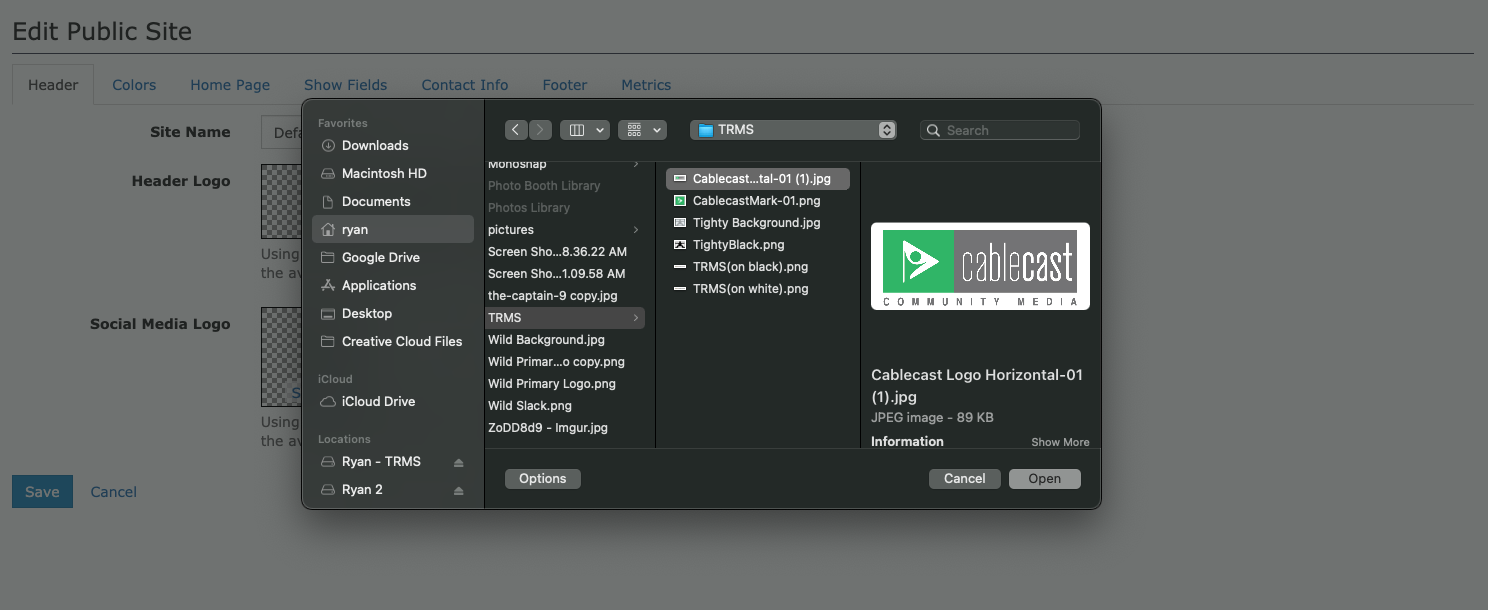
To upload your Header Logo or Social Media Logo, click on the blue select. This will open a new window where you will be able to select and upload the image you wish to use from the computer that you are currently using to log into the User Interface.
Below the image field, we give suggested dimensions for you to use for both your Header Logo as well as the Social Media Logo.
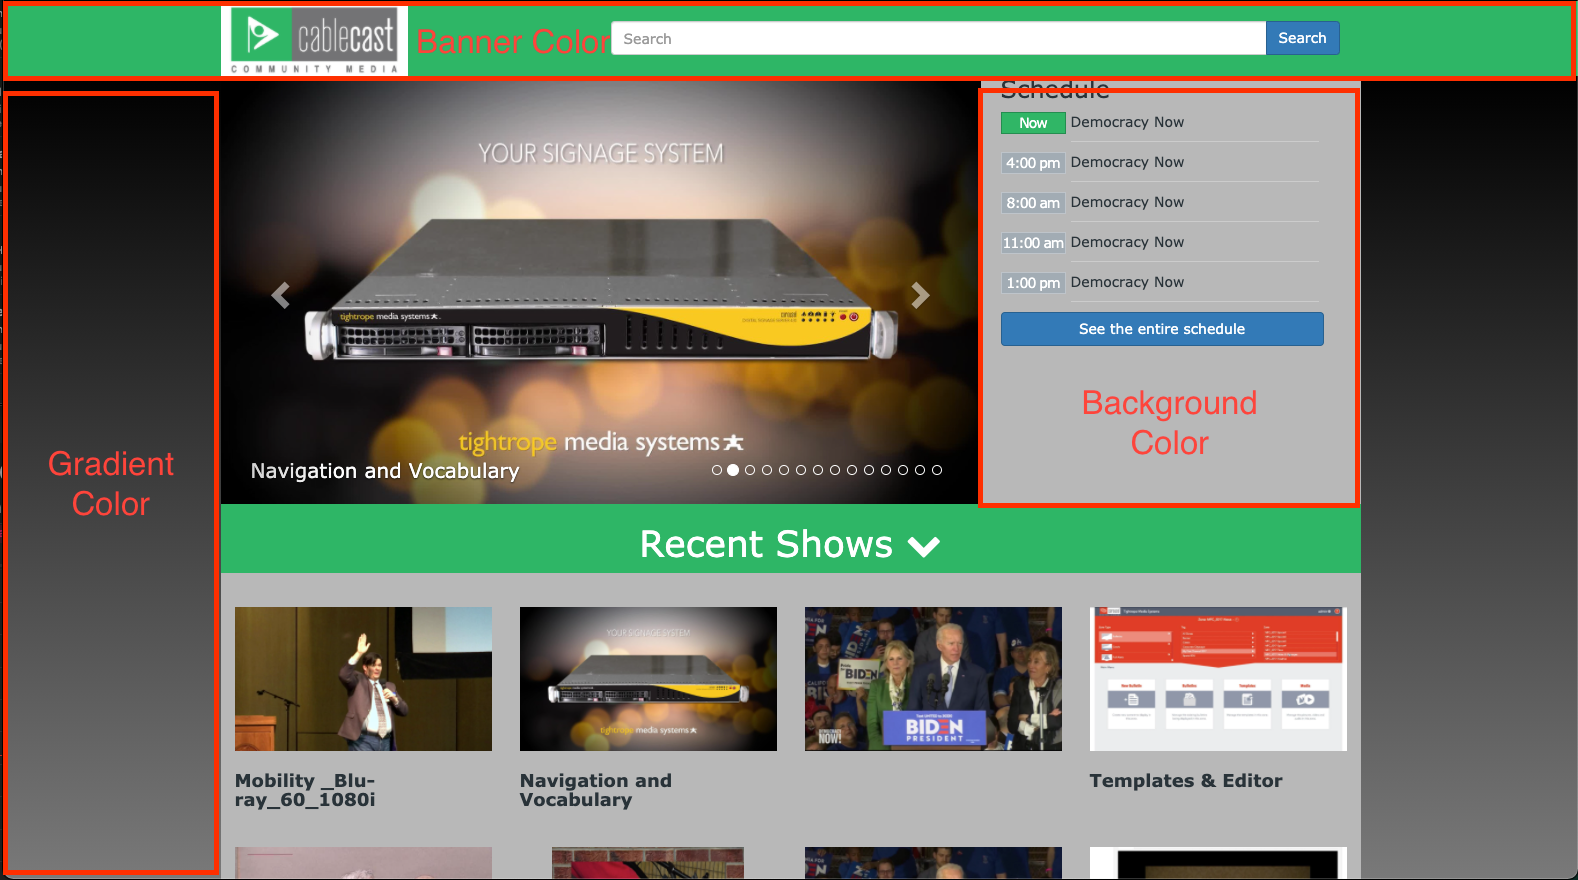
Colors
The next tab that you have is Colors. This is where you can set the Banner Color, Background Color and Gradient color for your Public Site. Each option has it's own color picker that you can use to adjust and find the color that you want to use. You can also type in specific Hex Color numbers to choose your color if you know specifically what you would like to use.
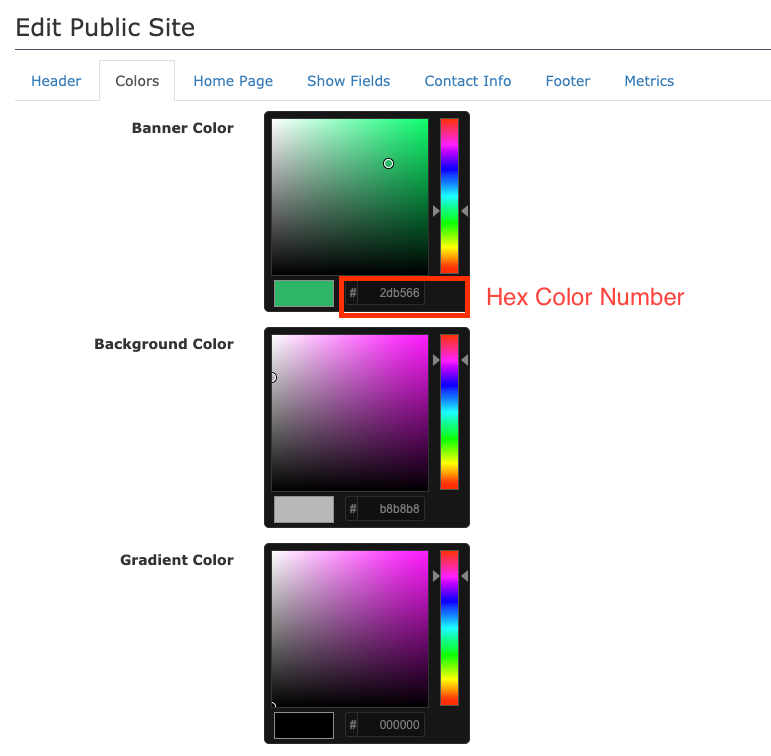
The relationship to what area of the Public Site is to the Color that you are setting is shown in the image below.
Home Page
The next section is where you will set up what you want displayed on your Home Page. There are three option on this page, Channel Index, Slideshow Search, and Galleries.
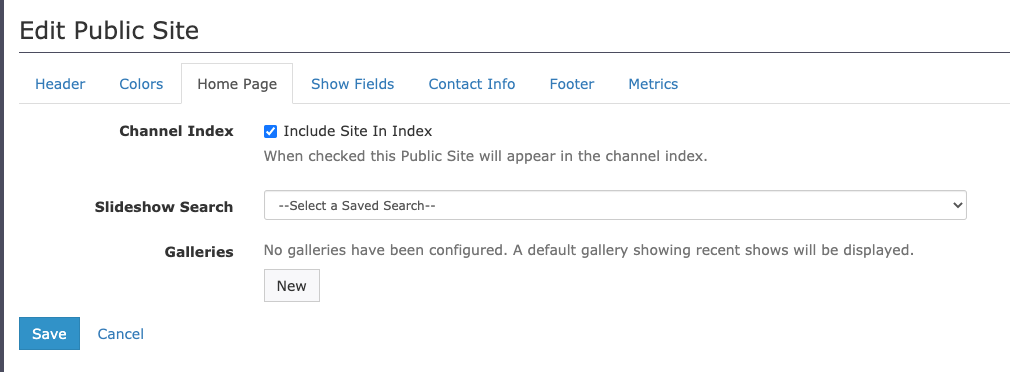
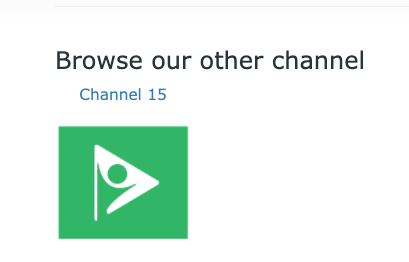
The Channel Index is a feature that is useful if you have multiple Channels configured with your system. If you check the box to Include Site In Index, the social media icon that you uploaded in the other pages will appear at the bottom of the page with the Name of the channel. This will allow your viewers to link between all of the Public Sites for your Different Channels.
The Slideshow is the field at the top of the Public Site that auto rotates between thumbnails of shows. You can customize what you would like to play in that slide show by selecting one of your Saved Searches that you have created. In the dropdown menu, it will list all of your Saved Searches and you can select the one you want to use.

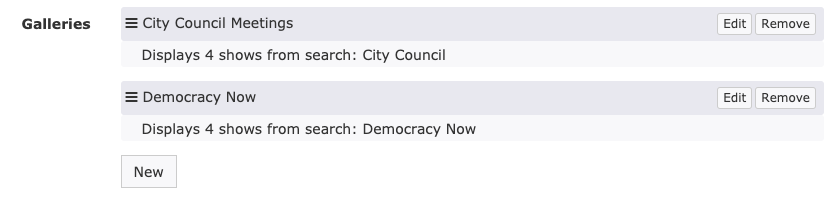
Your Galleries are the list of Shows and Thumbnails that you have under the Slide Show. The Galleries are also set by using your Saved Searches. To create a New Gallery, Press the New button. Fill in the Title for the group of shows you want to display. For example, City Council Meetings or High School Football. Then select which Saved Search you are planning on using. And last set the Maximum Number of Shows to be displayed in this Gallery. This will only set the number that will show on the Homepage for that gallery. If you have more shows than what you are setting, there will be a See More option on the Homepage for that Gallery that will allow your viewers to see all of the results for that Saved Search. Tip: The Public Site displays shows in rows of 4. So pick a Maximum number that is divisible by 4 so you don't have an odd row at the bottom.
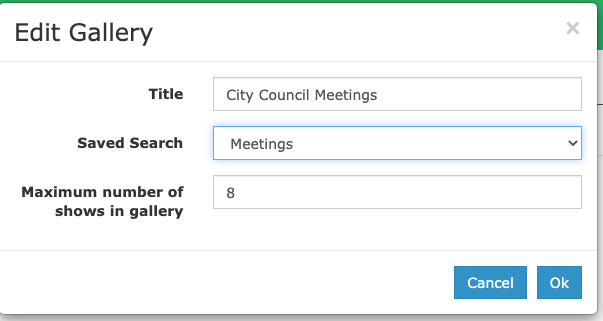
When finished Click the OK button. You can then Create a New Gallery if you want. You can create an unlimited number of Galleries for your Homepage. You are also able to edit or remove galleries by clicking the Edit or Remove button on the right of the Gallery Listing. Lastly, you can also adjust the order of your Galleries by clicking and dragging the Three Lined Icon on the left of the Gallery listing.
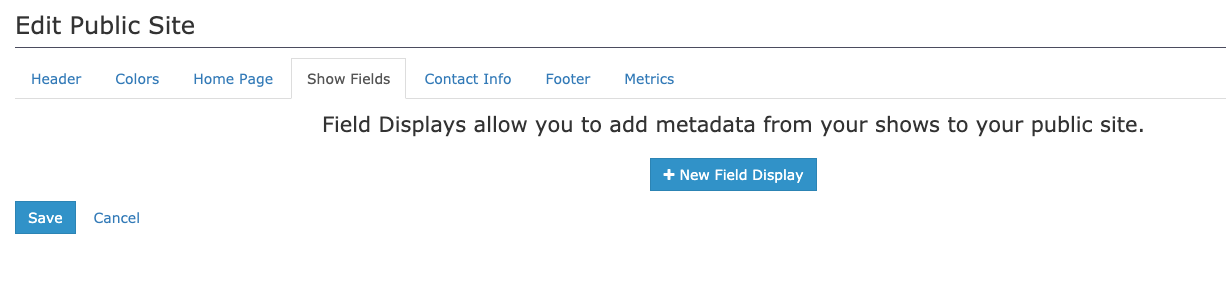
Show Fields
The next area you can customize is Show Fields. This is the information from the Show Record that you want to have displayed under the Thumbnail or VOD when a viewer selects a show. Some examples of what you would put in here would be a Show description, the Producer, Category, or even a PDF Agenda for a meeting. To Learn how to add a PDF Agenda to your VOD's in the Public Site, check out this article from our KnowledgeBase. To add a new field, simply click the + New Field Display button.
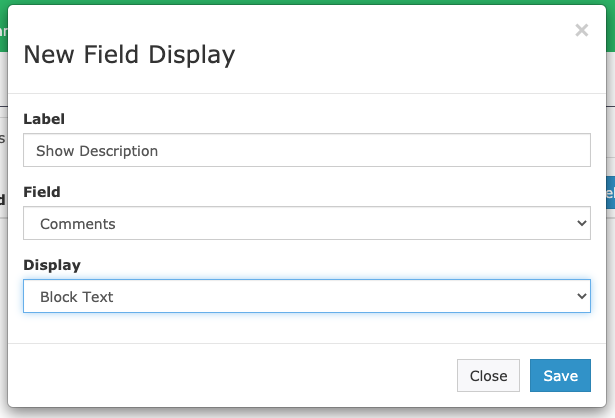
This will open a new window. First type in a Label for the Field you would like to add, for example Show Description. Then select the field you would like to use from the Field dropdown menu. This will list the default fields that are in available in your Show Record. You can also choose one of your custom fields that you have created. For that Select Custom Field and that will give you a new dropdown list of your custom fields. In our example, I am going to choose the Comments field. Lastly, you can choose how you want that field to be displayed depending on the information in that field. You can choose between Inline Text, Block Text, Date, Link, Or Embedded PDF. When you are finished click Save.
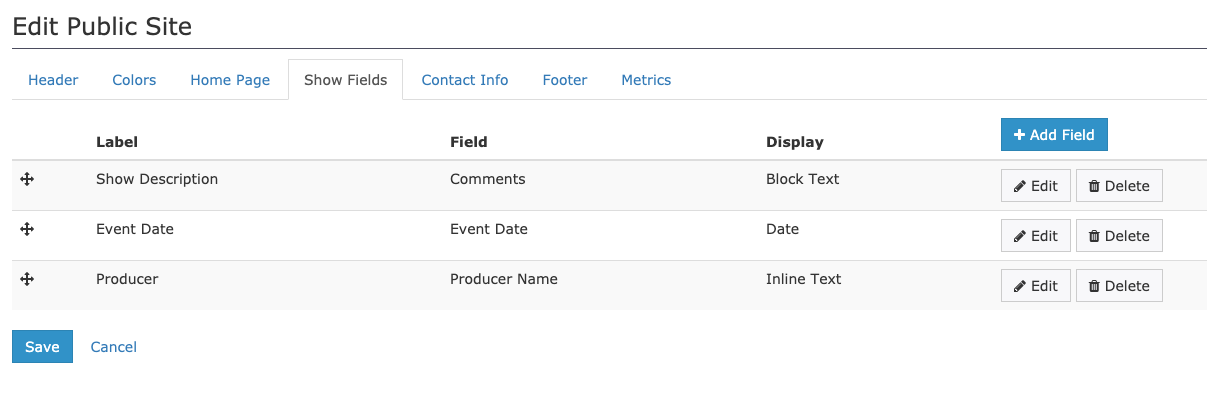
You can Create more Fields to be displayed with your show by clicking the + Add Field button at the top right. You can also edit or delete a Field by clicking the buttons on the right for that Field listing. Lastly, you can rearrange the order of your Fields by clicking and dragging the Crosshair icon on the left of the Field listing.
Contact Info
Next we can add our Contact Info. This is a pretty straight forward area to customize. You can add your email address and phone number to be displayed at the bottom of the page. You can also link to a Blog, your Facebook Page, and Twitter account.
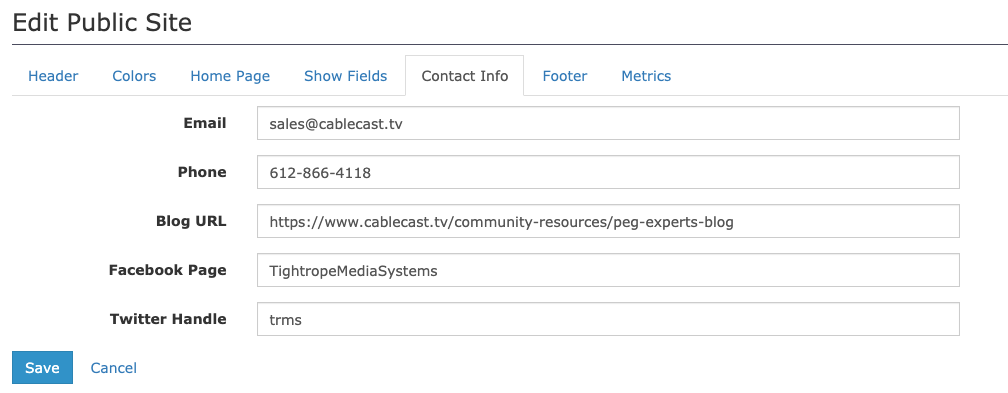
On the Public Site your Phone Number and Email will be hyperlinked so if someone clicks on the email address it will open up their email application to sent an email. Also the Twitter, Facebook, and Blog links will appear as icons on the Public Site that a viewer could click to go to any of those areas.

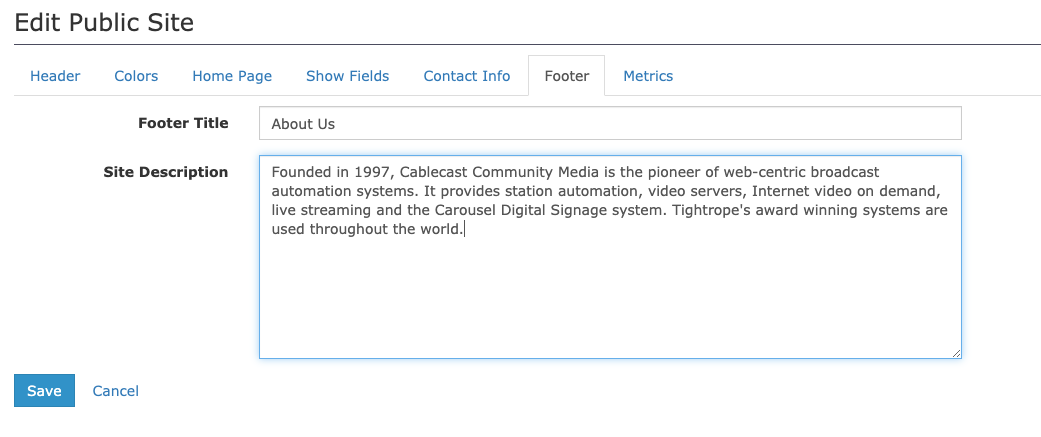
Footer
The Footer is the area next to your Contact Info. This is an area for you to have a small write up about your station or channel. You can put in a Footer Title such as About Us or even your Station or Channel's name. Then you can put information in the Site Description that will appear at that bottom.
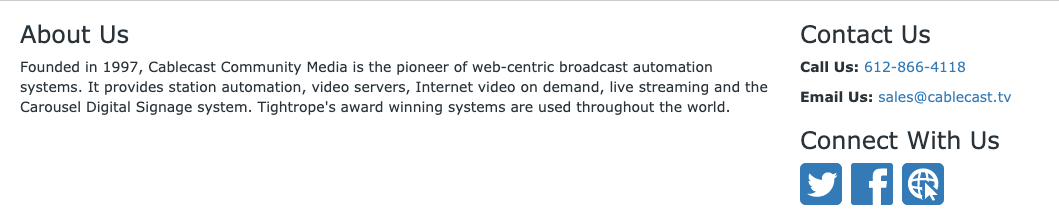
This is what it will look like on your Public Site.
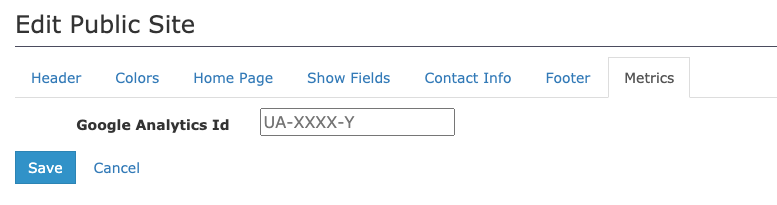
Metrics
The last section is the Metrics section. Here you are able to add a Google Analytics ID for your Public site to capture data on traffic to your site. This is a great way to get information on who and how often people are coming to your public site. You can get more info about Google Analytics by going to Analytics.Google.com
Now that you have everything updated to your liking, click Save at the bottom to save all of your work you did to the public site. You are now ready to share this with your viewers and start getting shows created.
