Creating MAP programming in Final Cut Pro
Last Updated:April 11, 2025
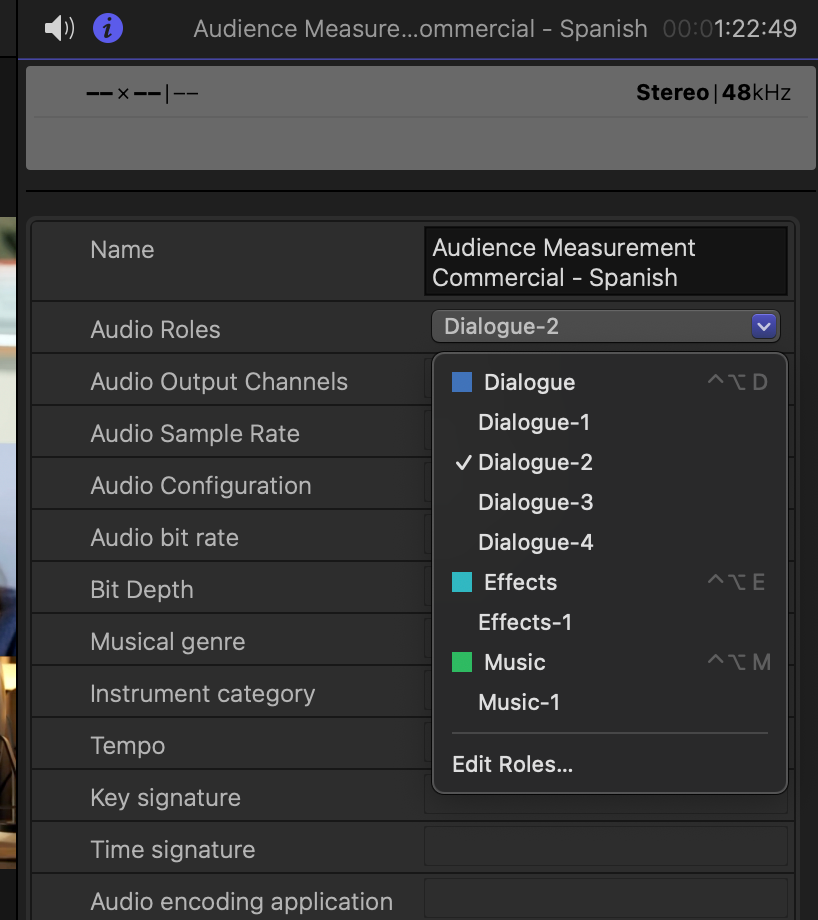
In Final Cut Pro, designate the primary audio as dialogue 1 and the secondary audio as dialogue 2. You can do this in the inspector under either the audio tab
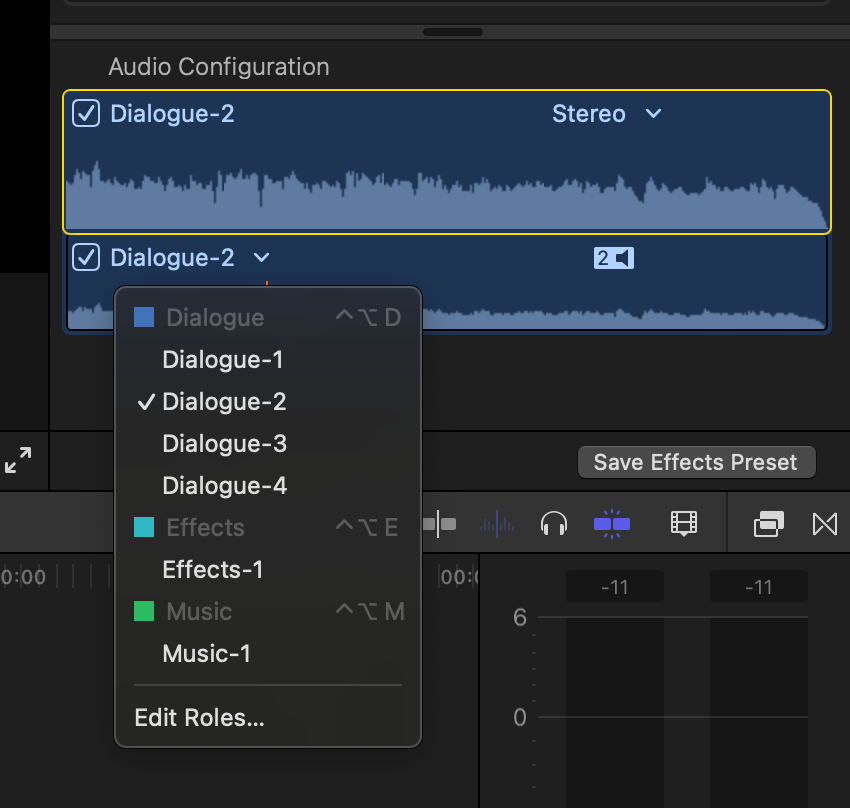
or the info tab.
You can also right click on the clip in the timeline and navigate to "Assign Audio Roles".
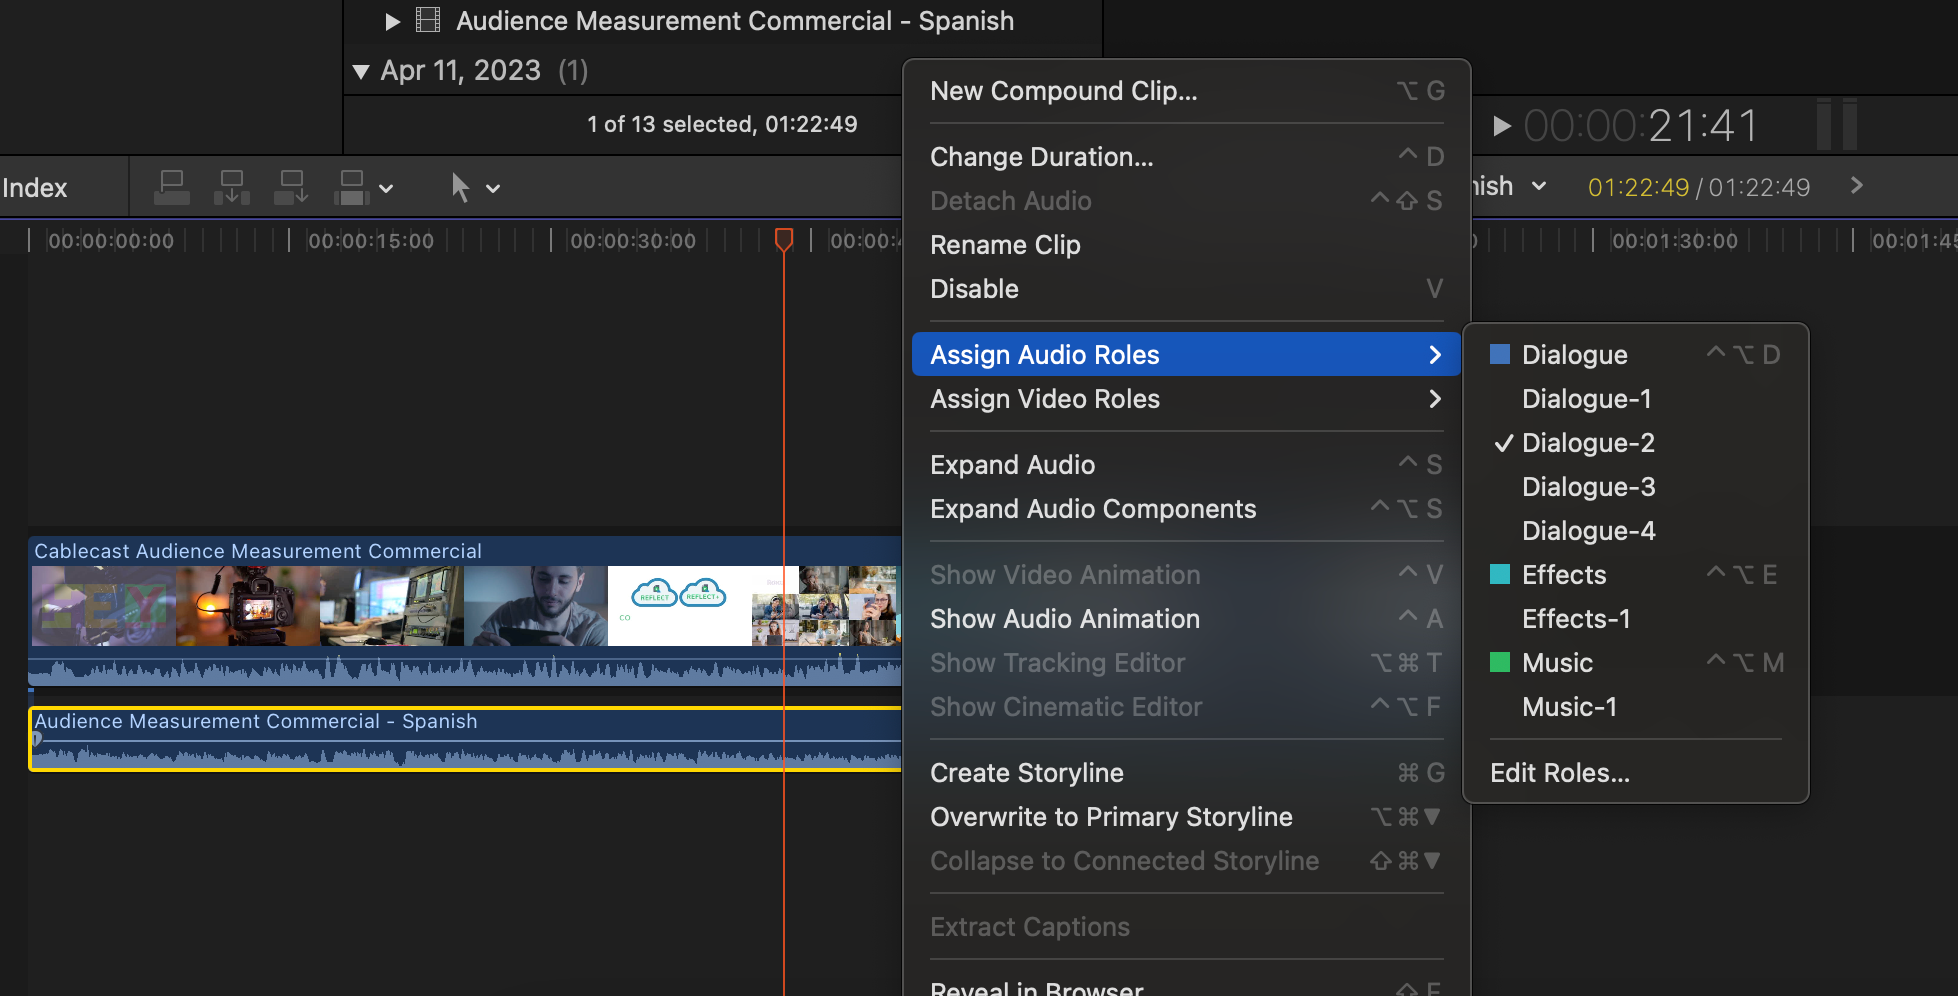
If you have multiple audio clips do this for each clip accordingly.
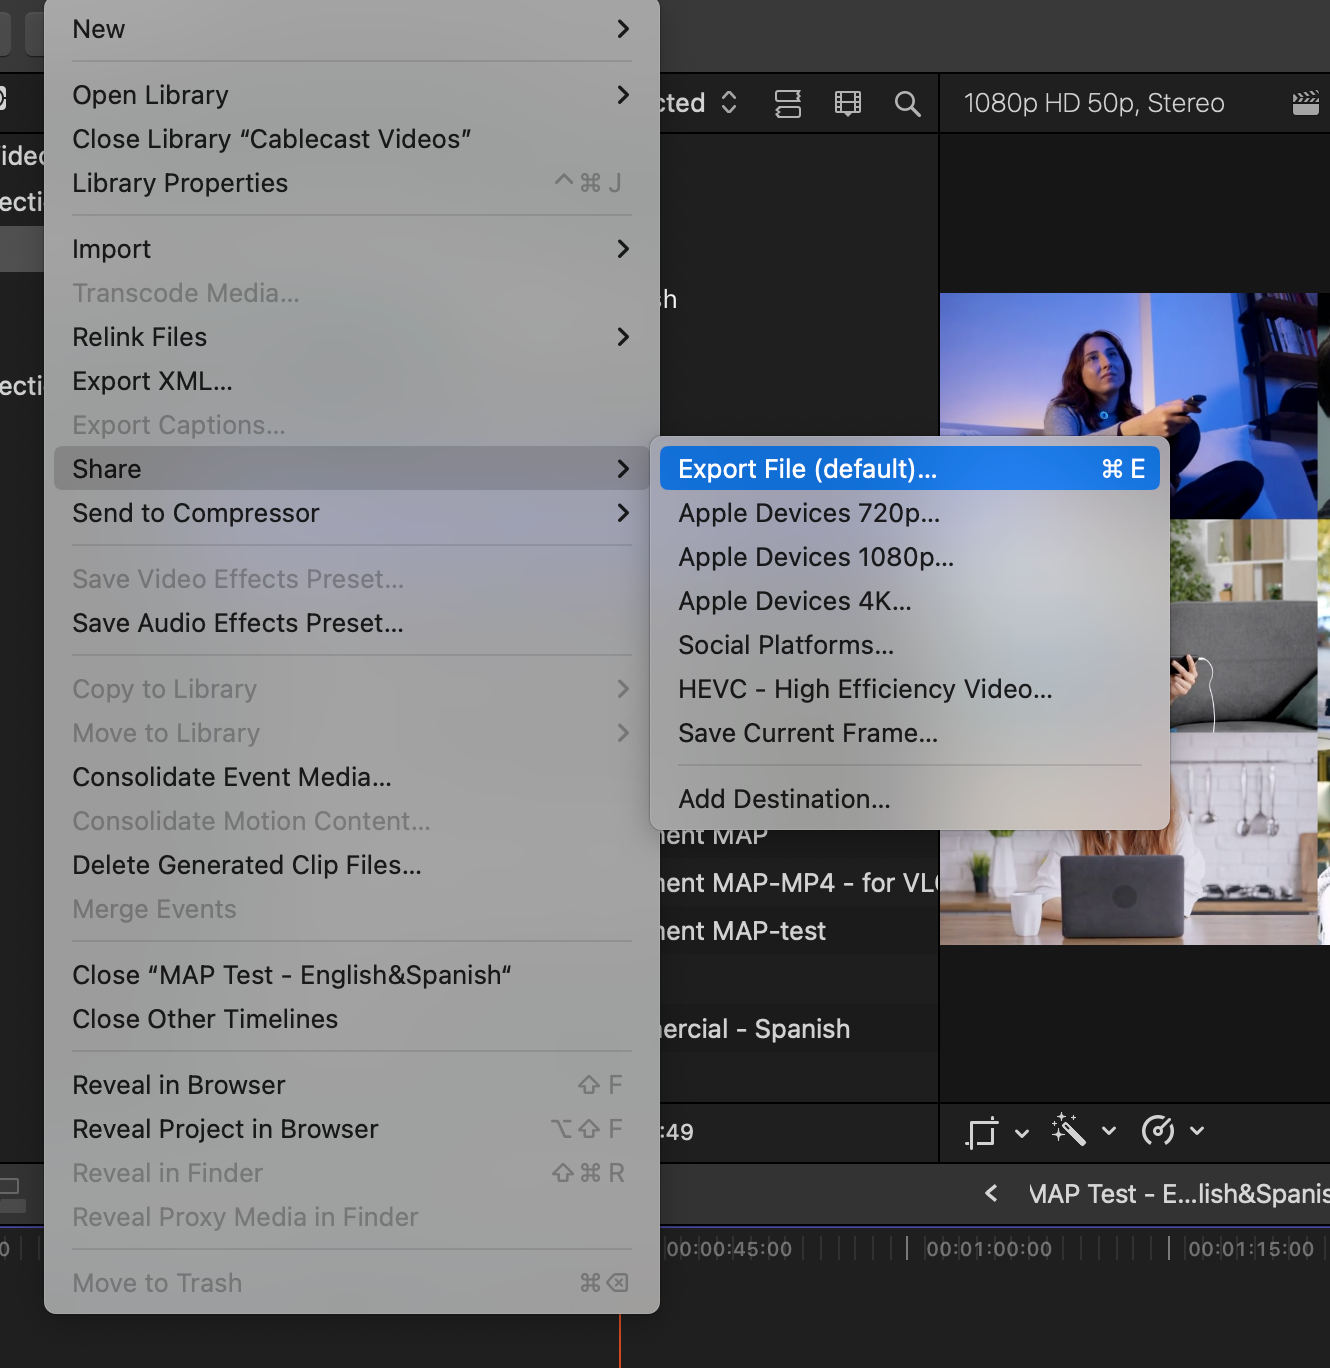
When you are ready to export you go to Share>Export File. Navigate to “Roles”. Change “Quicktime Movie” to “Multitrack Quicktime Movie”.

Click “+ add audio track”.
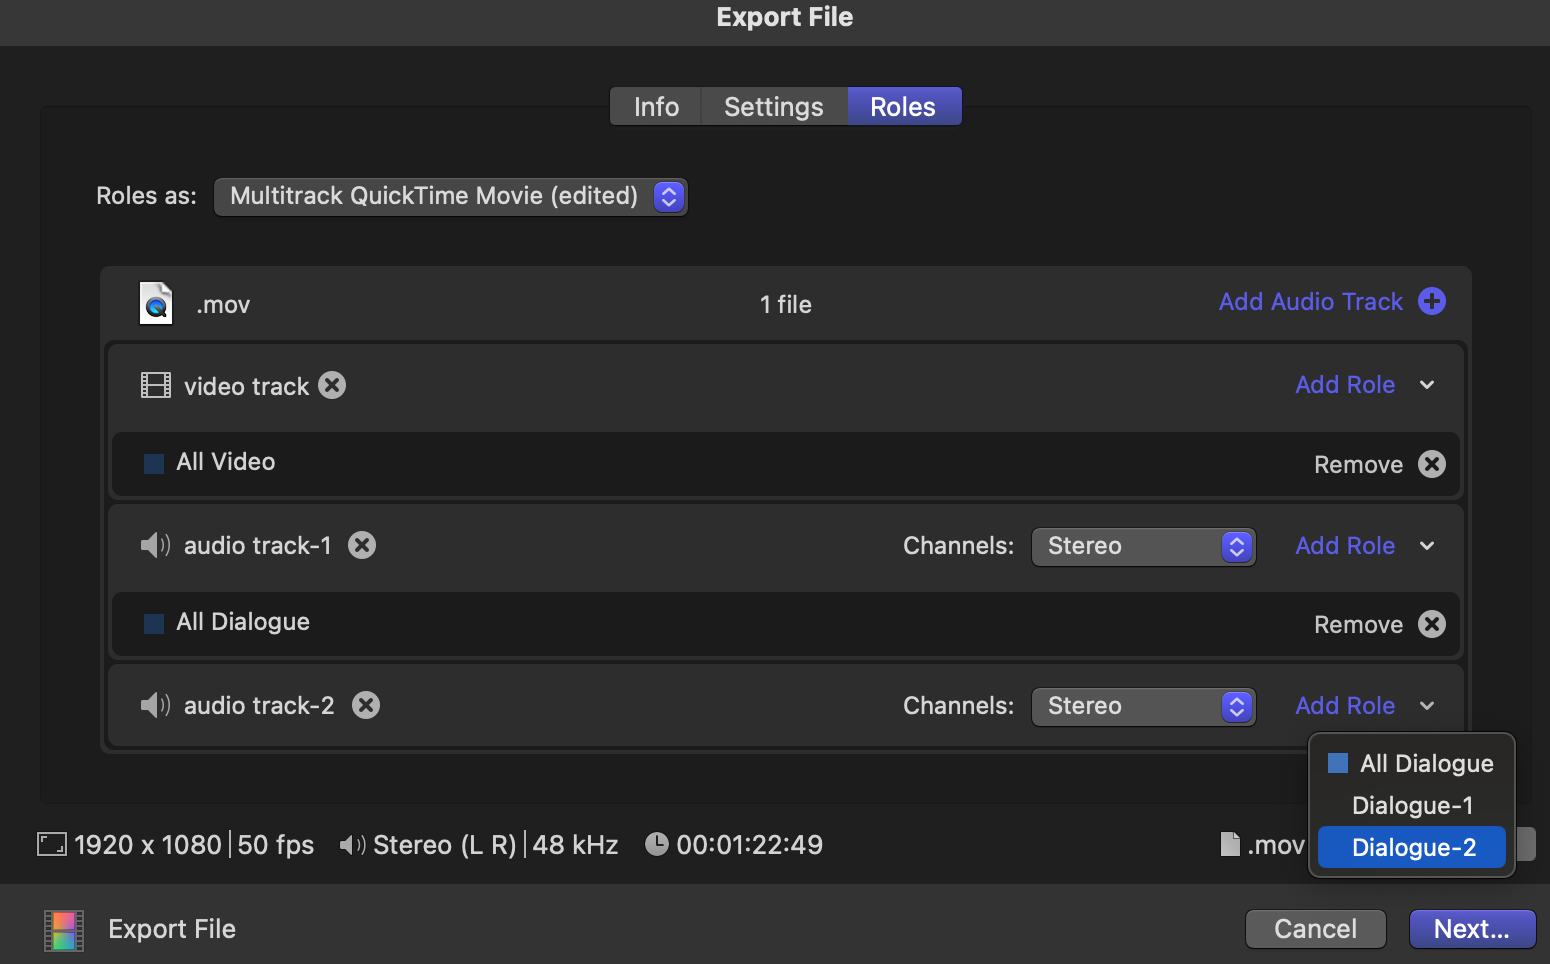
Click the blue “add role” button on Audio Track-1 and select “Dialogue-1”. Click the blue “add role” button on Audio Track-2 and select “Dialogue-2”. Click “Next” and select your destination.