Managing Media in Cablecast CG
Overview
CablecastCG gives you the ability to create bulletins with a variety of information. What can really make the bulletins pop is adding your own images or different background. This is all managed on a Zone by Zone basis in the Media section..
Navigating to Media Management
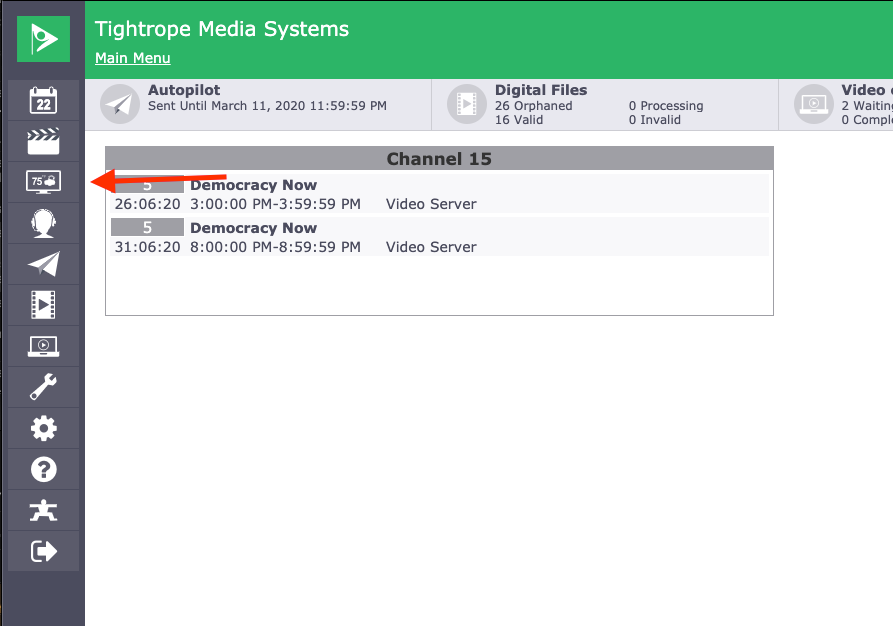
To navigate to CablecastCG you will click the CablecastCG menu option on the left hand side.
When you are at the CablecastCG main menu, the first thing you are going to want to do is make sure you are in the correct zone that you want to work in. To learn more about switching zones, check out our article about CablecastCG Zone Navigation.
Each zone works independently from each other, so when you go into media management you are only working with the media of that specific zone.
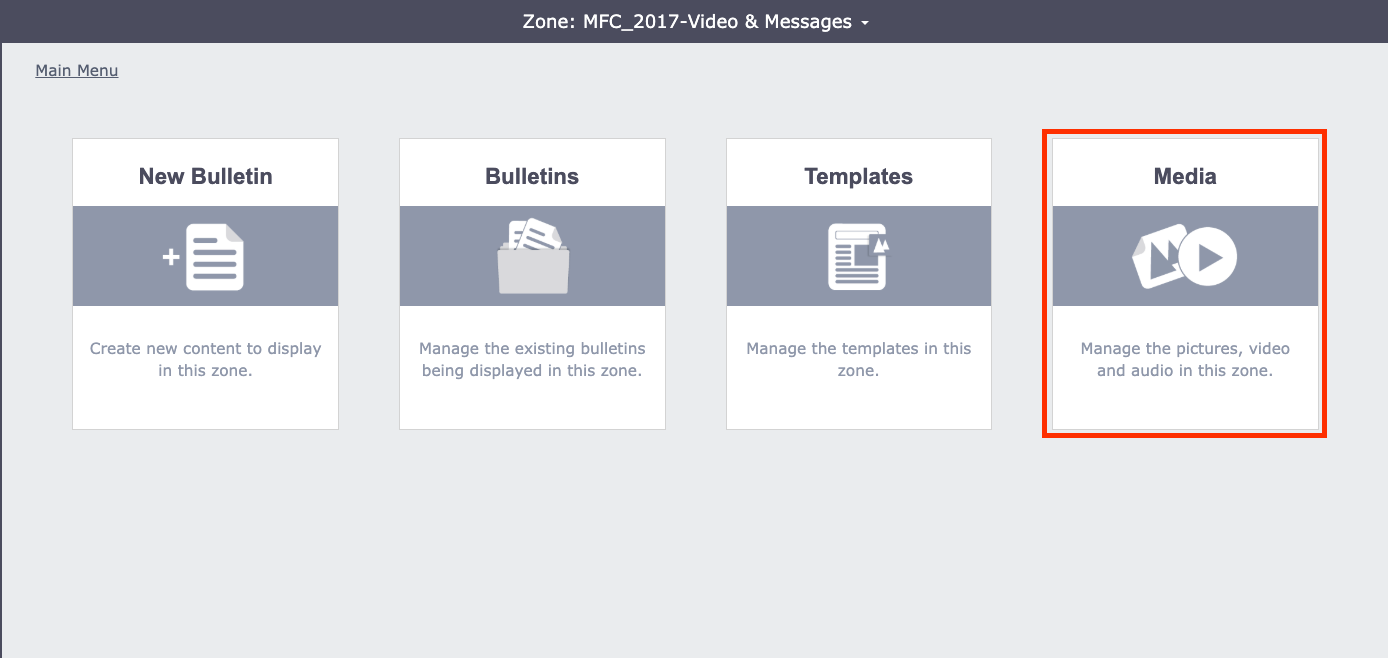
Once you are in the zone you want to work in, select Media from the Main Menu.
Media Categories
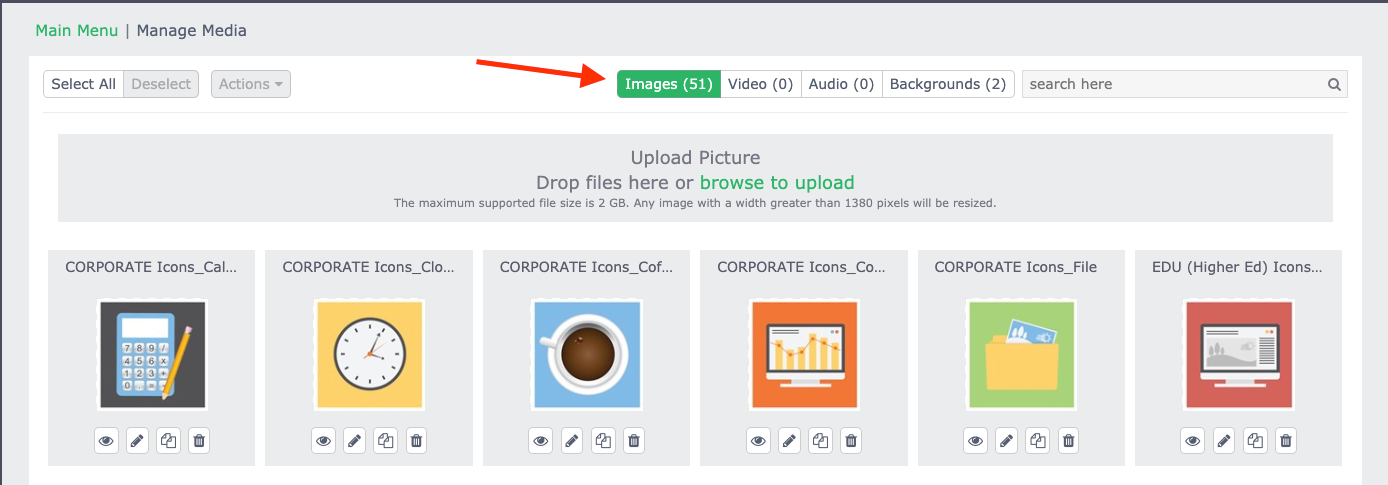
Once you are in Media Management you can navigate between the different categories of media. Simply click on the Category you want to navigate to and you will be in that section.
Uploading Media
Uploading your own media is very easy to do in Media Management. First navigate to the category that you want to upload. Then at the top of the page is a gray rectangle that says Drop Files here or Browse to Upload.
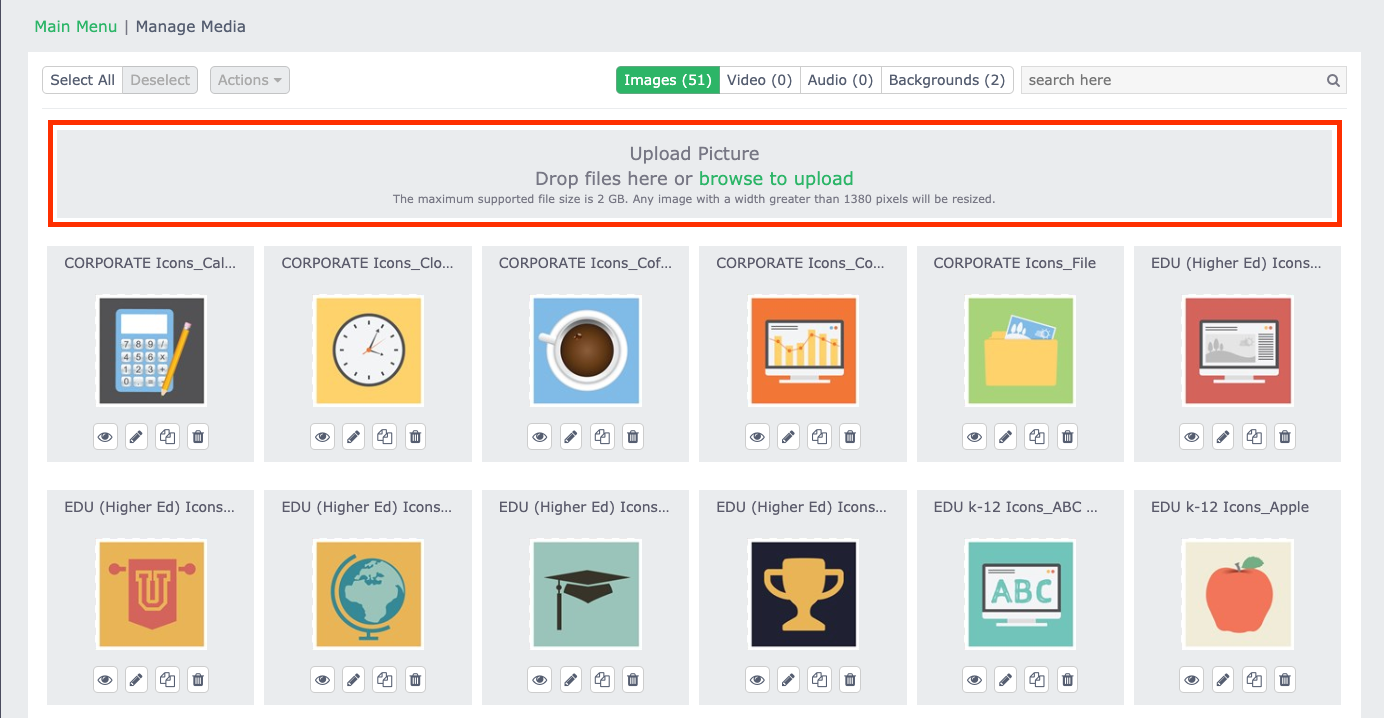
You can either click and drag the media you want to upload into the gray rectangle and it will upload to this Zone's media library. The other way is the click where it says Browse to Upload and you will be able to browse the folder structure of the computer you are currently using.
If you have already uploaded media while creating a bulletin, that media will automatically be added to the media library for that zone and you will be able to view it in this section.
There is a File Size limit with any media that you upload. All media must be under 2 GB in size.
Media Action Buttons
Each Piece of media will have four action buttons at the bottom. These are quick tools that will help you with everyday work in CablecastCG.
The Eyeball icon will allow you to preview that piece of media, it will give you a bigger view rather than the small thumbnail. It will also tell you information about that piece of media like what user uploaded it.
The Pencil Icon is your edit button. This will open a edit window that will allow you to rename the image, and any tags for searching, and the ability to make the me private which will only be visible to your user account.

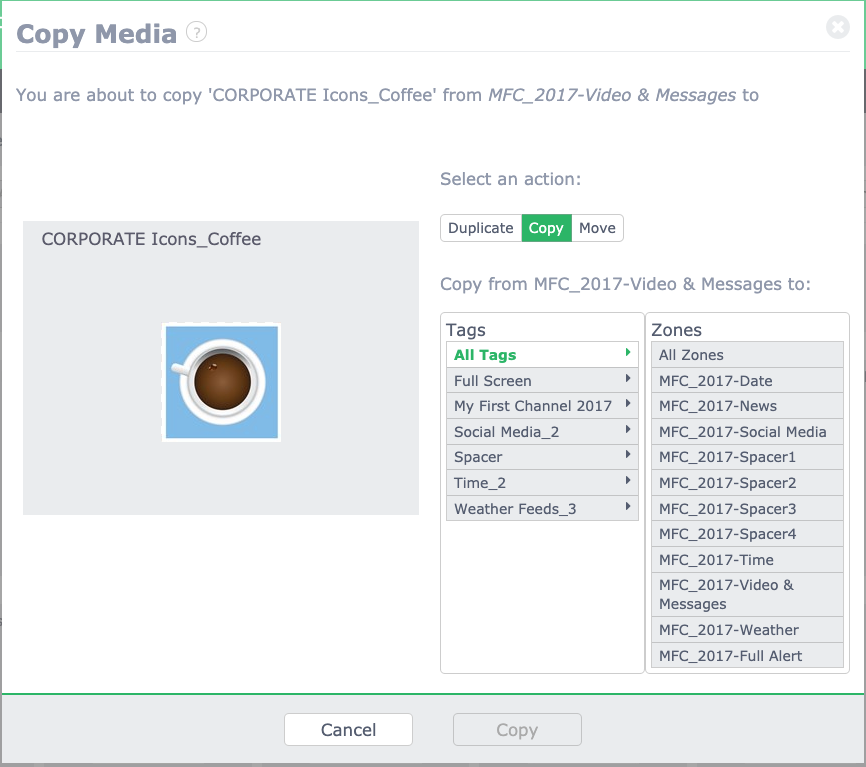
The third icon is for Copy and Move. Here you will be able to Duplicate the media by making a copy of it in this zone. Copy will make a copy of the Media and place it in a different zone you want. And Move allows you to move that piece of media completely out of this zone and put it in a different zone.
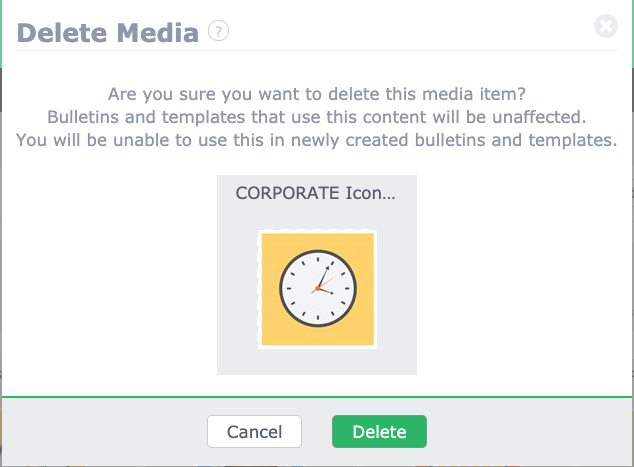
The last Trashcan icon is the delete button. This will delete the piece of media complete out of Media Management for that zone. Be careful when deleting media as once it is deleted there is no getting it back. You will get a popup window confirming that you want to delete it.
To learn more about Media Management, be sure to watch that section of our CablecastCG New User Training Webinar Video.