Managing Bulletins in CablecastCG
Overview
CablecastCG gives you the ability to create bulletins with a variety of information. We also make it very simple to manage and edit the bulletins that you have in your different zones.
Navigating to Bulletin Management
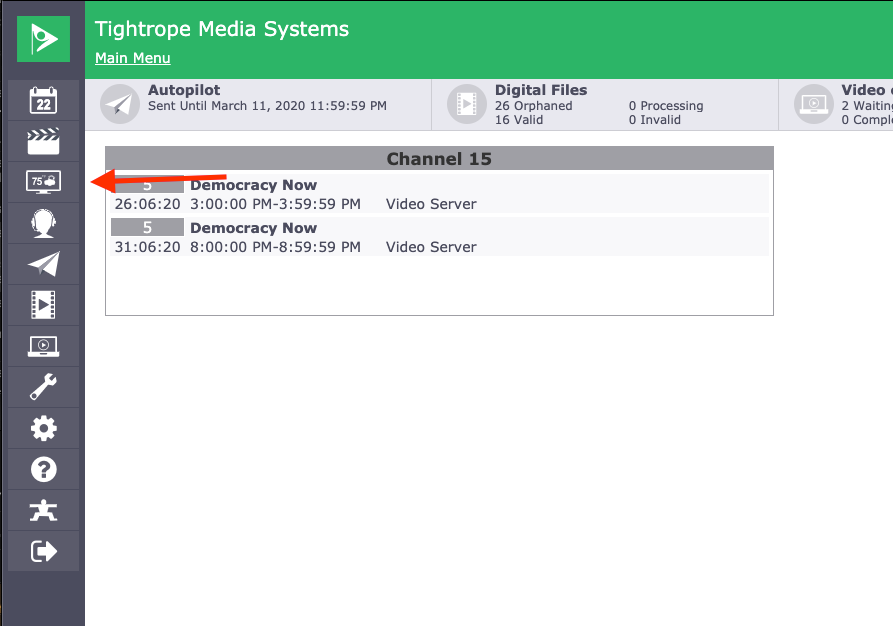
To navigate to CablecastCG you will click the CablecastCG menu option on the left hand side.
When you are at the CablecastCG main menu, the first thing you are going to want to do is make sure you are in the correct zone that you want to work in. To learn more about switching zones, check out our article about CablecastCG Zone Navigation.
Each zone works independently from each other, so when you go into bulletin management you are only working with the bulletins of that specific zone.
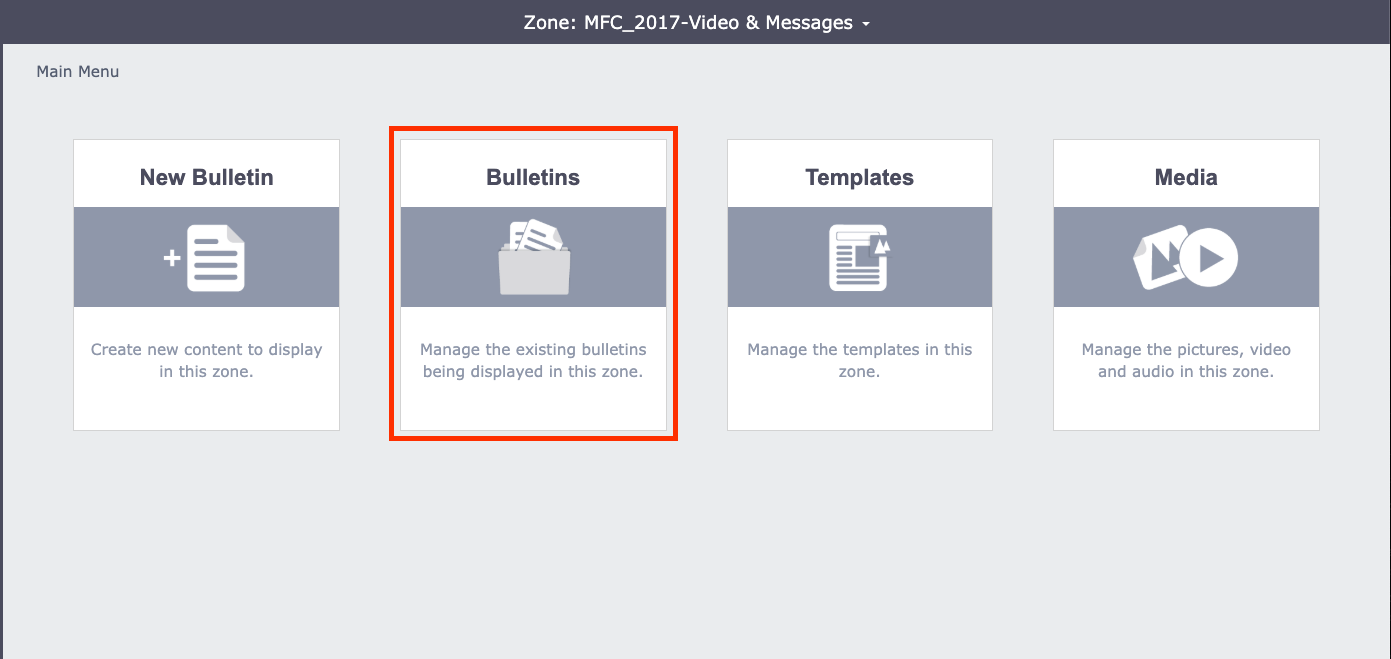
Once you are in the zone you want to work in, select Bulletins from the Main Menu.
Bulletin Categories
When in Bulletin Management, you can see on the top right that there are four different categories that your bulletins can be in. They are; Active, Unapproved, Upcoming, and Expired.
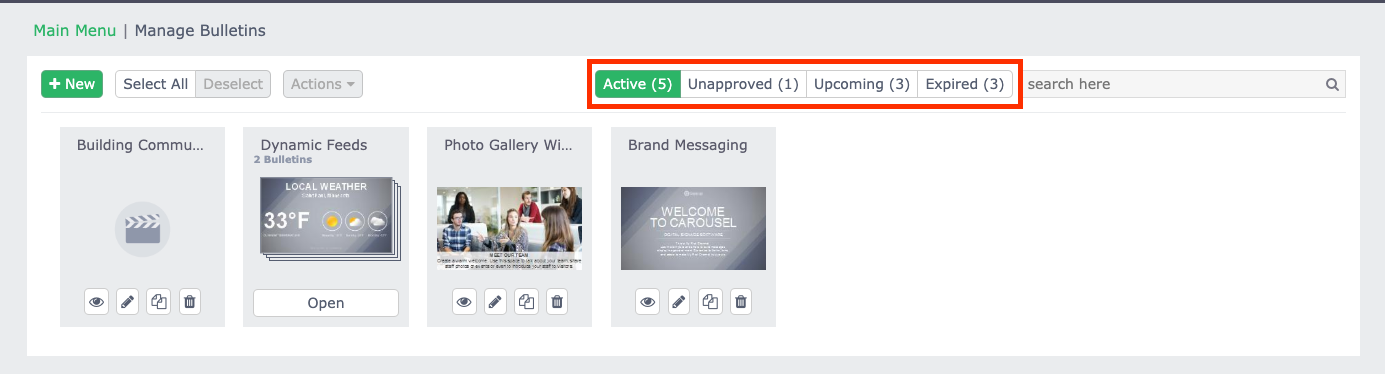
You can toggle through the categories by clicking on them. When they are highlighted in green, those are the bulletins that you are seeing. You can view multiple categories at a time. If you only want to view one category, unselect the others.
Active Bulletins
Active Bulletins are the bulletins that are currently playing in rotation in that zone.
Unapproved Bulletins
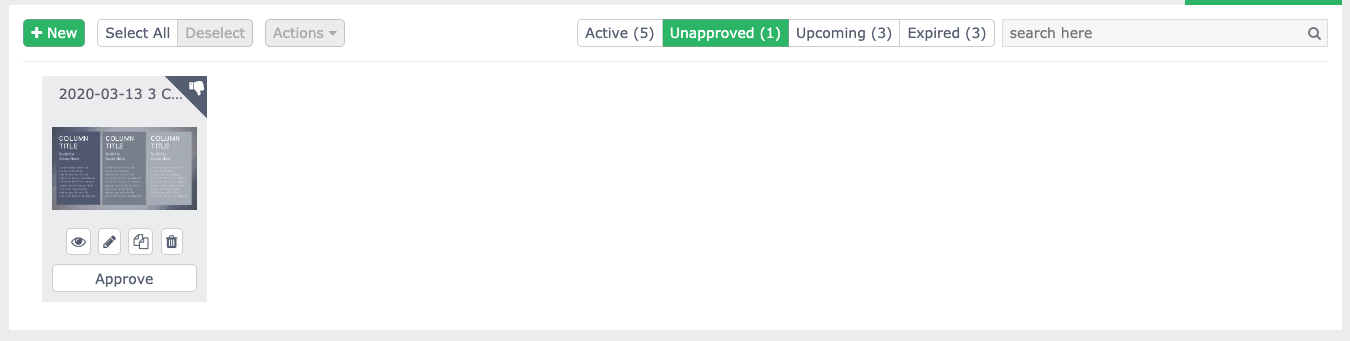
In CablecastCG you have the ability to create individual user accounts and assign roles and permissions to them. One of the roles that you can assign is that all bulletins that user creates have to be approved by an administrator before they are published. The Unapproved category will show those bulletins waiting to be approved. They will have a Thumbs Down icon in the top right corner and have an approved button at the bottom of them.
Upcoming Bulletins
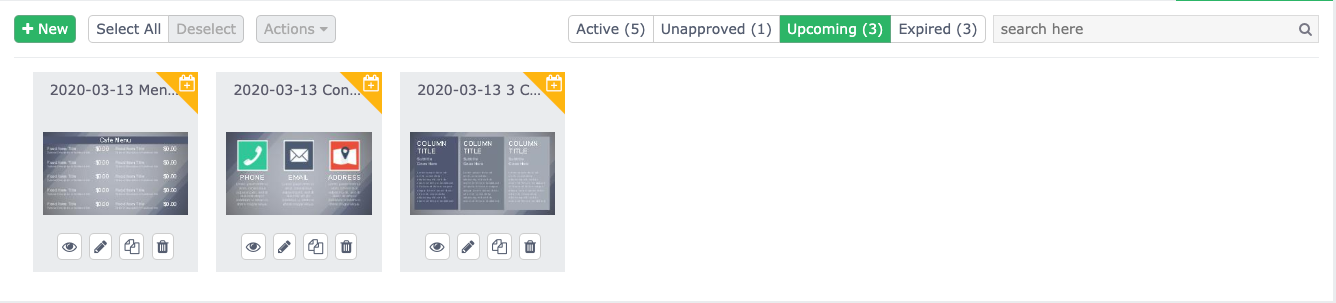
Upcoming Bulletins are ones that have been scheduled to start at a later date and time in the future. Essentially they are waiting for their publish date. Once the Publish date comes, these bulletins will automatically move into the Active bulletins. These bulletins will have a Calendar Icon with a Plus Sign in them indicating that they are scheduled in the future.
Expired Bulletins
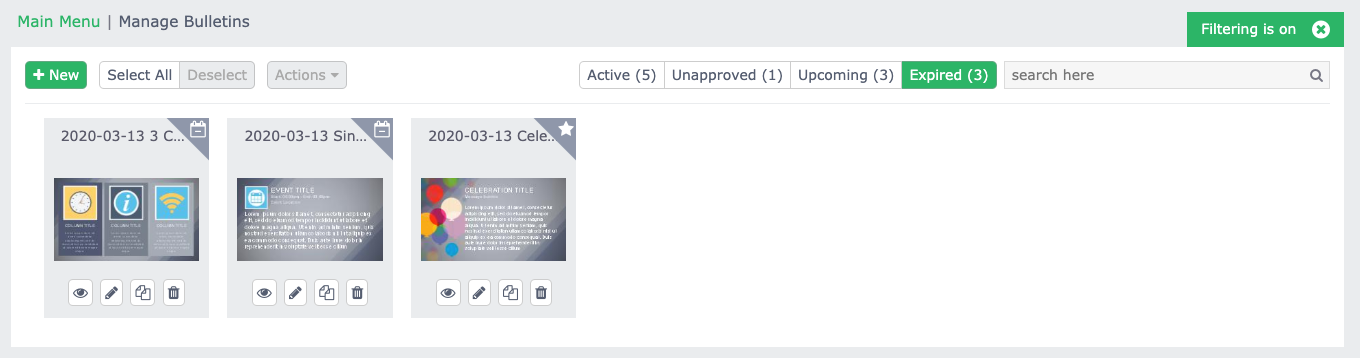
The Expired Bulletins section will show you two different kinds of bulletins. First there are Expired Bulletins, these are bulletins that are past their scheduled time. They will automatically be moved from Active to Expired when they are done. These bulletins will have a Calendar Icon with a Minus Sign in them indicating that were scheduled in the past. The other type of bulletin in this section will be your Saved Bulletins. These are bulletins that you have saved to come back to by selecting Save For Later in the Extras section when creating a bulletin. To learn more about the Extras Section when creating a bulletin, check out our KnowledgeBase Article on this topic. These Saved bulletins will have a Star Icon in them.
Bulletin Action Buttons
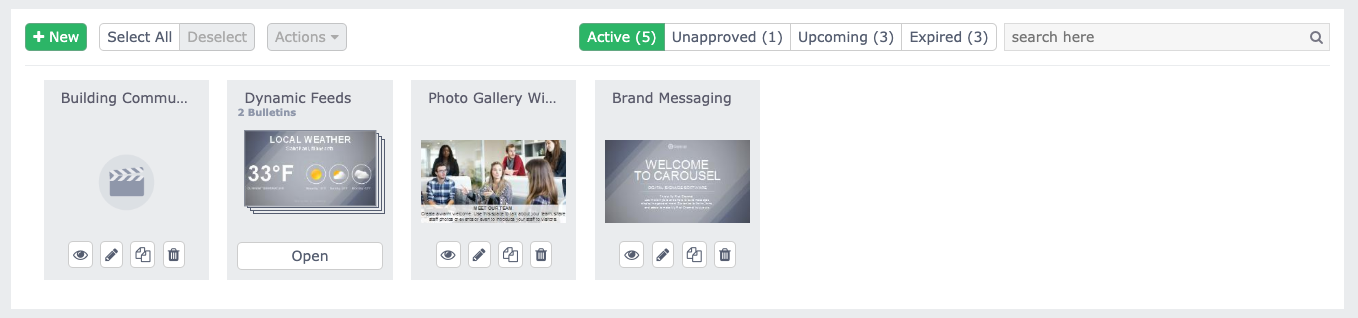
Each bulletin has four action buttons at the bottom of each one. This gives you quick access to all of the tasks you might need to do to your bulletins.

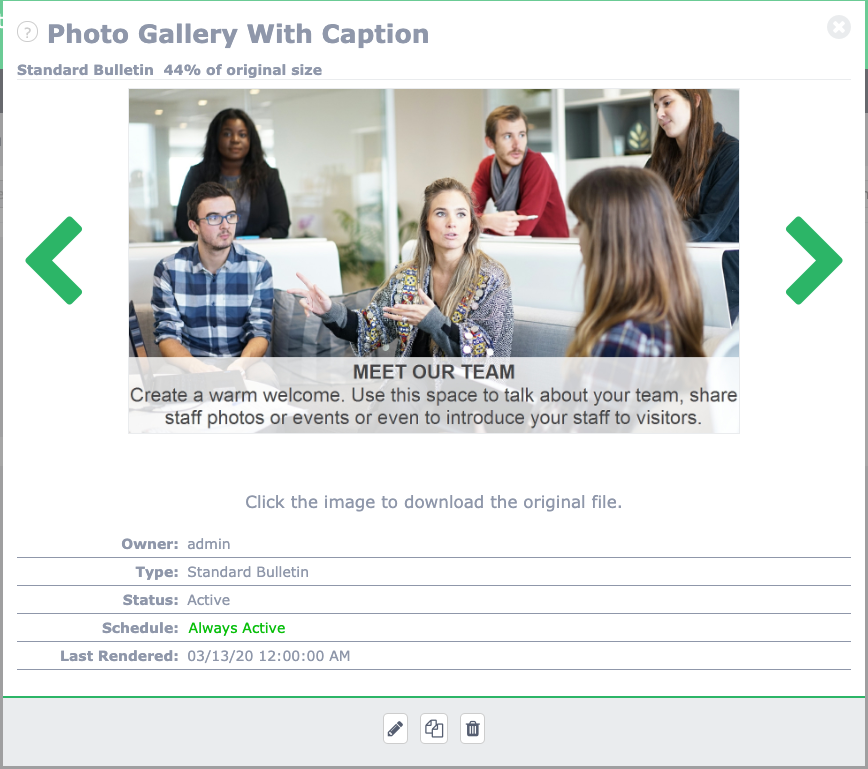
Starting on the left, the Eyeball icon will open your Bulletin Preview. This will give you a bigger view of what the bulletin looks like and gives you detailed information about what type of bulletin it is, the schedule, and what user created it.
Next, the Pencil Icon will let you Edit that bulletin. This is helpful if you notice a typo so you don't have to delete it and create it from scratch again, you will be able to edit it and republish.
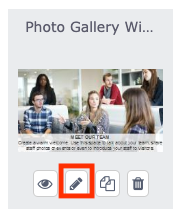
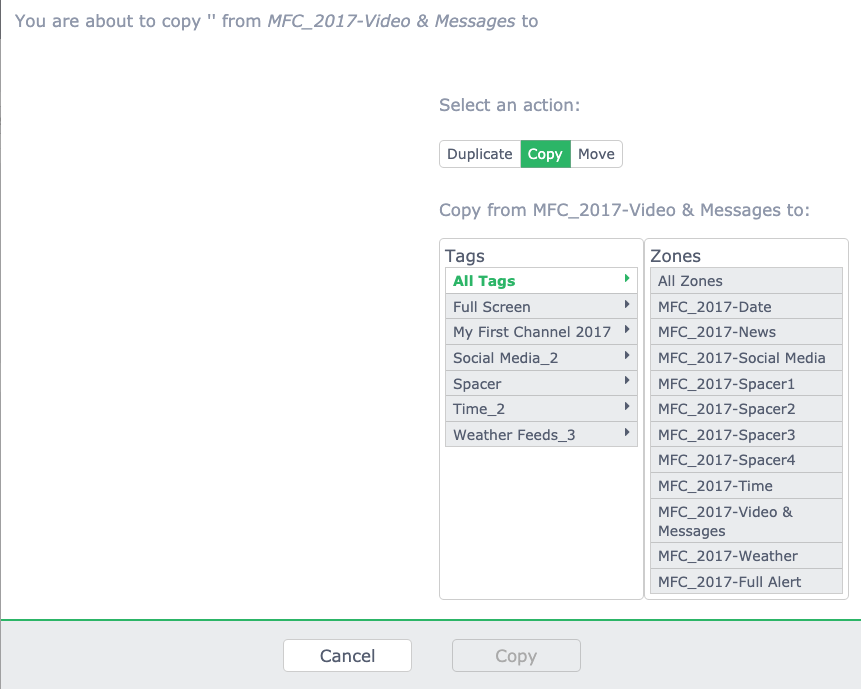
The third is our Copy and Move Icon. This will allow you to duplicate this bulletin in this zone, make a copy of the bulletin and put it in a different zone, or move the bulletin into an entirely different zone.
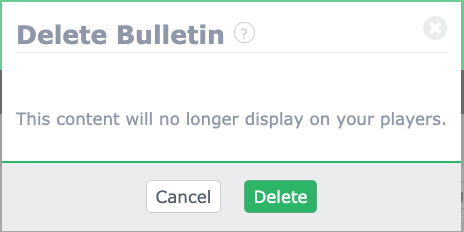
And lastly the Trashcan Icon is the Delete button. Be careful when deleting bulletins, because once they are deleted they are gone for good. You will get a confirmation window asking if you do infact want to delete that bulletin.
Rearranging and Grouping Bulletins
Rearranging the order of your bulletins is very simple. All you need to do is click and drag the bulletin that you want to move and place it between the bulletins your want. Those bulletins will spread apart and you can unclick and it will be placed there.
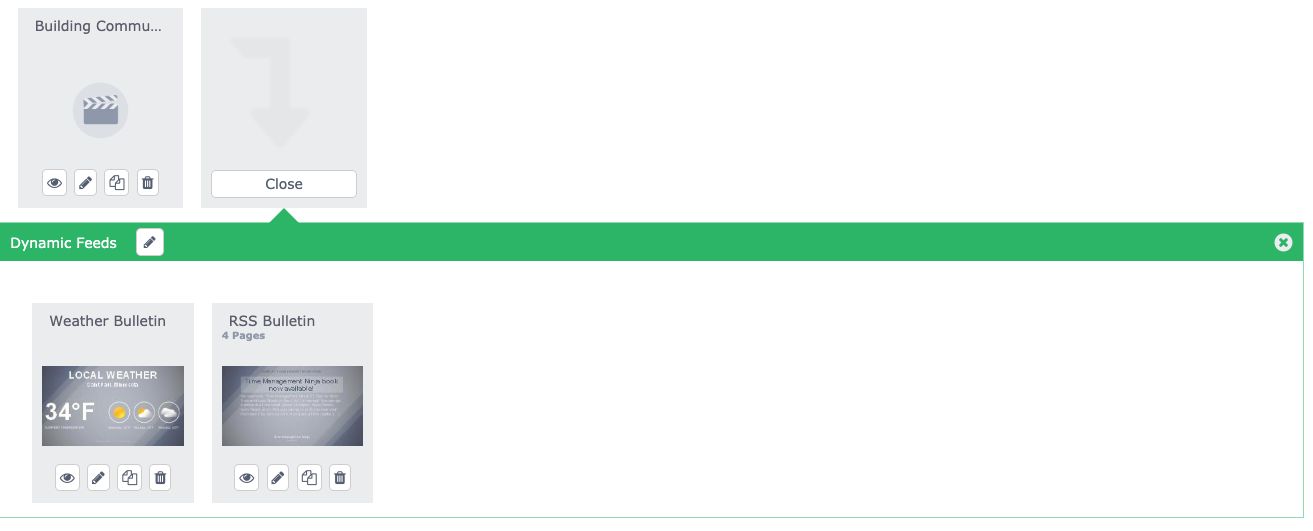
You can also Group bulletins together. A group of bulletins is a nice way to keep your bulletins organized. If you have a number of bulletins that need to play in sequential order, grouping them together will make sure they play together. To group bulletins, simply click and drag the bulletins on top of each other. This will create what looks like a stack of bulletins.
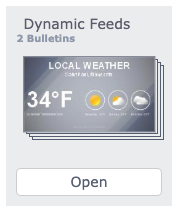
You can open that group and rearrange the order or pull them out of the group.
Bulk Actions
To make changes to a number of bulletins at the same time you can perform bulk actions. First you will need to select the bulletins that you want to make changes to. Simply click on the bulletin and it will get a green outline around the bulletin indicating it is selected.
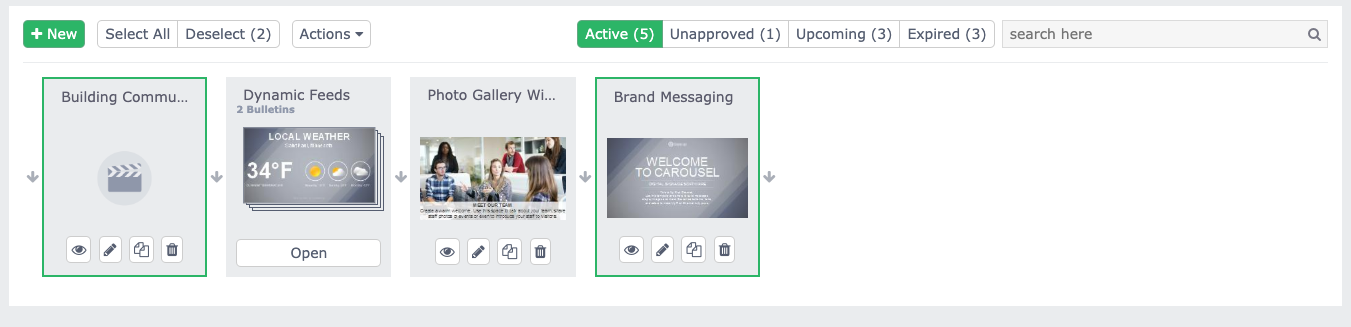
There is also a Select All and Deselect option for you to use.

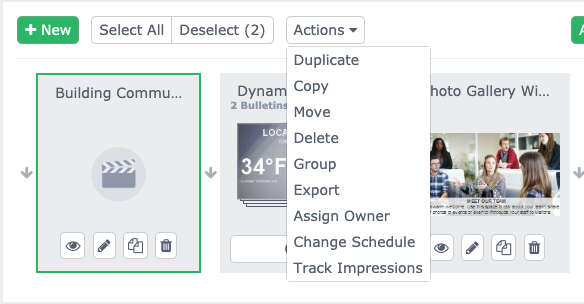
Once you have your bulletins selected, you can click on the Actions button that will give you a dropdown list of the bulk actions you can perform, like Duplicate and Delete as examples. This is all about speeding up your day to day tasks.
To learn more about Bulletin Management in CablecastCG, be sure to watch that section of our CablecastCG New User Training Webinar.