Permanently Removing Files From the VOD
If you're looking to clear files off of the VOD permanently, there are a few additional steps that must be taken besides unchecking the VOD Enabled box in the Show Record. Simply unchecking the VOD Enabled box just makes the video inaccessible on the VOD. It doesn't remove the files. To remove the files, follow the steps outlined below.
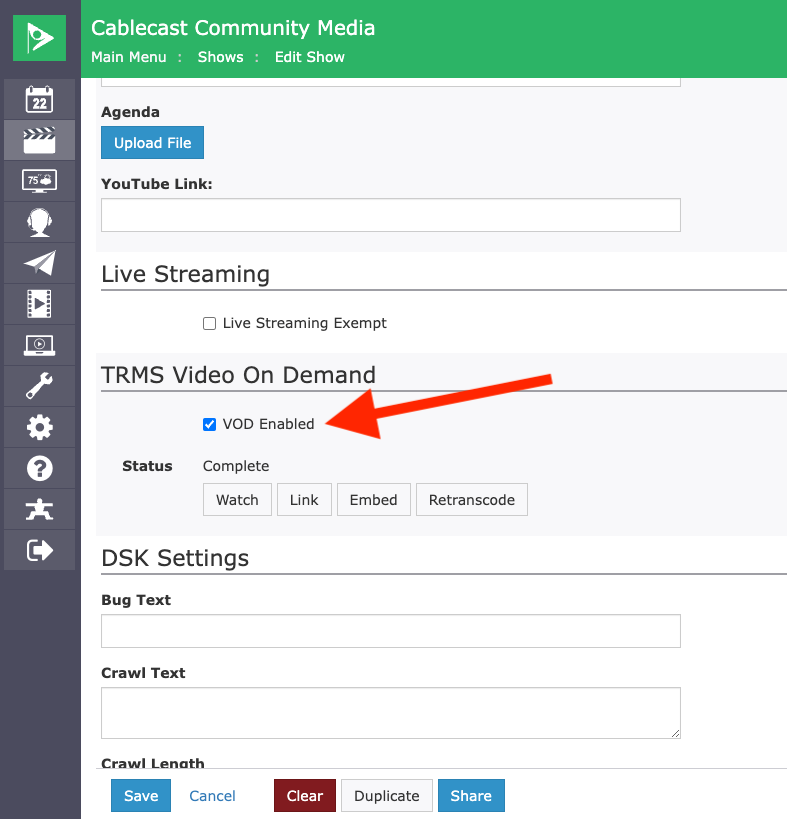
First, uncheck the "VOD Enabled" box in the show record for the file you want to remove from the VOD.
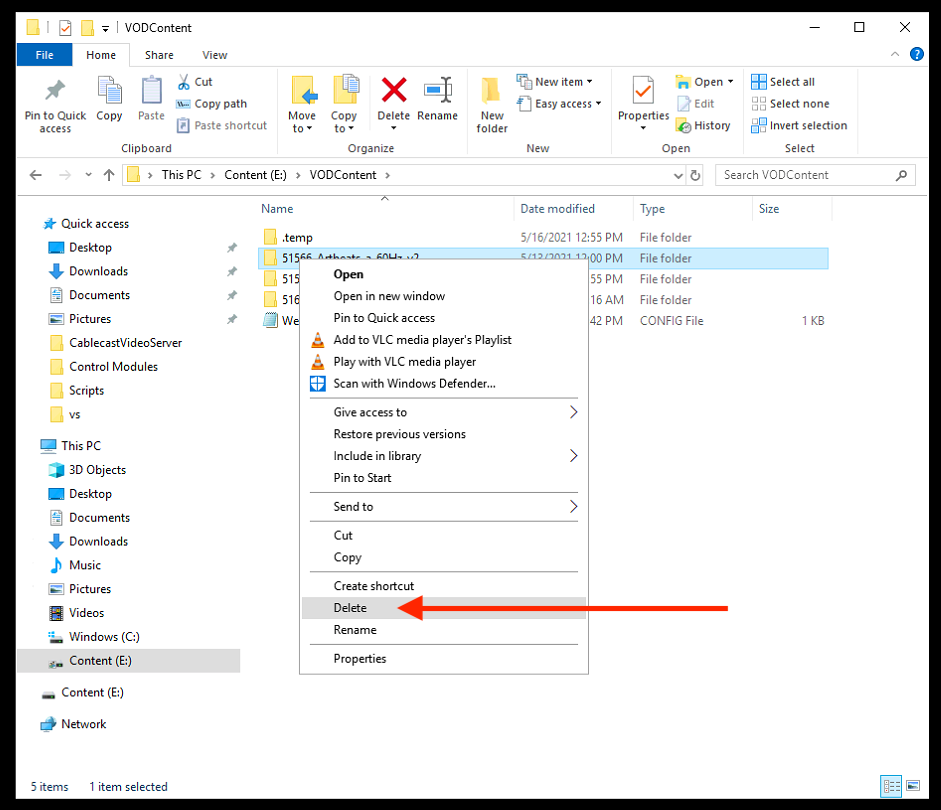
Next, you'll need to access the Content Drive (E Drive) on the VOD. You can do this by either network mapping the drive on another machine or by accessing the VOD directly. Once you've accessed the E Drive, navigate to the VODContent folder on that drive.

Depending on how old the files are, there will either be an individual file or a folder of files for each show. In this example, we are removing the files for Show ID 51566, so we have a folder of VOD files for the show we are going to remove. That folder contains the different variants of the file that were created when the file was sent to the VOD. You'll want to right-click and delete the file or folder that you're looking to remove.
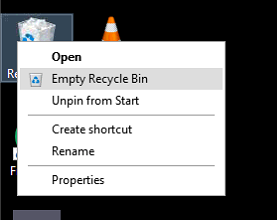
For this demonstration, we are accessing the VOD directly, not via network mapping. If you're accessing the drive via network mapping, the file will be deleted permanently when you select the delete option. If you're accessing the VOD directly, like we are, you'll need to empty the Trash to permanently delete the file. To do this, right-click on the Recycle Bin on the desktop and choose "Empty Recycle Bin."
Repeat this process for any other shows you want to remove from the VOD.